Video preview in QTM
The video preview is a helpful functionality in the setup of the camera system. It can for example be used to find reflections or look at the current field of view of the camera. Any Qualisys camera can be changed to show video image in preview. Follow these instructions to get the best image in preview.
- Open a new measurement and open a 2D view window.
-
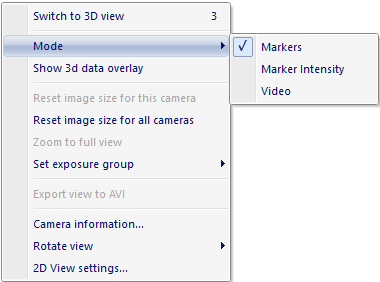
Click on Video or Marker intensity in the 2D View window menu to switch the camera to Video mode or use the Mode options in the Camera settings sidebar to switch all visible cameras to Video or Marker intensity mode. When switching to video preview the marker cameras will continue to capture at the marker capture rate and try to keep the marker RT frequency. The video frames will then be fetched in parallel with the marker data at the highest possible frequency. Which depends on the camera settings (for example zoom) and the number of cameras in video mode.
If the camera has In-camera MJPEG compression then that is used during the preview and the RT frequency can be around 20-30 Hz. However for the other cameras the RT frequency will usually be 5-10 Hz.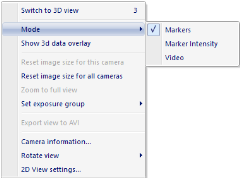
-
There are two different Video modes.
-
Marker intensity
In the Marker intensity mode the cameras use the same Exposure and flash time as for markers. The video is also color coded, see image below, so that it is easier to see the Marker threshold. The Marker threshold will always be where the color is green, therefore the image will change when you change the Exposure time or the Marker threshold. Which means that anything yellow and red in the image will be markers, when you switch back to Marker mode. -

-
Video
In the Video mode the cameras use the exposure and flash time from the Video settings on the Cameras page. This is the mode that you use when you want to capture video with the Qualisys camera.
-
- To optimize the preview frequency the number of pixels in the image are automatically changed depending on the 2D view size and the zoom.
-
Use the Video mode and set the following settings on the Camera setting sidebar to get a bright image in preview with non high-speed Qualisys cameras.
-
Capture rate
Set the Capture rate to 10 Hz. -
Exposure time
Set the Exposure time to 99000 microseconds for a standard camera. If the image is still too dark lower the Capture rate and increase the Exposure time even more. -
Flash time
The flash does not change the brightness of the image a lot on long distances. Therefore the Flash time can be set to 0. If you want to see the markers better, e.g. when setting the focus on a marker, you can set the flash time to about 400 microseconds.
-
- Then to see more of the video image double-click on the camera so that only that camera is shown in the 2D view window. It is also possible to zoom in the image, see chapter Selecting cameras, zooming and panning.
-
The following list are some of the things that the Video preview can be used for.
-
Check the cause of extra reflections
Zoom in on the extra reflection in Marker intensity mode if necessary. -
Check the camera field of view
-
Check the focus setting
Use the Video mode with full resolution to focus.
-