Camera settings overview
When adjusting your camera settings, it is recommended to make changes in the following order:
-
Capture Rate
First, set the capture rate for the camera system based on the type of movement and the field of view you plan to capture. (See Capture rate on page 1Capture rate.)
-
Aperture
Next, adjust the aperture for the light conditions in your lab. This is set individually for each camera. (See Aperture.)
-
Focus
Once the aperture is set on a camera, adjust its focus for a crisp image while viewing the markers in either video mode or intensity mode. (See Focus.)
-
Exposure & Flash Time and Marker Threshold
Finally, if you are still having trouble achieving the right balance of light, you can fine-tune the exposure time and marker threshold. (See Exposure & flash time and marker threshold.)
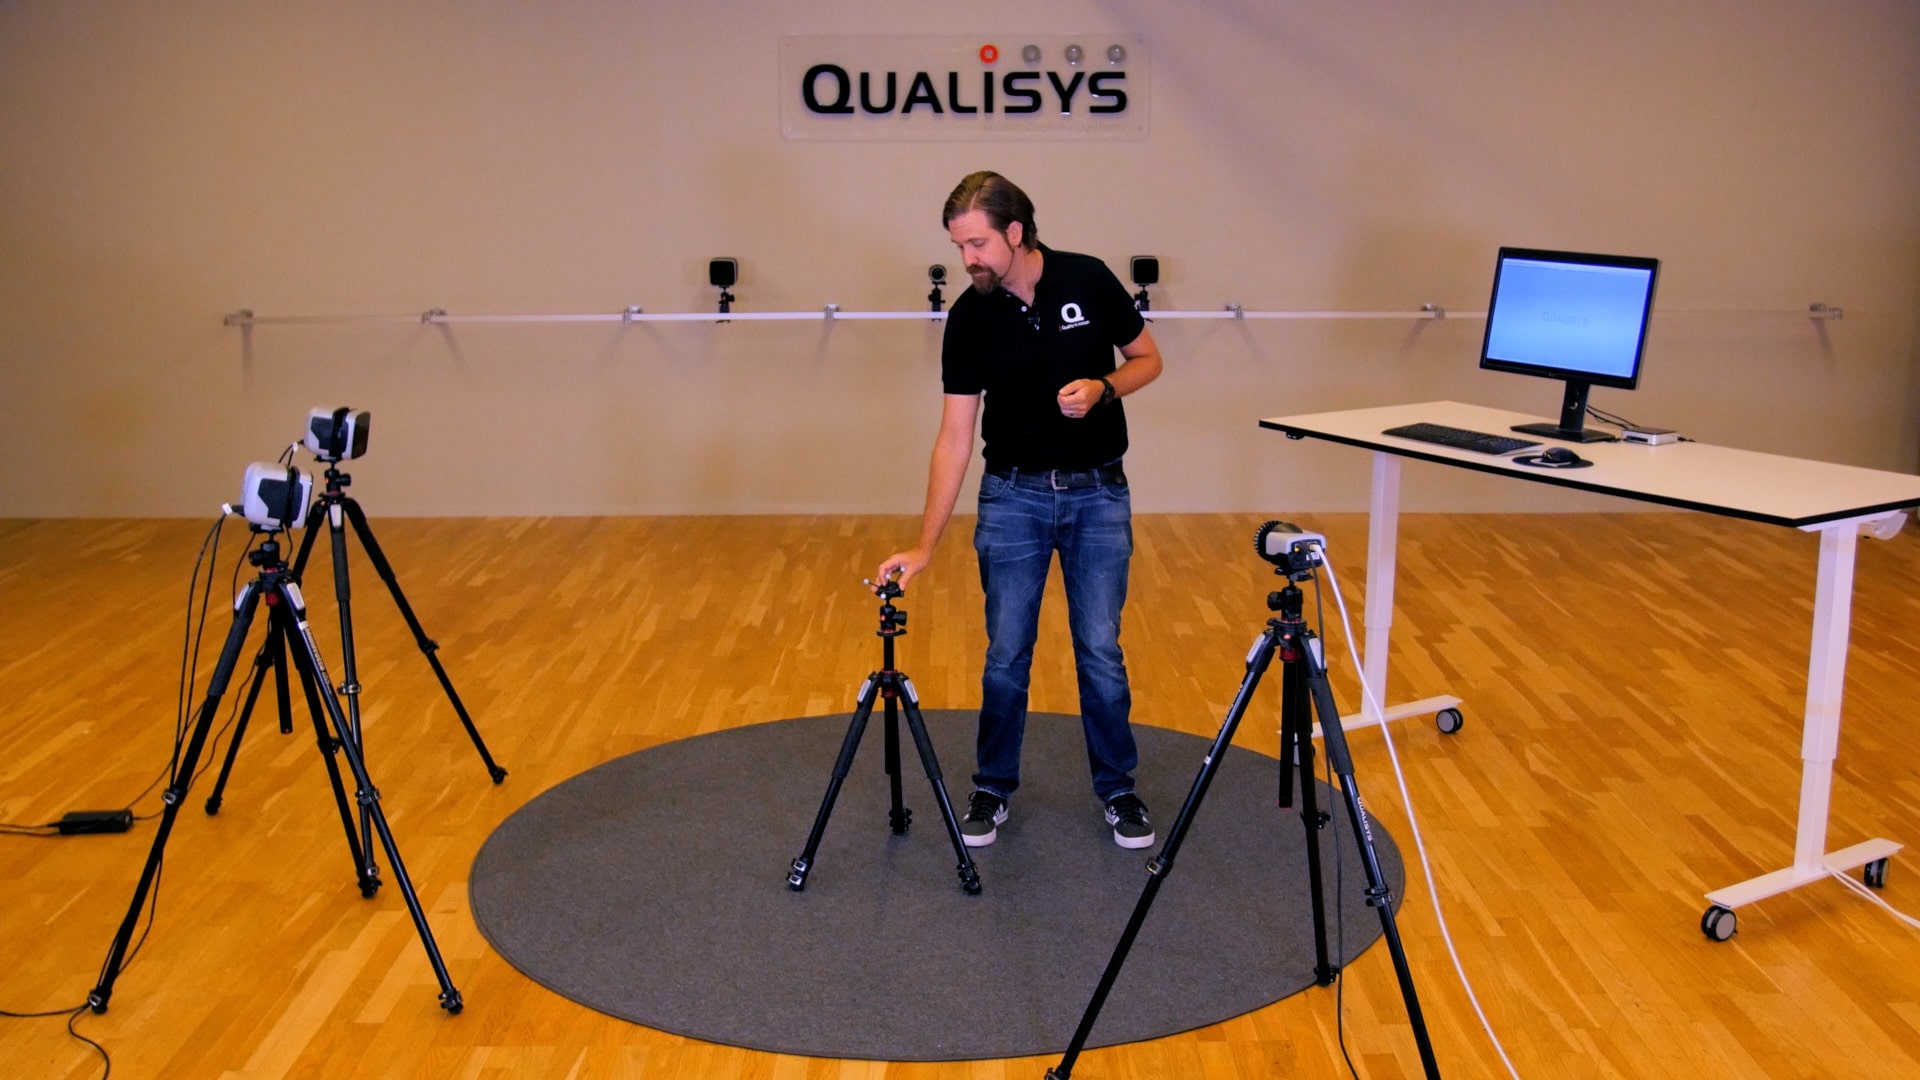
Make sure to place some markers throughout the recording volume for reference as you adjust the settings.
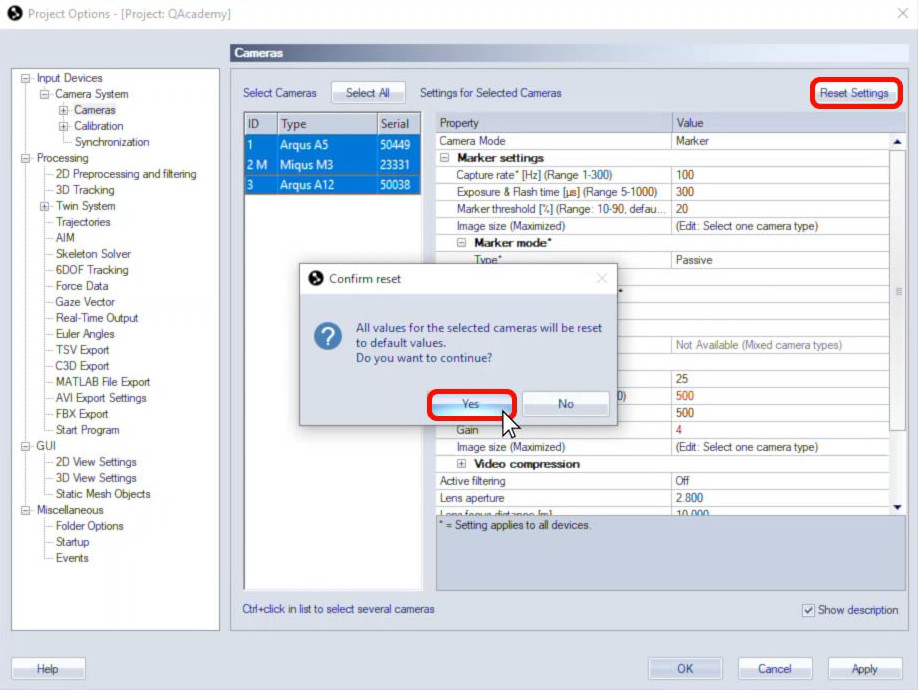
If you are using your cameras in a new location, you may want to revert to the default settings before making any changes:
-
 Open Project Options by clicking the gear icon or typing the keyboard shortcut Ctrl+W.
-
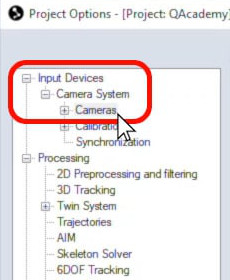
Navigate to “Input Devices” à “Camera System” à “Cameras.”
-
With all of the cameras selected, click “Reset Settings” and then “Yes,” and click “OK” to save.