Acquire body
With Acquire body a rigid body definition can be acquired from preview mode. Place the rigid body with the markers in the measurement volume and open a new file with New on the File menu. Open the 6DOF Tracking page in the Project options dialog and click Acquire body to open the Acquire body dialog.
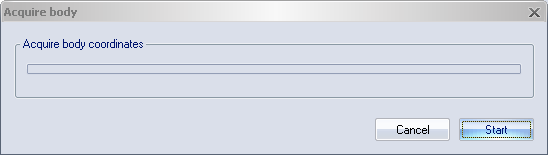
Specify the number of frames to collect with the Frames to acquire setting. Click Acquire to start the acquisition. The points of the rigid body definition are then calculated from the average of each marker’s position in these frames. The Stop option can be used to cancel the collection before all frames have been captured.
To see that the 6DOF tracking can find the body, change to 6DOF tracking on the Processing page and click Apply. The body should appear in the 3D view.
The measurement must be done on a stationary rigid body with at least four markers and the body cannot be flat.
It is a good idea to place the body so that the orientation of the desired local coordinate system is aligned with the global coordinate system. It is also a good idea to place the desired origin of the local coordinate system in the origin of the global coordinate system. Another way to easily define the local origin of the body is to use an extra marker placed at the desired location of the local origin. After acquiring the body coordinates, use the Translate body dialog to translate the local origin to the location of the extra marker. Then delete the extra marker from the body definition with Remove point.