Settings on Sony HDR-CX330
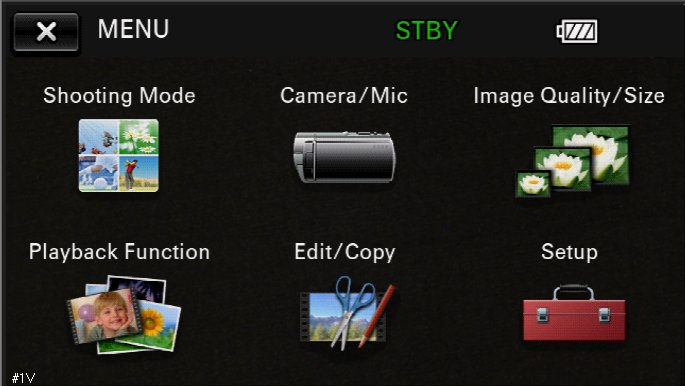
On a new Sony HDR-CX330 camera you need to change the HDMI output and some other settings to make it work best with QTM and the Blackmagic Design card. Click on Menu with the control button to change the video settings and the settings menu below is displayed on the camera.
HDMI Resolution
First of all you must set the HDMI resolution so that you know what Video settings to use in QTM.
-
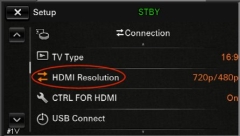
Go to Setup and scroll down to HDMI Resolution and open that option.
-
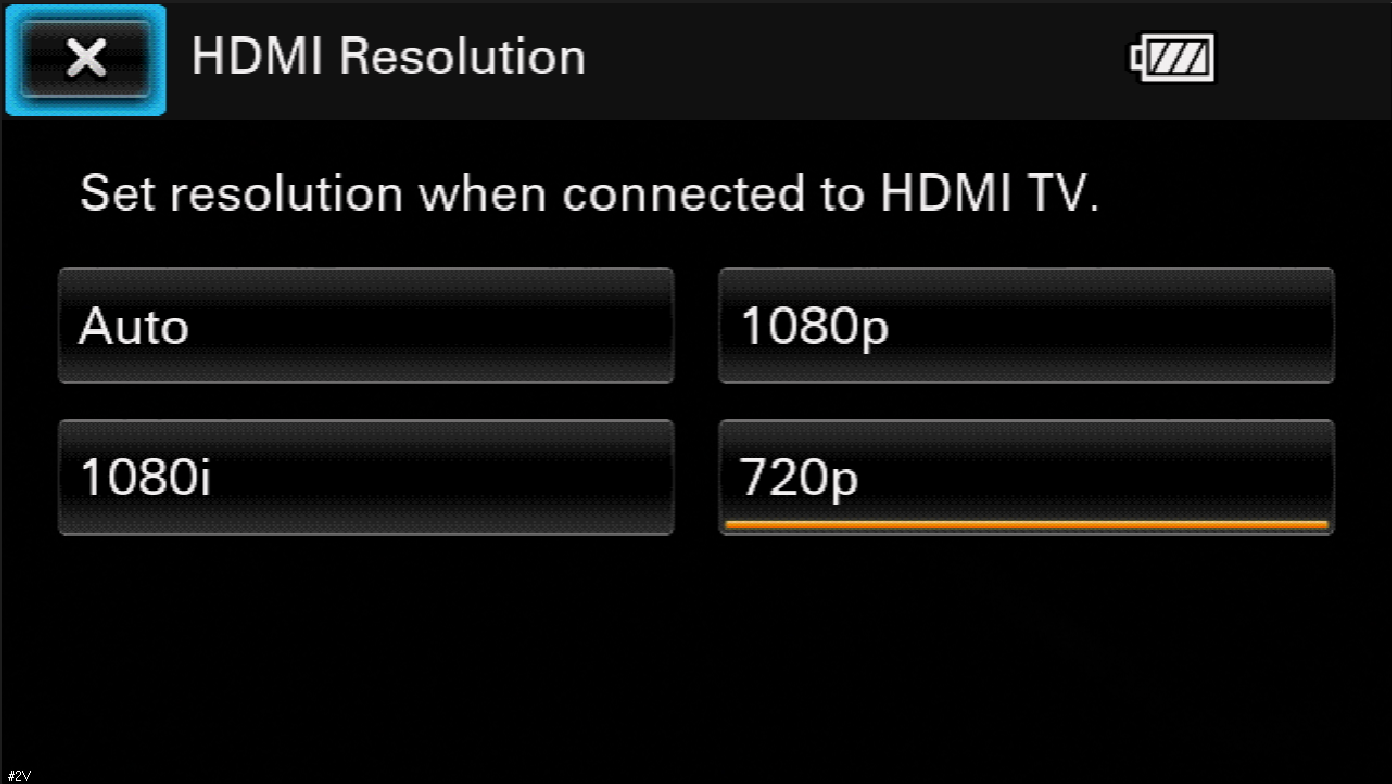
Select the option that you want to use. The recommended option is 720p/480p which will give you 720p 59.94 Hz.

The list below shows different resolutions and the matching Video format setting in QTM, for information about how to change the setting in QTM see chapter Using Blackmagic Design video source in QTM.
-
Auto - Unknown
-
1080p -
Not supported by Intensity Pro because the frequency is too high. -
1080i - HD 1080i 59.94 - 8 bit 4:2:2 YUV
This option is interlaced which is not recommended when being viewed on a computer, because when played there will be horizontal lines in the image. -
720p - HD 720p 59.94 - 8 bit 4:2:2 YUV
Recommended option because it is the highest possible resolution that uses progressive scanning. The image is good, but the files will be large so it is recommended to compress the files in QTM.
If the video camera is a PAL model the frequency changes from 59.94 Hz to 50 Hz and NTSC to PAL.
-

Other recommended settings
Then it is recommended to change the two settings that makes the camera operate better.
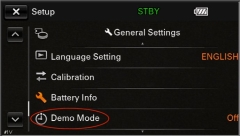
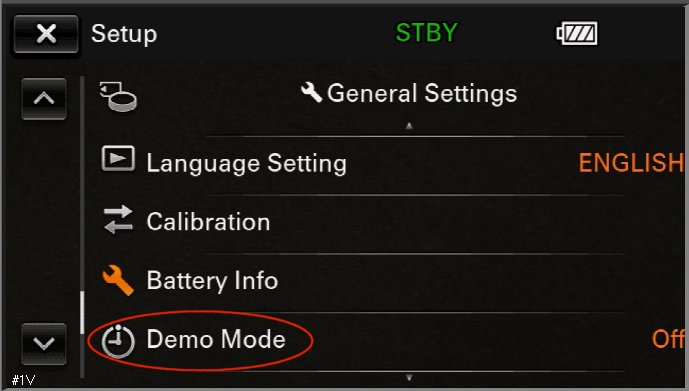
Demo mode
Turn off Demo mode on the camera, otherwise the camera will start showing you demo pictures after a while.
-
Go to Setup and scroll down in the list until you find the Demo mode option and turn it off.
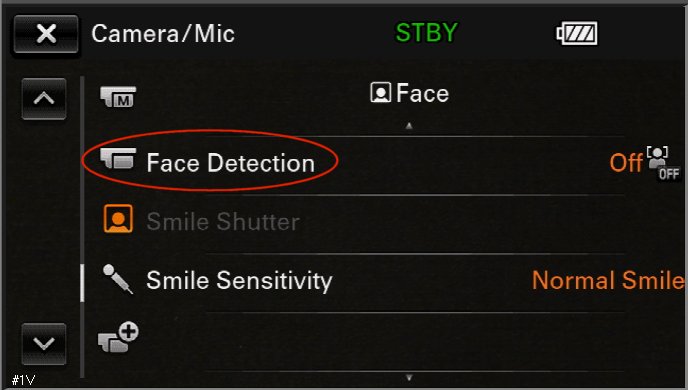
Face detection
-
Go to Camera/Mic on the first menu and scroll down to the Face Detection option and turn it off. If not turned off there will be a rectangle in the image as soon as a face is detected.