Network configuration wizard
The QDS network configuration wizard will guide you through the different steps to setup the network for Qualisys cameras. If you run the wizard you do not need to follow the instructions for network card setup in chapter Network card setup. Follow the steps below.
-
Double click on the QDS icon
 in the Windows task bar or click on Configuration wizard
in the QDS menu to start the wizard. This will open the Wizard with the Choose network connection page.
in the Windows task bar or click on Configuration wizard
in the QDS menu to start the wizard. This will open the Wizard with the Choose network connection page. -
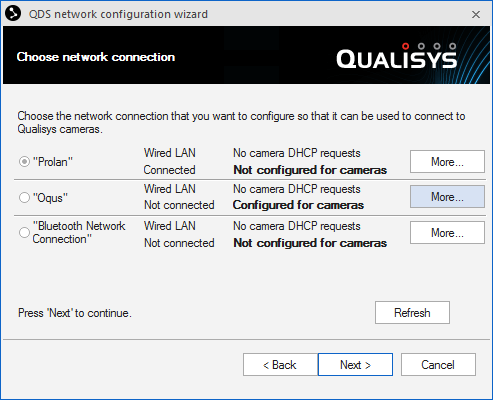
The list will show all enabled network interfaces on the computer. Select the interface that you want to use with Qualisys cameras and click Next.
-
If there are more than 4 network interfaces available, use the Prev 4 conn and Next 4 conn buttons to navigate through the list.
-
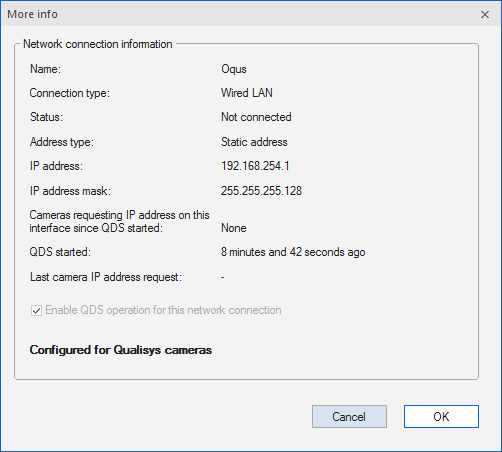
Click on More to see information about the network interface. The More info window shows the current settings of the network interface. This is the same information as is shown in Advanced, see Advanced network settings dialog.
The wizard will not configure all interfaces, for example a network interface that is already connected to an internal network and has received an IP address will not be configured because it is considered to have a running DHCP server. However, any disconnected interfaces can be configured by the wizard.
-
-
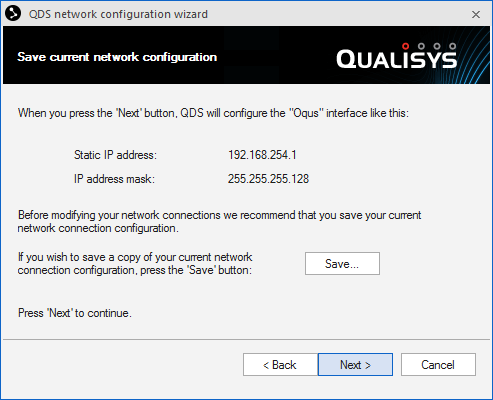
The wizard shows how it will change the selected interface. You can save the current network setup with the Save button for backup. Click Next to continue.
-
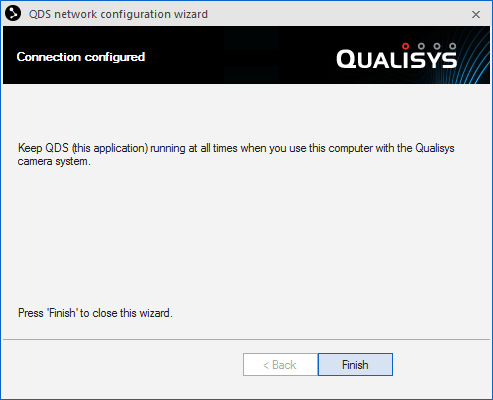
Click Finish to close the wizard.