Skeleton marker label mapping
The skeleton solver automatically recognizes the default marker labels of the Qualisys Animation Marker Set and the Qualisys Sports Marker Set. If you want to use alternative marker labels, for example to apply the skeleton solver to existing measurements, you can create a custom mapping. If you are using an alternative marker set, the marker positions should correspond closely to those described in the marker guides of the Qualisys marker sets for Animation and Sports.
Follow these steps to create a custom mapping.
-
Go to the Skeleton Solver page in the Project Options.
-
Save the default skeleton marker label mapping by pressing the Save button. Fill in a name in the Save as dialog and press Save. The file contains all labels of both the Animation and Sports marker sets.
-
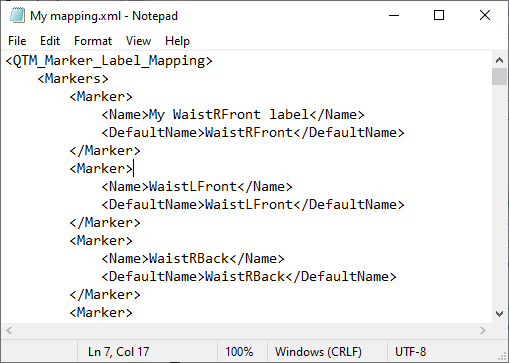
Open the created file in a text editor (for example Notepad).
-
Edit the marker names contained in the <Name> tags and save the file when done.
-
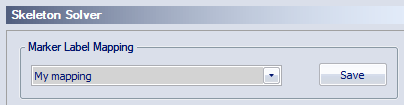
Load the file in the Skeleton Solver page under the Marker Label Mapping heading by pressing the drop down menu and choose Custom (Load from file).
If you want to apply your label mapping to an existing file, you will first need to reprocess the file with the new skeleton solver settings including the correct mapping before you can calibrate the skeleton.
-
First, make sure that your label mapping file is loaded in the project settings.
-
Reprocess the file with the Solve Skeletons option enabled and select project settings.

-
After reprocessing the file you can calibrate the skeleton from the file.
-
You can now (batch) reprocess the other files with Skeleton solver project settings to apply the calibrated skeleton.