Export to AVI file
With the export to AVI file option you can create a video file of any camera view, 2D view or 3D view window. There are three different ways to make an export, the options for the exports are the same and are described in the chapter AVI Export.
-
File menu
On the File/Export/To AVI menu you can export to an AVI file from the currently open file. You can select any open window or a saved view to be used for the export. The settings that are used in the export are then copied to the Project options. This include the Previous settings view in the Window settings list.

-
A 3D view window will have the current rotation and zoom throughout the AVI file so it is important to set them as you want them. In a 2D view window the currently active camera views are included in the export, however when resizing the video dimensions the positions of the view may change compared to the original layout.
-
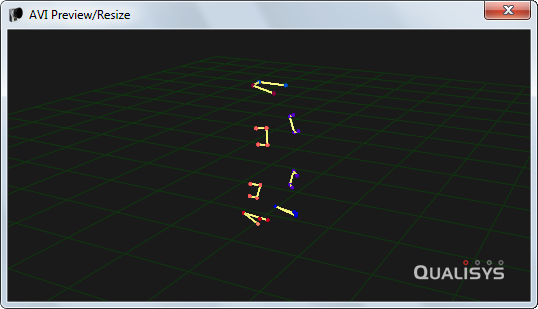
Use the Preview/Resize button to open a window where you can check the dimensions and also change the dimensions.
-
Right-click on 3D or camera view
On the right click menus of the 3D and 2D view windows there is an option to export that view to an AVI file. In this case only the current view is available for export and the settings are not copied to the Project options.
Only the camera view that you right-click on is exported from the 2D view and the dimensions of the video will default to number of pixels used in the capture. If you want to export several camera views then you can use the export to AVI option on the File menu.
-
Processing step
The AVI export can be done as processing step either directly after a measurement, in reprocessing or in batch processing. The view that is used in the export is the one saved in Previous settings in the Window settings list. Since the Previous settings view is changed when you make an export, it is important that you save any view that you want to use with the Save view option. Then you can select that view again for the processing step before the processing.
It is recommended to use a codec when creating the AVI file, since the video file will be very large uncompressed. For more information about recommended codecs, see chapter Recommended codecs.
The video export is done by displaying the view that you want export in a special window that is then captured to an AVI file. Because the video has to be displayed in the window, the export will be faster on a computer with a good external graphics board. The processing time can also be reduced by using no more than 30 Hz and by making the dimensions of the video export smaller.
If you are exporting a Qualisys video to an AVI file, e.g. with a 3D overlay, then the video image will be linearized. I.e. the same parameters that are used to correct the marker data is applied to the video data to correct for the lens distortion. Therefore the pixels will not match exactly with the original video image. The linearization can be turned off with the Show linearized data option on the 2D view settings page in Project options.
The exported AVI files contain meta information about the QTM version, the capture time and the SMPTE time code, if used, according to the AVI standard (isft, idit and ismp).