Calibrating Qualisys video cameras
Qualisys video cameras are calibrated exactly like marker cameras and are synchronized with the other cameras when calibrated together. Calibration of video cameras is optional if you are just using the video for documentation, but they must be calibrated to use a markerless analysis module.
The cameras will automatically switch to marker mode during calibration, so their marker capture settings need to be optimized first. These are separate from the video settings you have already adjusted and will not affect them.
To optimize the marker settings:
-
Place some markers in the recording volume for reference.

-
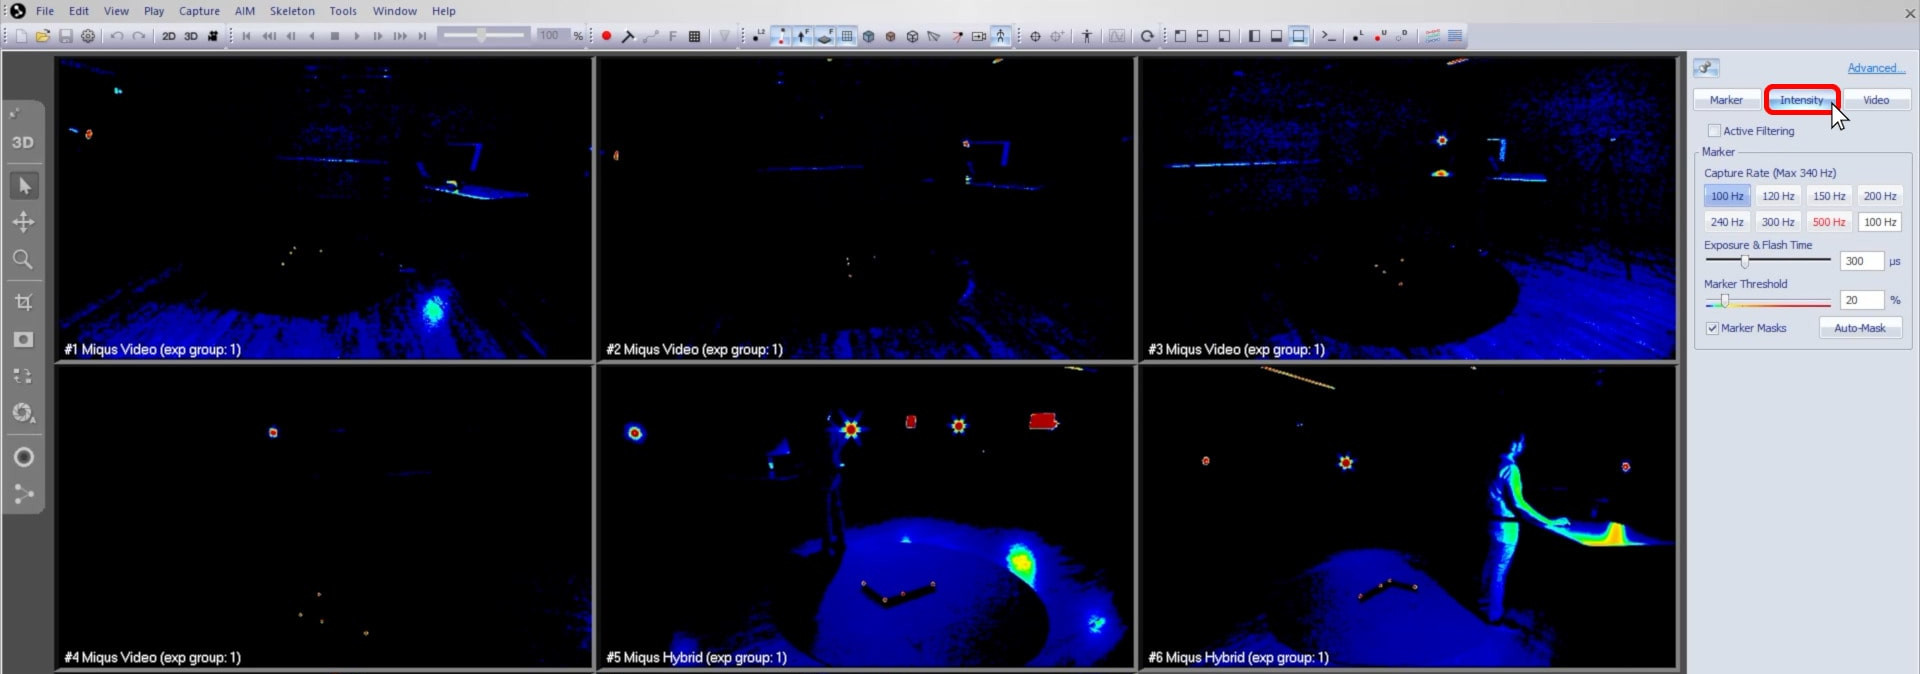
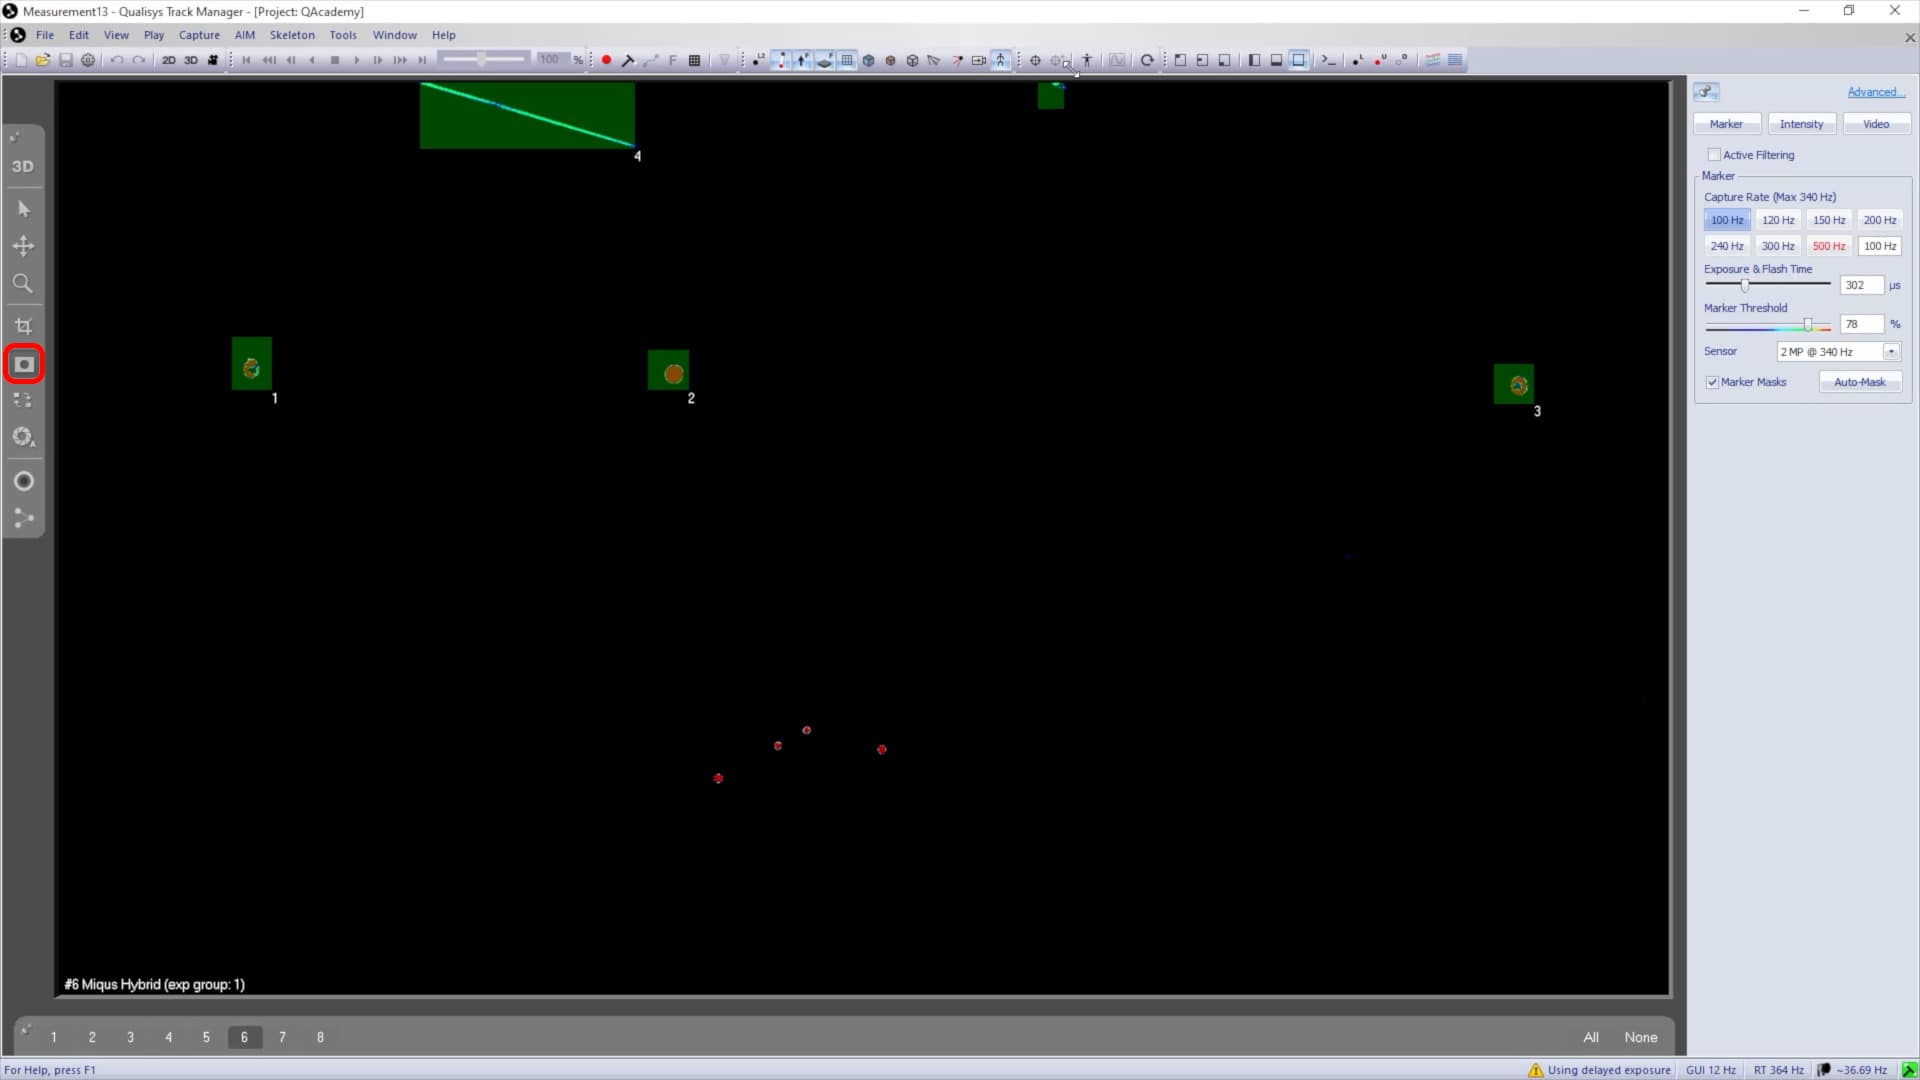
In QTM, switch the cameras to intensity mode.
-
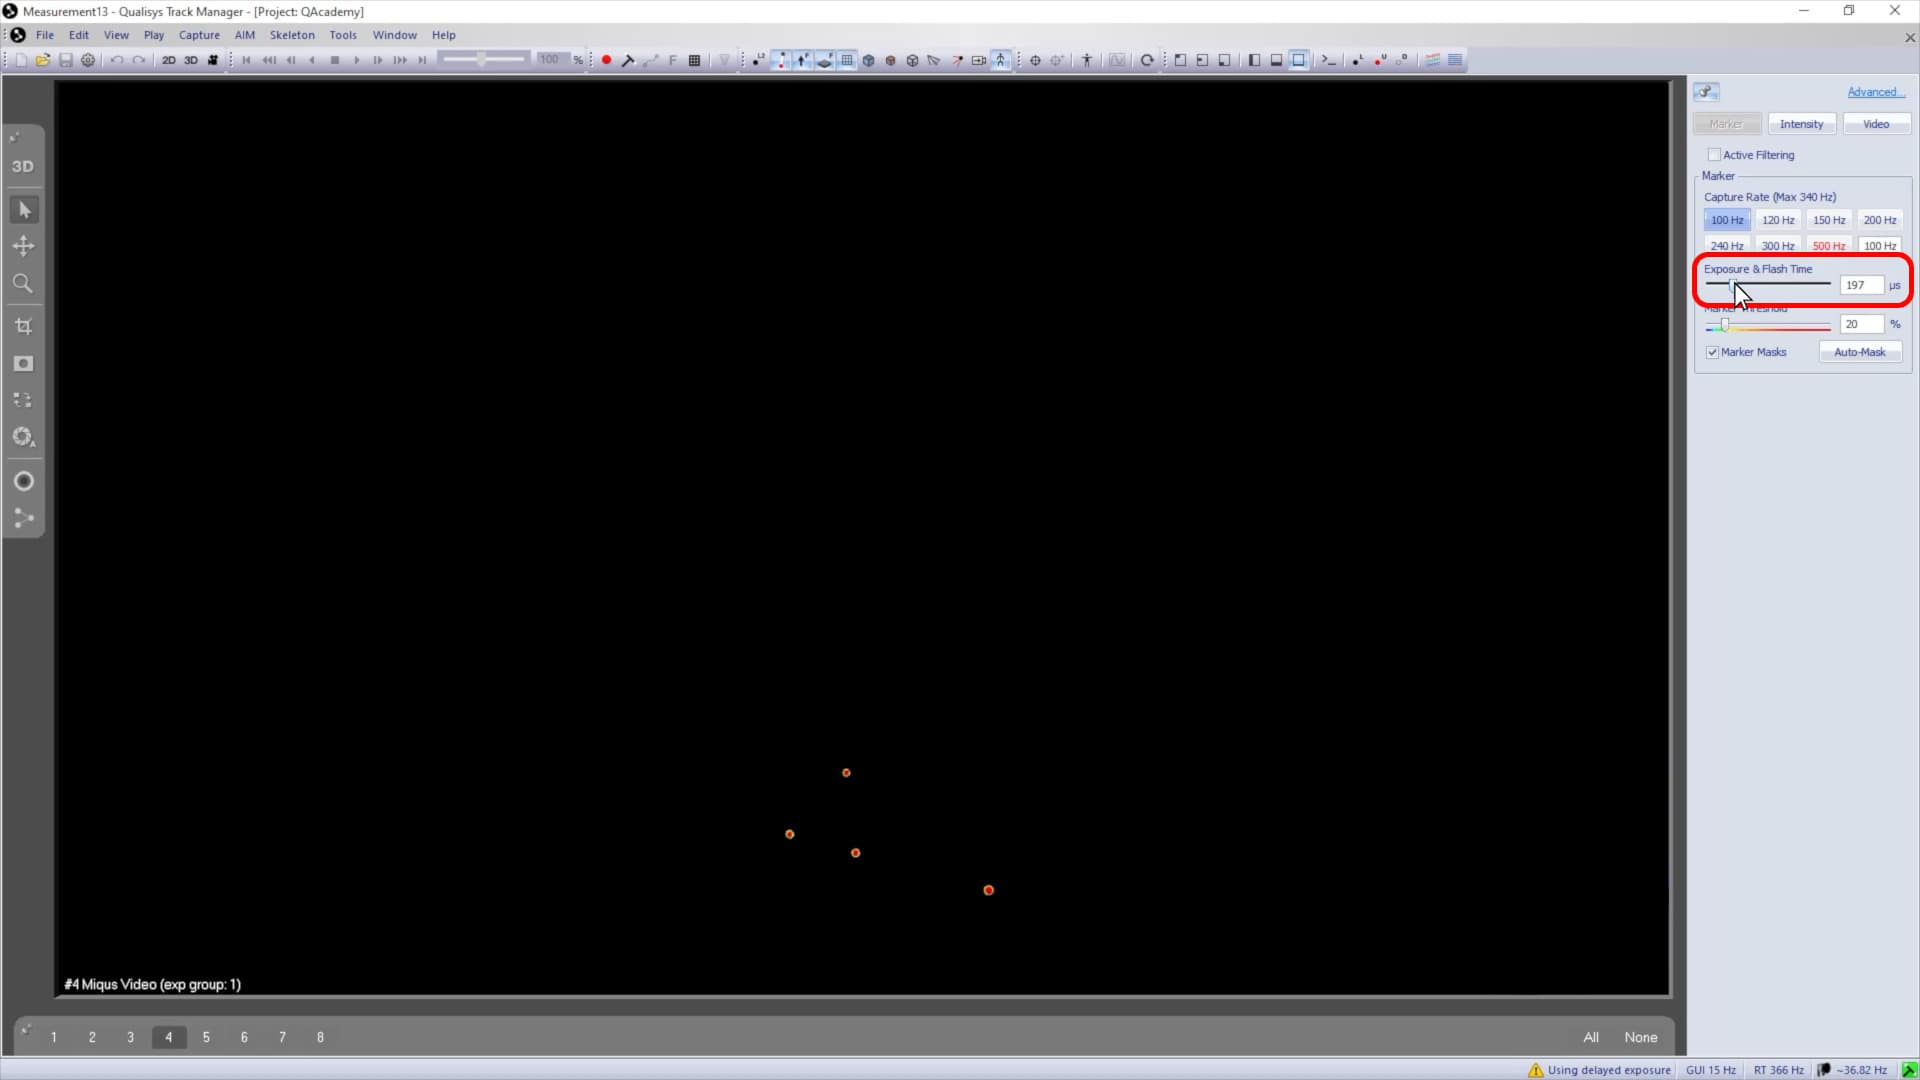
In the camera settings sidebar, adjust the exposure time and marker threshold to get a clear image of the markers with sharply defined edges. The goal is to have a dark background with markers clearly displayed in red.
-
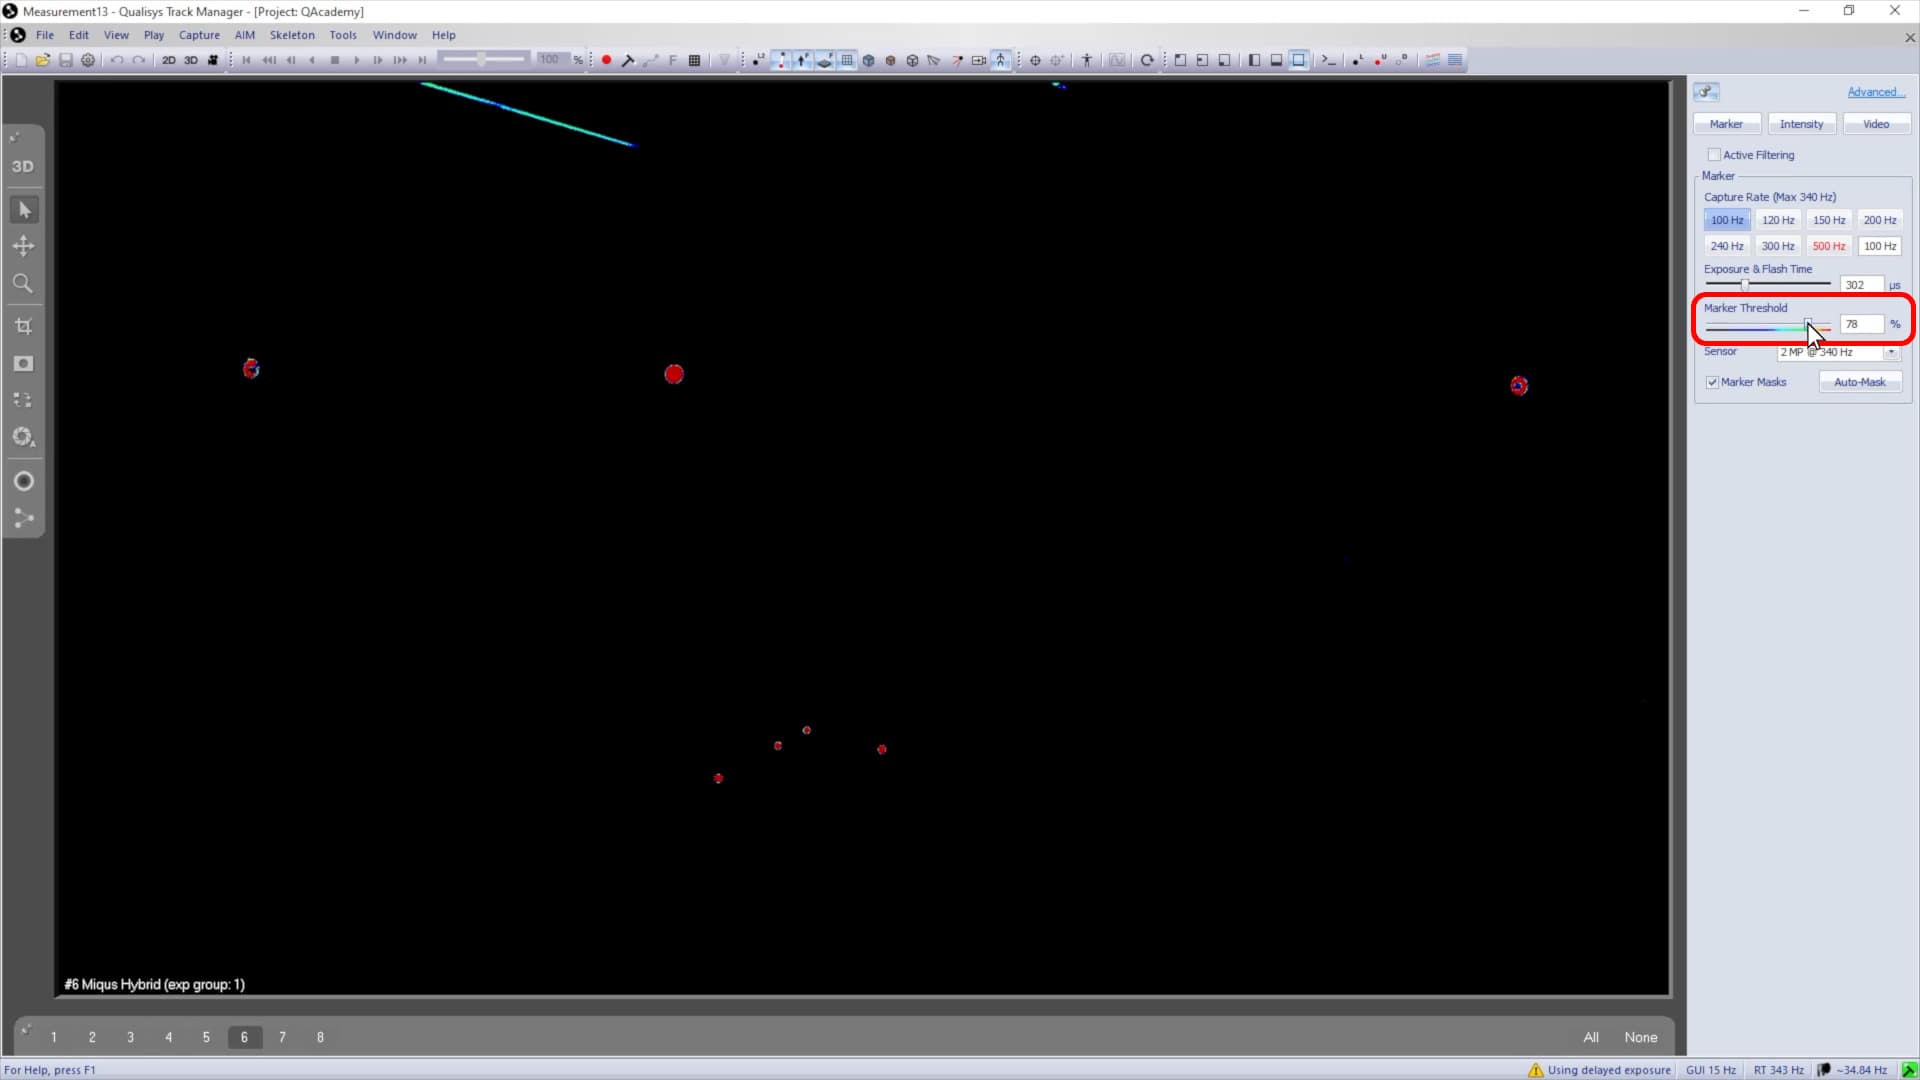
If the markers are not visible enough, try increasing exposure time to let in more light and decreasing the marker threshold to interpret more light sources as markers. Conversely, if too many reflections are coming through, try decreasing the exposure time and increasing the marker threshold.
QTM should not be picking up any reflections apart from the reference markers. If unwanted reflections cannot be solved by covering up the light sources or adjusting the settings in the sidebar, you can draw marker masks over them. The masks will have no effect on the video capture; they will only apply while the cameras are tracking markers during calibration.
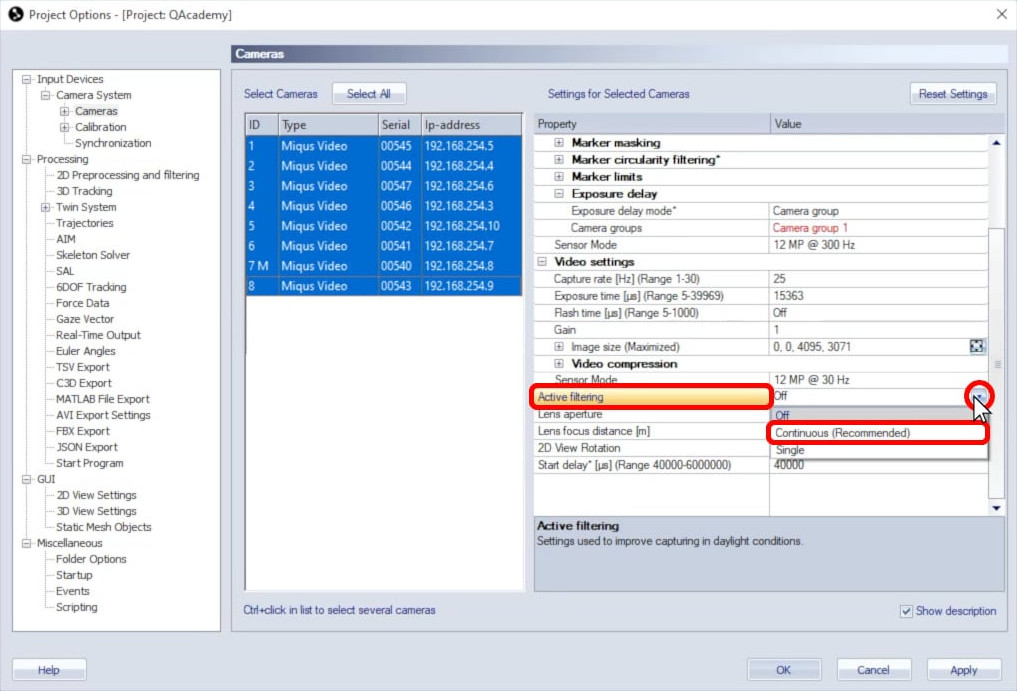
In very bright conditions, active filtering is a good option to remove ambient light from the image.
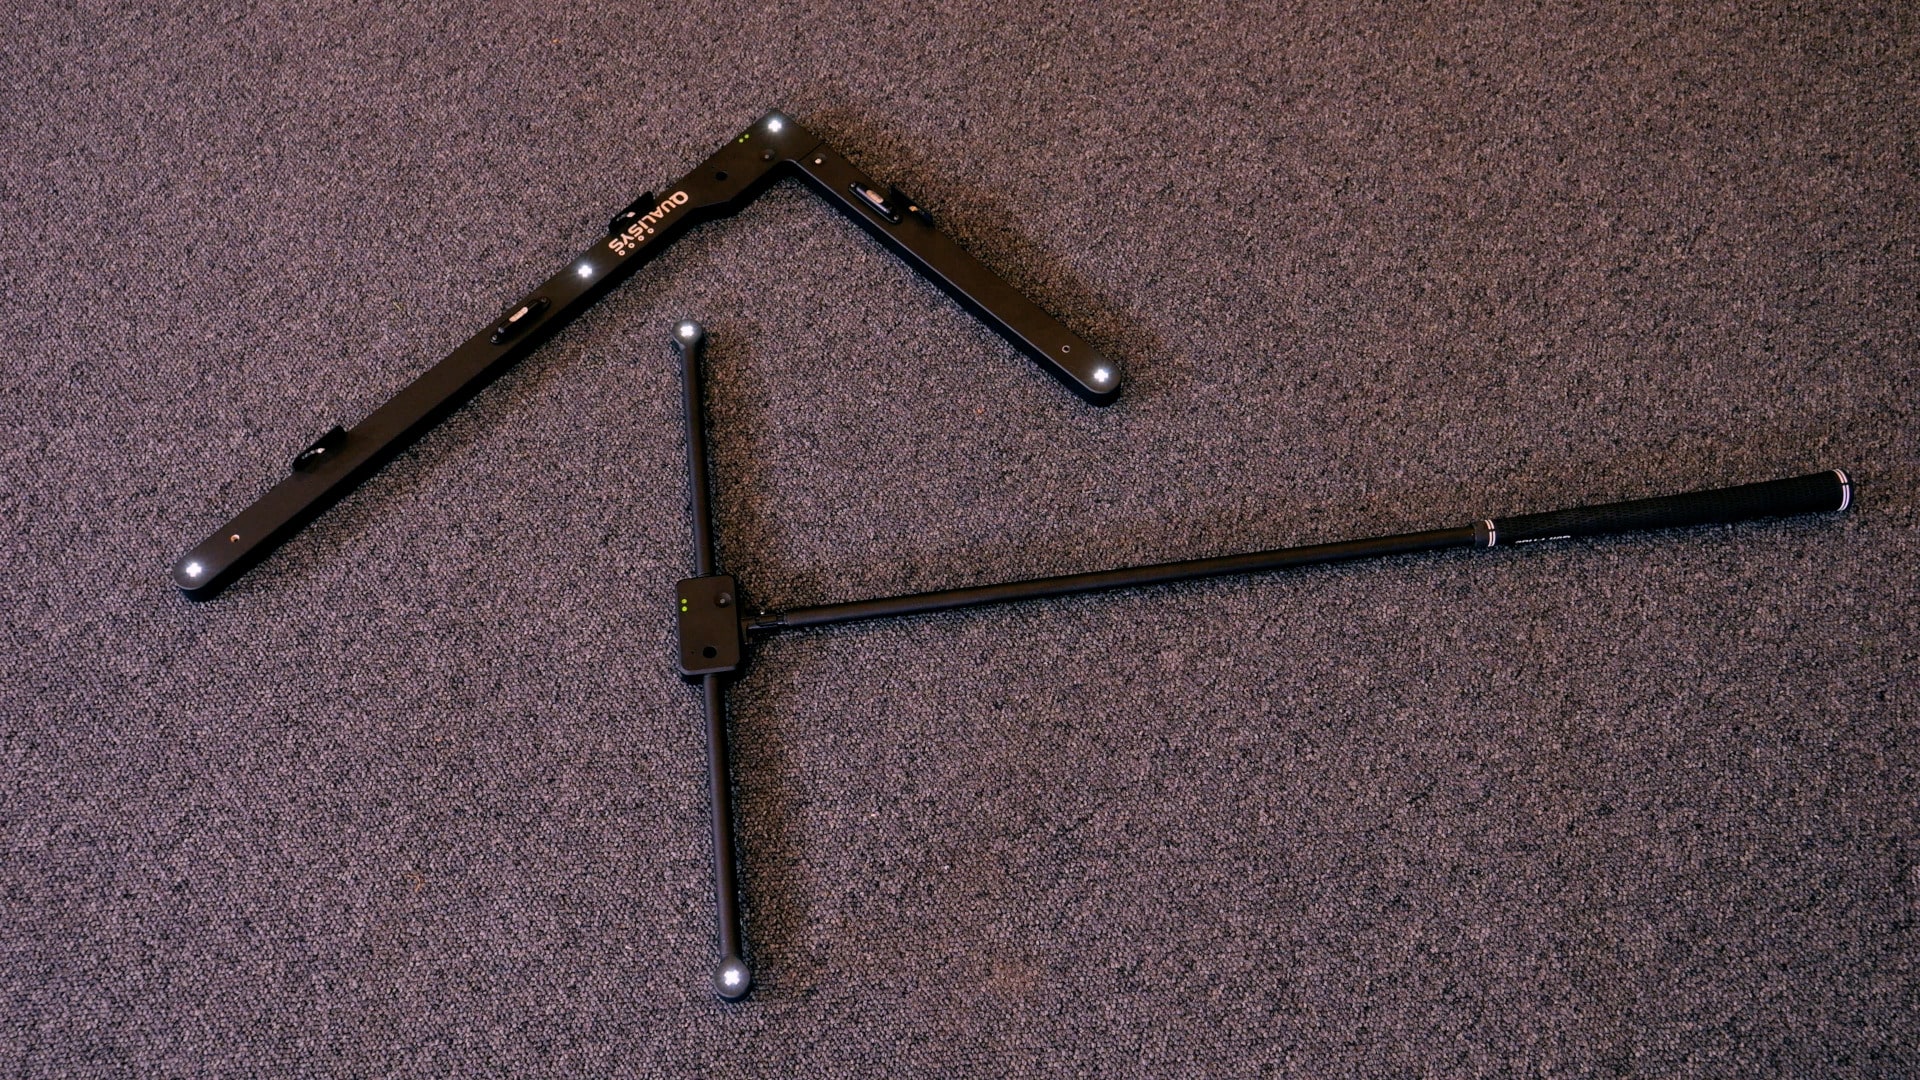
If you find that active filtering is not sufficient to remove unwanted reflections, you can use an active marker calibration kit, which emits its own light.
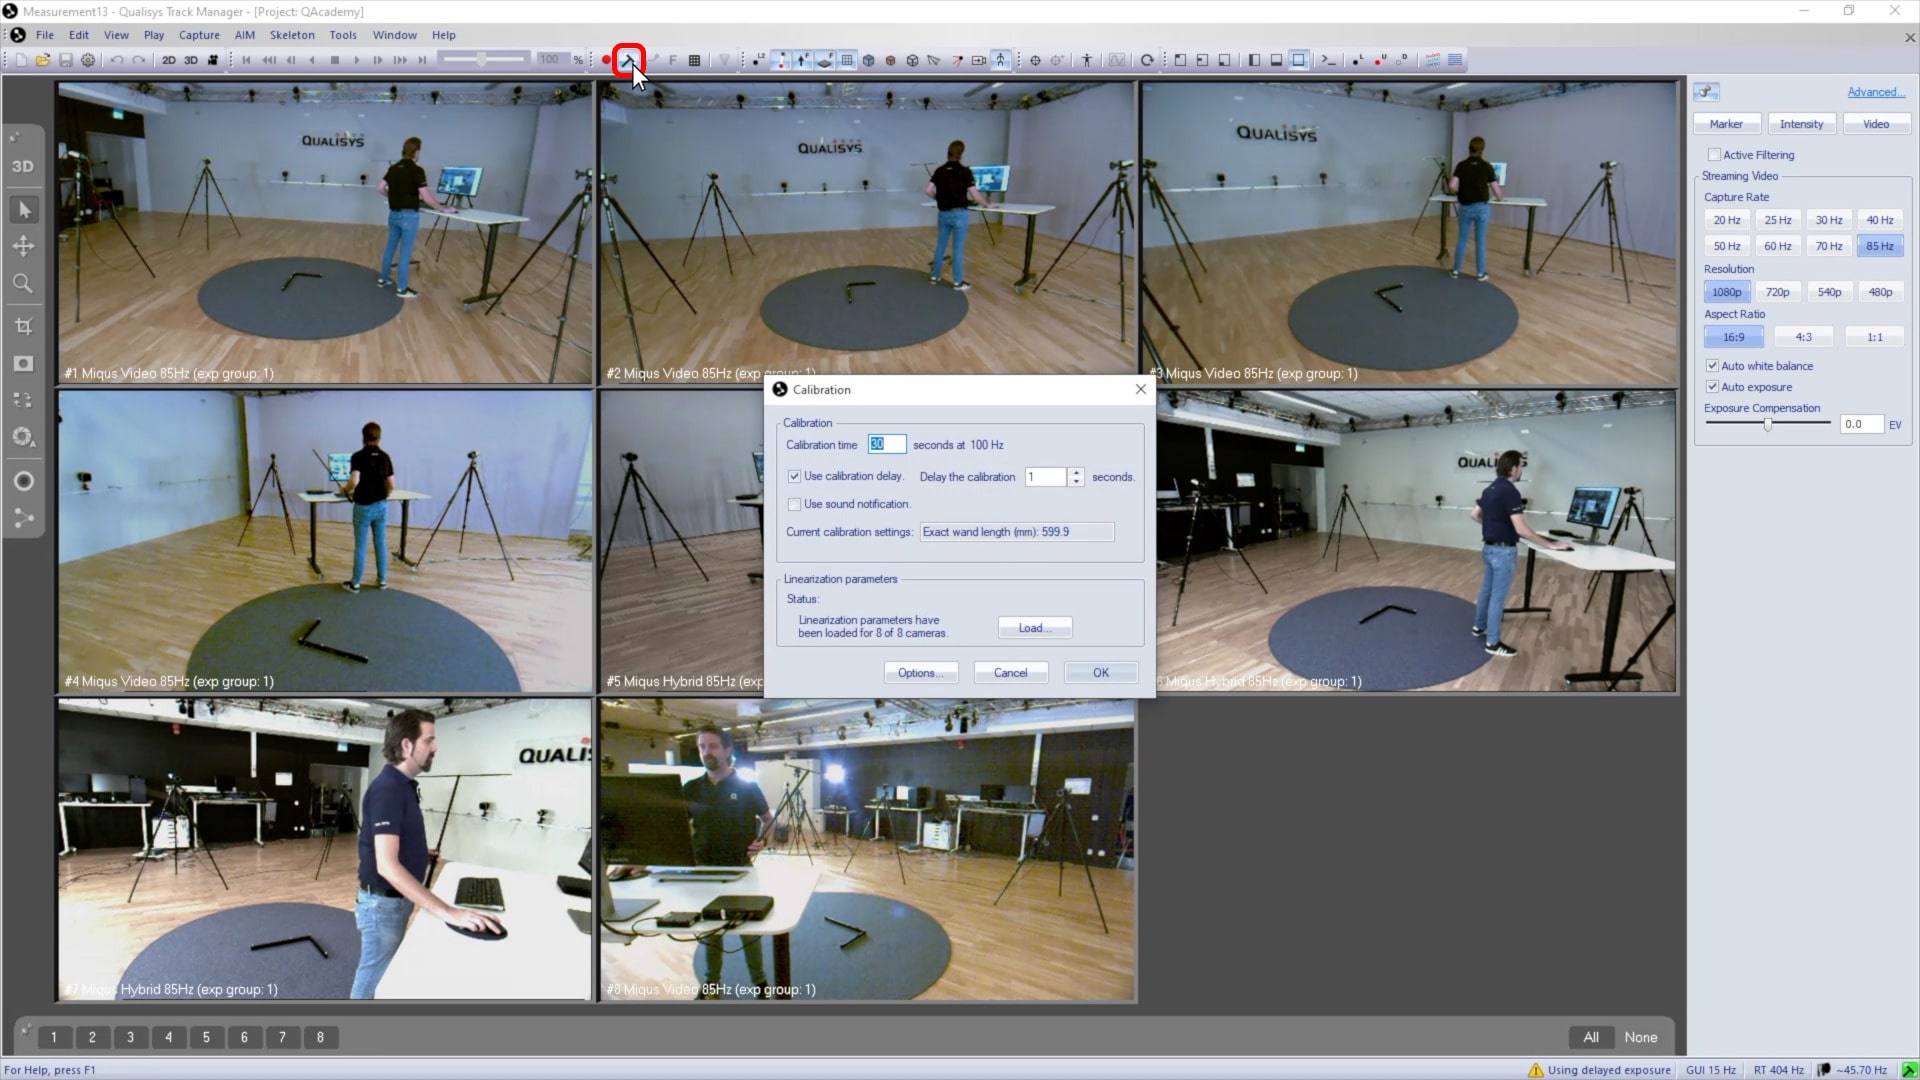
Once the marker settings are optimized and no unwanted reflections are being tracked, proceed with calibration as usual.