Recording an AIM trial
The skeleton solver calculates the skeleton data using an AIM model based on the Qualisys animation marker set. A unique AIM model will need to be created for each skeleton being tracked.
An example AIM model of the animation marker set is included with the installation of QTM. You may want to apply it to your project to give you a head start on the labeling process:
-
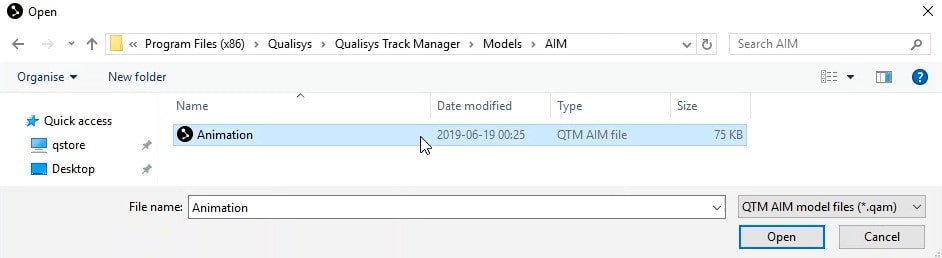
Open Project Options (Ctrl+W), navigate to “Processing” à “AIM,” and click “Add model.”

-
Navigate on your computer to the folder where QTM is saved, navigate to “Models” à “AIM,” and select Animation.qam to apply it to your project.
- Click OK to save your changes and close Project Options.
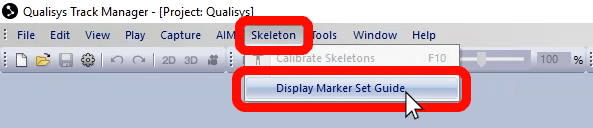
Before recording the AIM trial, place the markers from the animation marker set on your actor. To access the marker set guide for reference, click “Skeleton” in the top menu bar of QTM, and select “Display Marker Set Guide.” You can also follow along with the Qualisys tutorial on understanding the animation marker set.

Note that you can add extra markers to improve segment tracking in the event that some markers become obstructed from view during recording. You can also add reference markers elsewhere on the actor’s body or on external props to be tracked.
 Once your actor has been set up with the markers, you can proceed to recording an AIM trial. It’s recommended to have the actor start by standing in a T-pose, with arms stretched out to the sides. This will make it easier for you to identify the markers as you create the AIM model. Then, as the recording continues, have the actor perform a full range of motion, moving hands, feet, arms, legs, and head in circles so that each joint is clearly defined.