Capturing data
Once your processing actions are selected, you can begin recording data.
-
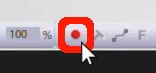
Click on the capture icon in the top toolbar of QTM or use keyboard shortcut Ctrl+M to open the capture settings window.
-
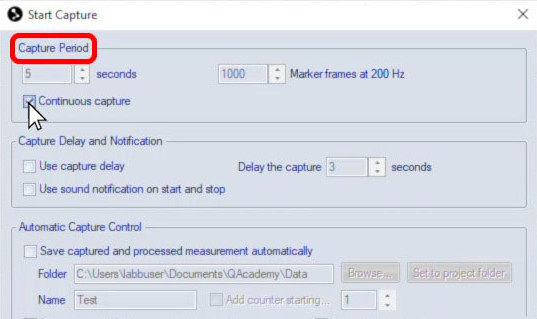
Below “Capture Period,” you can set a length of time for the measurement or enable continuous capture if you would prefer to manually stop the recording.
-
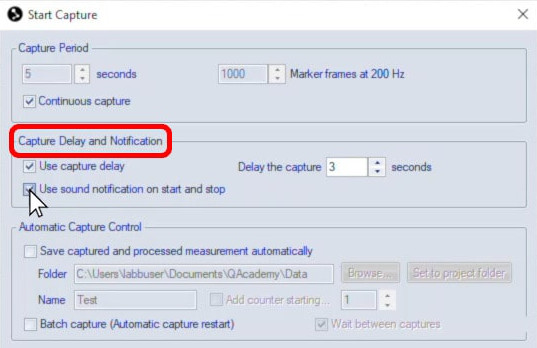
Below “Capture Delay and Notification,” you can set a delay to give you time between when the start button is clicked and when the capture begins. You can also enable a sound notification that will play when capture starts and finishes.
-
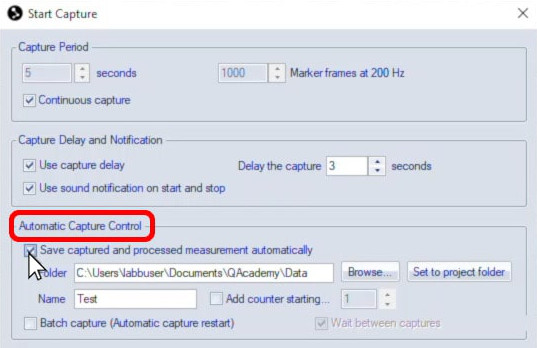
Under “Automatic Capture Control,” you can tell QTM to save the data file automatically. If this option is deselected, the file will need to be saved manually after recording.
-
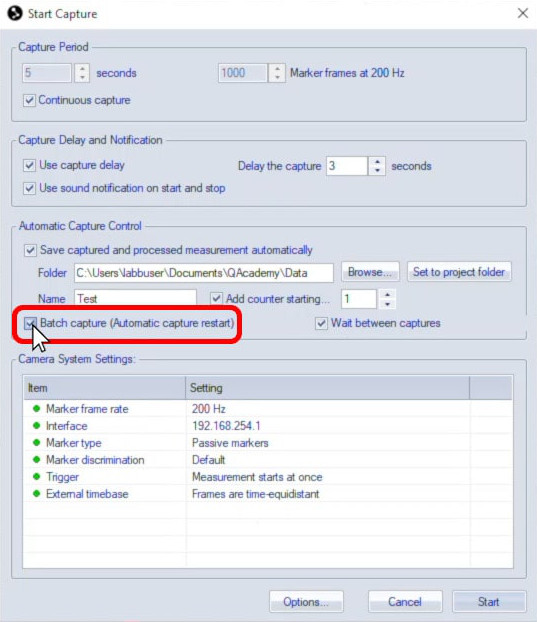
Enabling batch capture makes it easy to record multiple measurements in a row by automatically restarting at the end of a capture. Note that “Save captured and processed measurement automatically” and “Add counter” will be automatically enabled when you use batch capture.
-
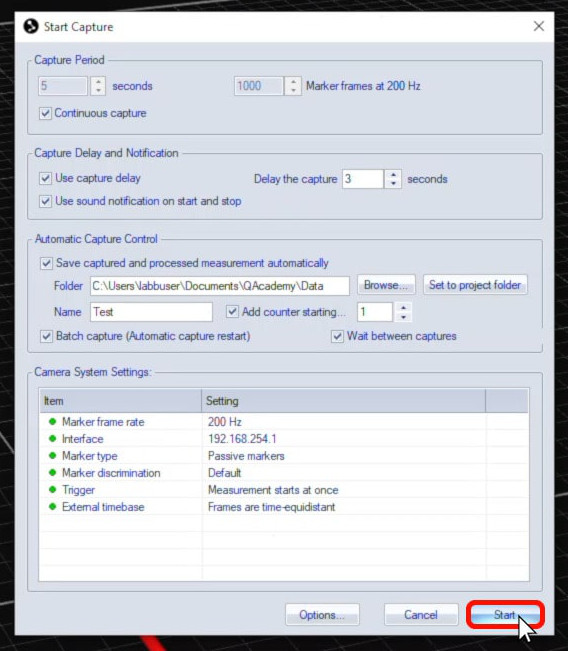
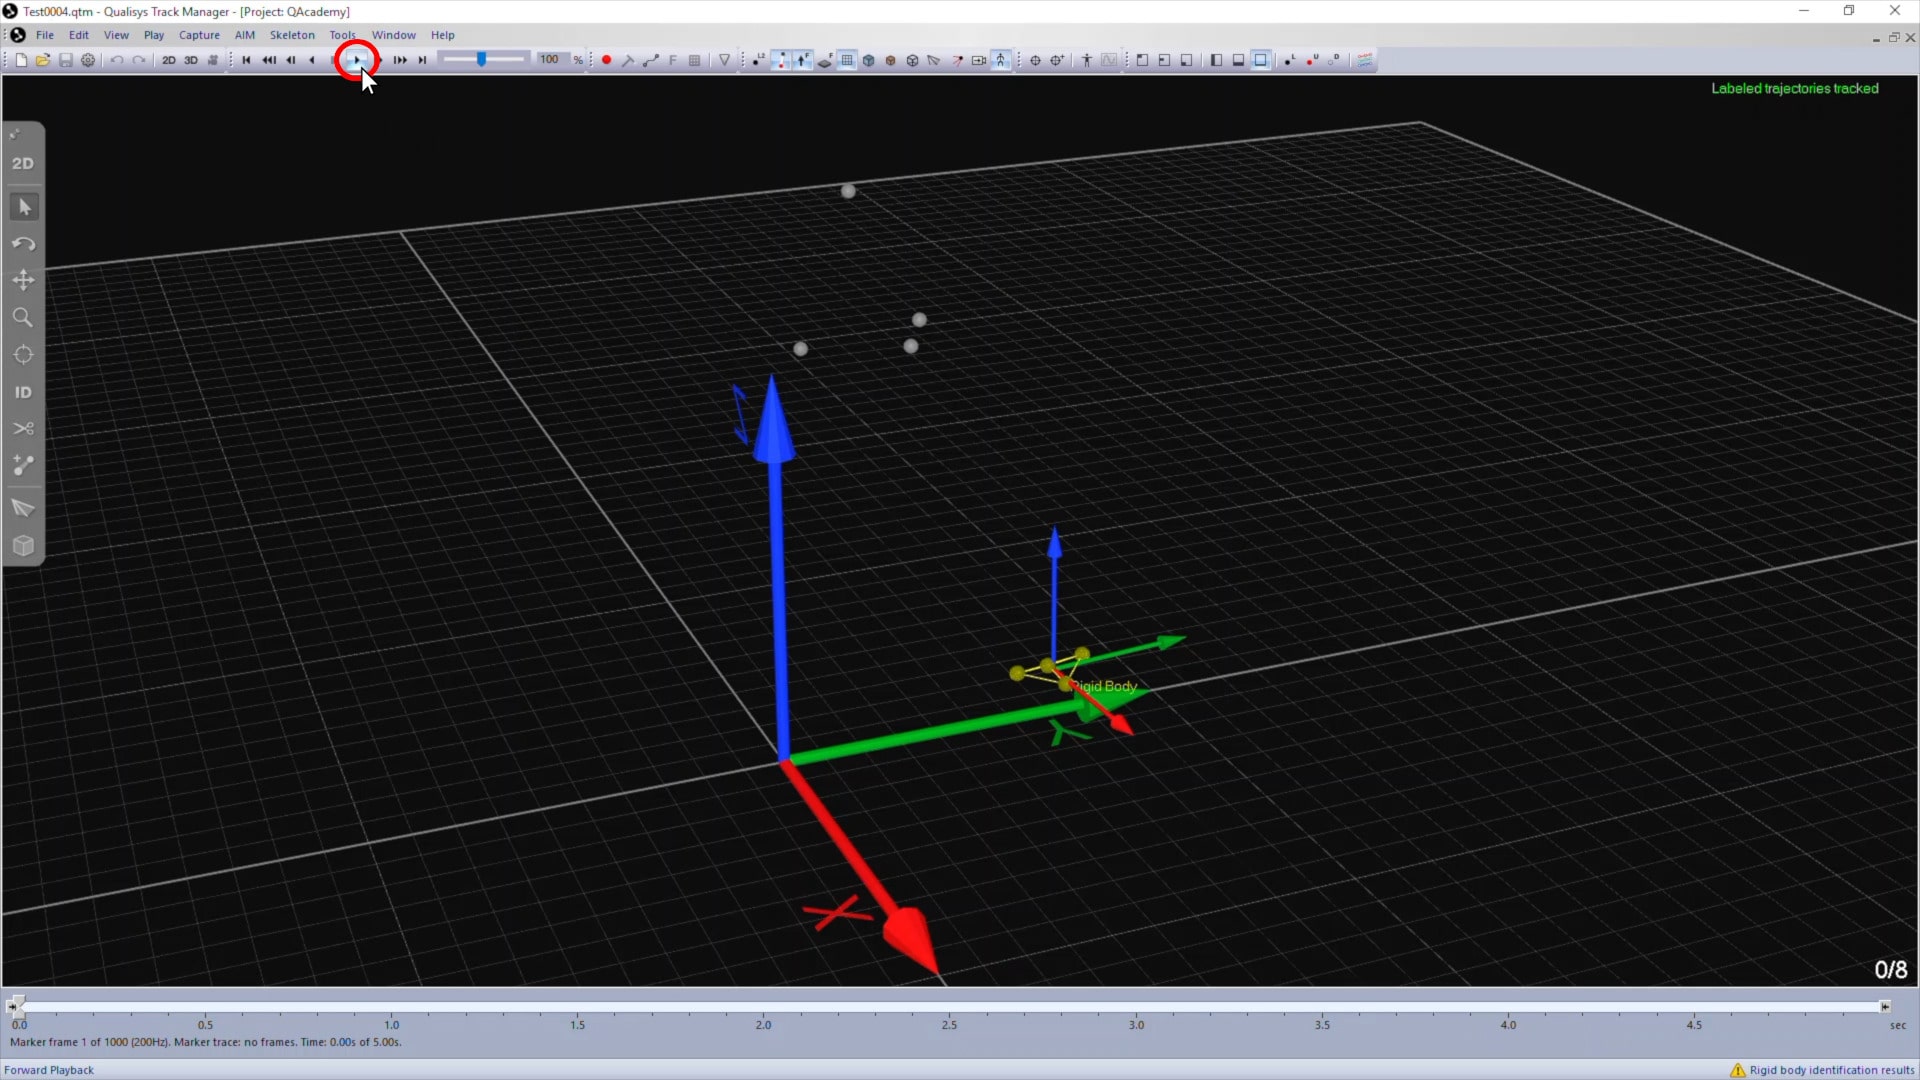
Click “Start,” and the motion capture recording will begin.
You will see a red border around the viewer while the measurement is in progress.
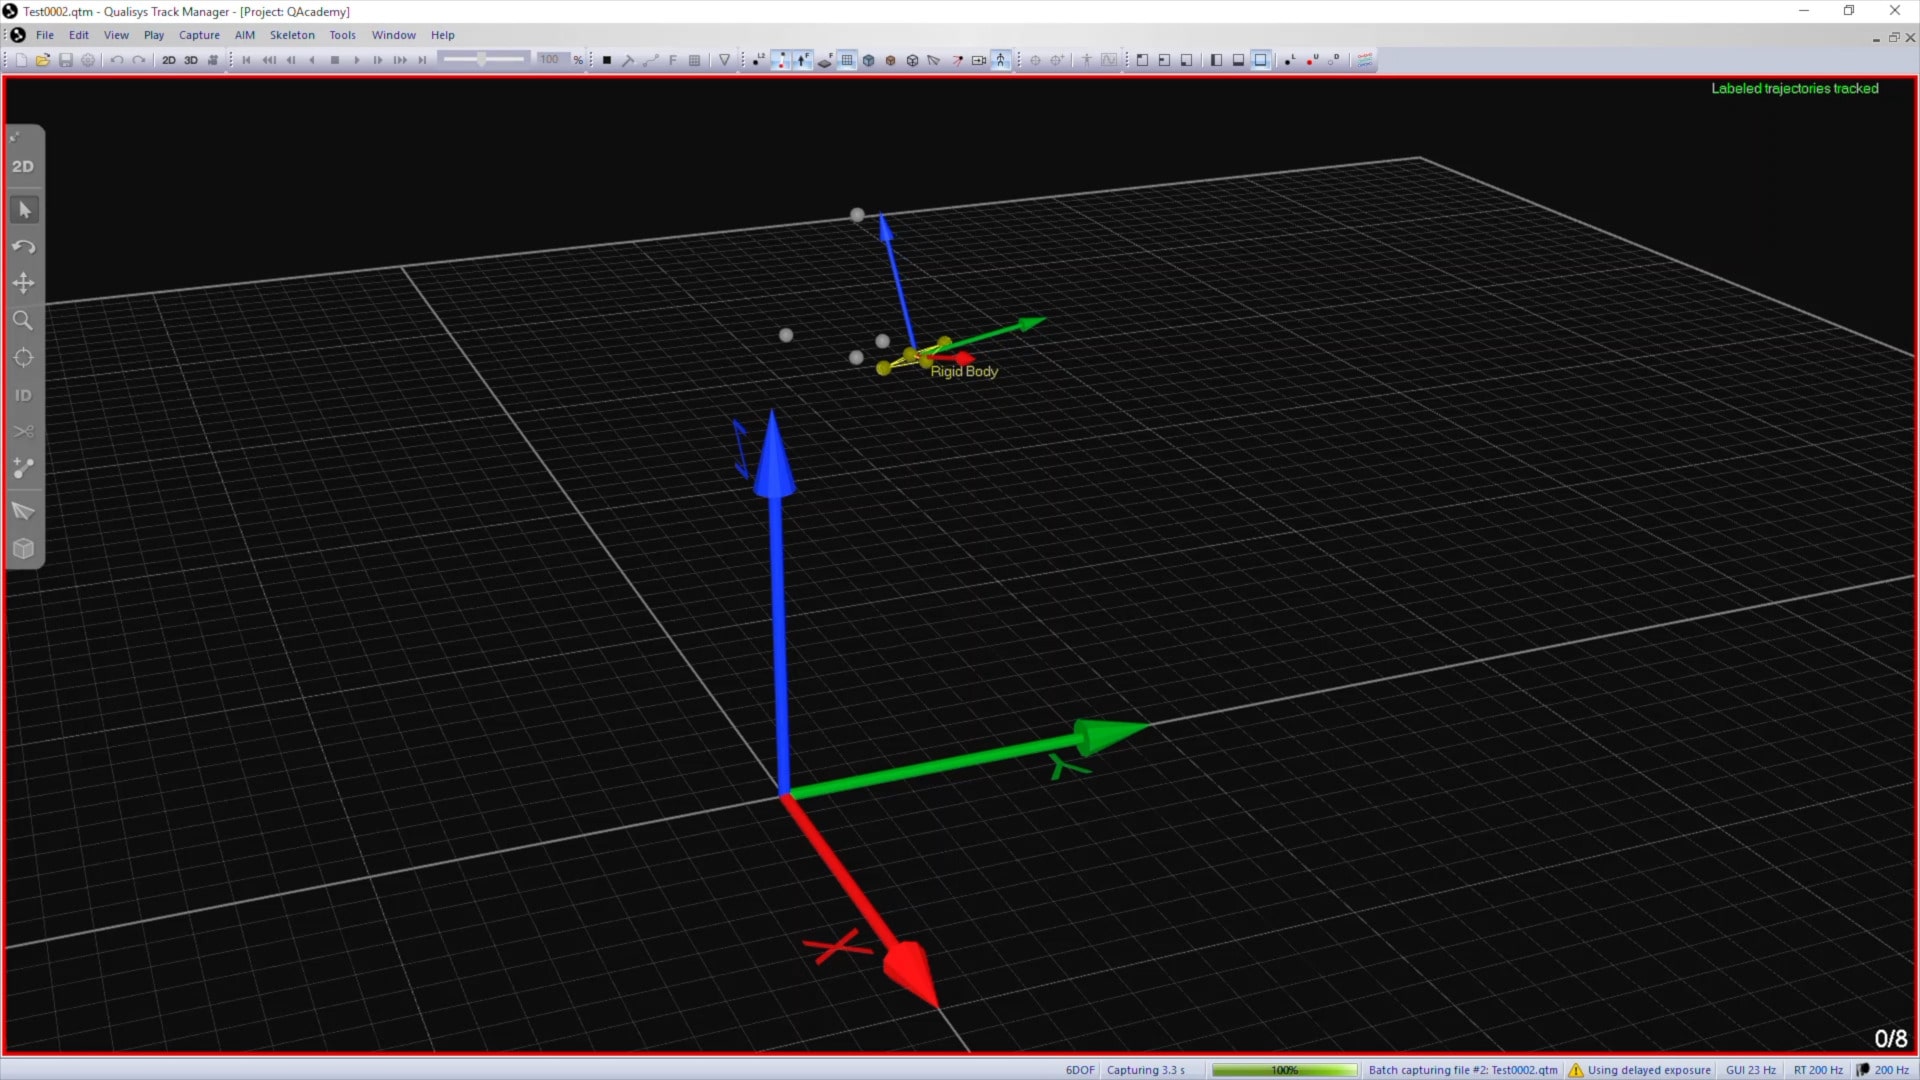
If you’ve set a capture period, the recording will stop on its own. Otherwise, you can end the capture by clicking the stop button in the toolbar or by typing the keyboard shortcut Ctrl+M.
Once the recording has finished, QTM will apply the capture processing actions and you can review your data.
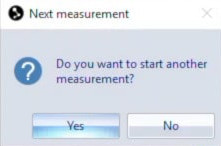
If batch capture was selected, QTM will automatically process and save the file and then prompt you to start the next measurement.