Calibration settings
For high-quality data capture, it’s important that the calibration settings be entered correctly in QTM.
-
Open Project Options by clicking the gear icon in the top toolbar or by typing keyboard shortcut Ctrl+W.

-
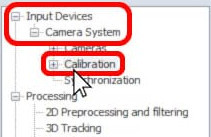
Navigate to “Input Devices” à “Camera System” à “Calibration.”
-
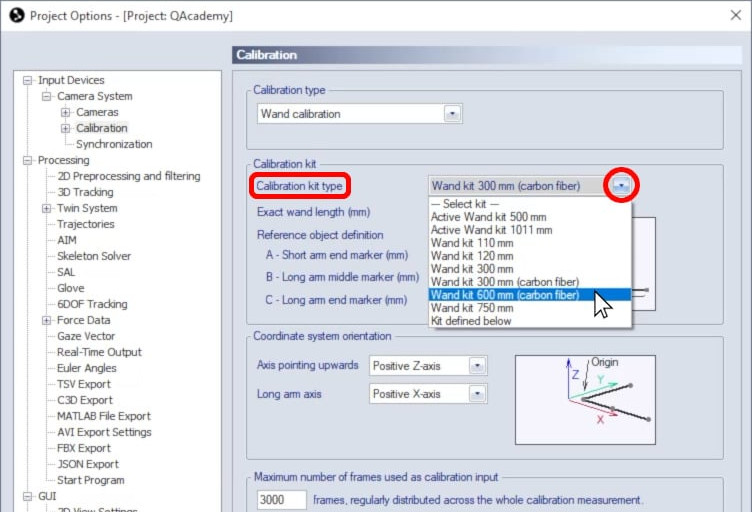
Beside “Calibration kit type,” select the calibration kit that you’ll be using.
-
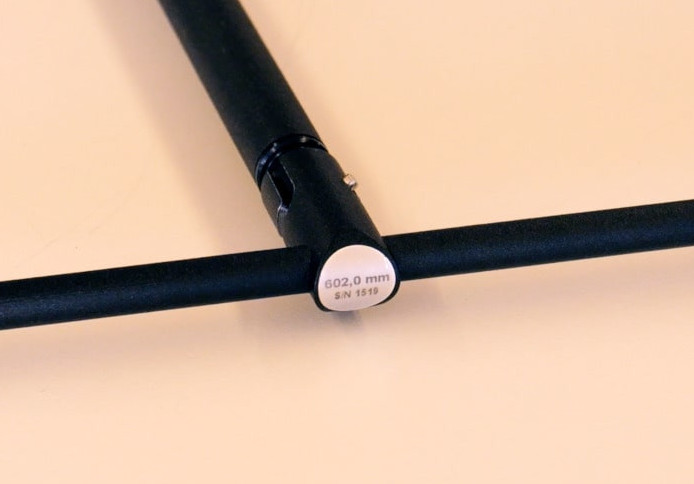
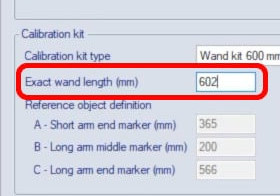
Below this, type in the exact wand length as printed on the end of your wand. This is the precise distance between the reference markers.
-
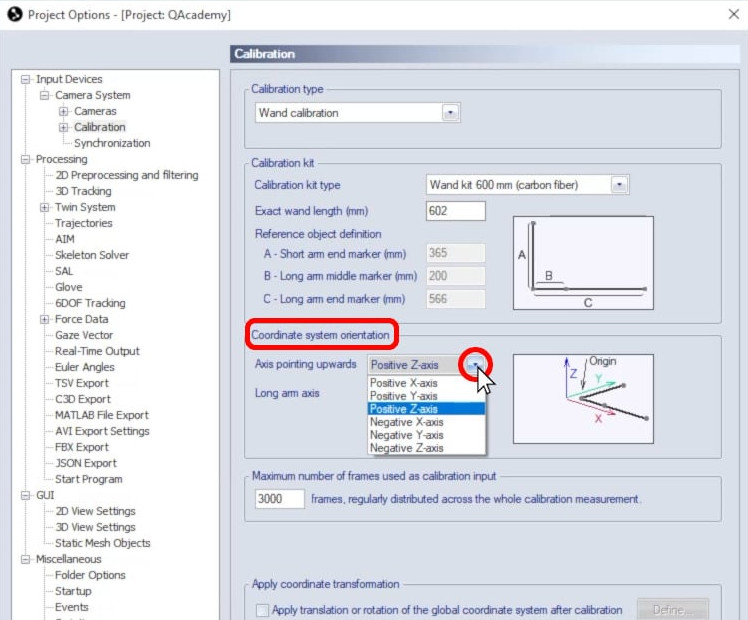
Under “Coordinate system orientation,” confirm how you want the X, Y, and Z axes to be oriented with respect to the L-frame. By default, the long side of the L-frame will define the X-axis, while the shorter side will define the Y-axis.
-
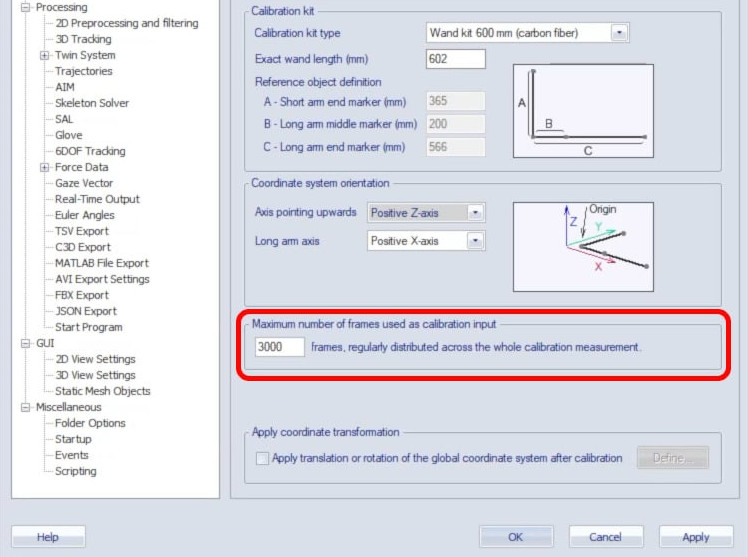
If you have an especially large recording volume, you may want to increase the maximum number of frames used as calibration input.
-
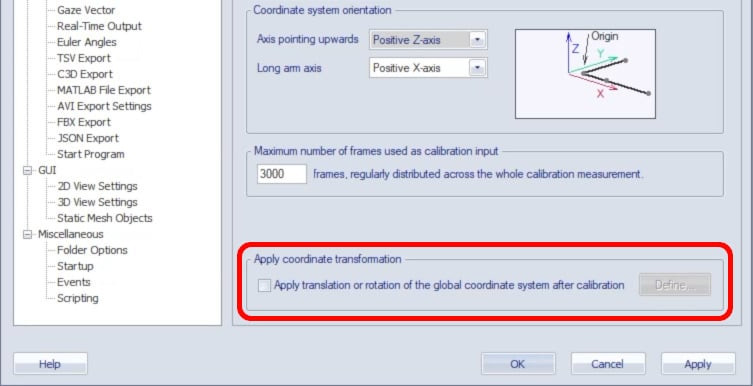
Below “Apply coordinate transformation,” you can translate and rotate the coordinate system set during calibration to any desired position and orientation.
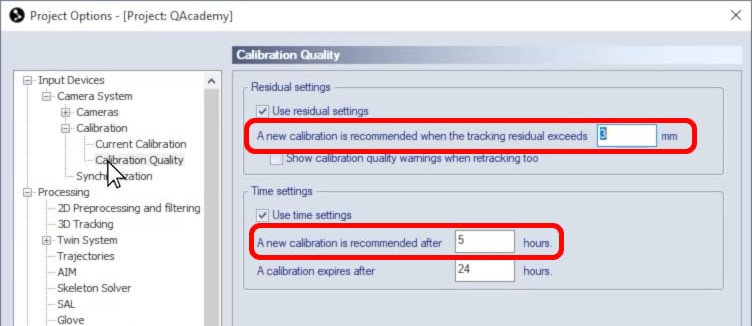
If you navigate to “Calibration” à “Calibration Quality,” you can adjust when QTM will recommend a new calibration.
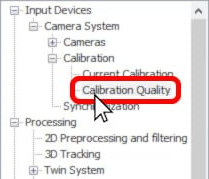
For example, you can be reminded to calibrate when the tracking residual exceeds a certain number of millimeters or after a set number of hours.
The calibration symbol in the QTM status bar will display yellow when a new calibration is recommended and turn red when the current calibration has expired.

|

|
Once your settings are chosen, click “OK” to save them and to close Project Options.
