Calibrating with a wand
Now that the correct wand size is set in Project Options and the L-frame is in position, you can begin the calibration in QTM.
-
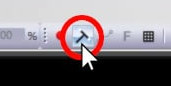
Click on the Calibration icon in the top toolbar to open the start dialog.
-
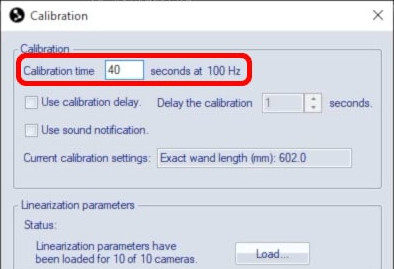
Beside “Calibration time,” set the number of seconds for calibration. The time should be long enough that you can move the wand throughout the entire recording volume. An average volume can be covered easily in less than a minute, but you can increase the time without any negative effect on the calibration.
-
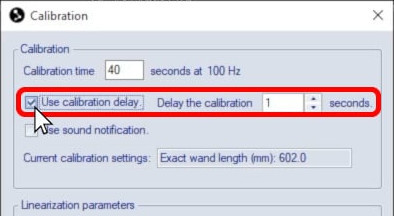
Setting a delay will give you a countdown to get into position before the calibration starts.
-
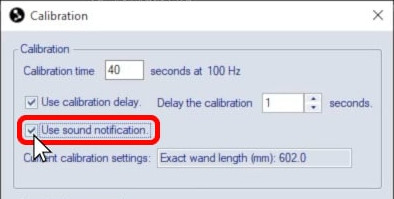
Enable a sound notification to hear a tone when the calibration begins and ends.
-
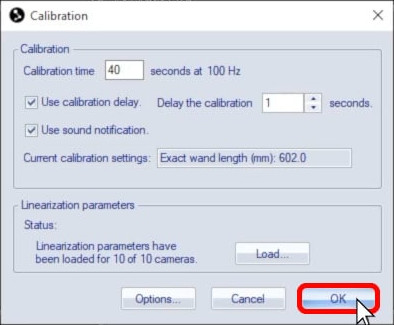
Click “OK” to begin the calibration or to start the countdown.
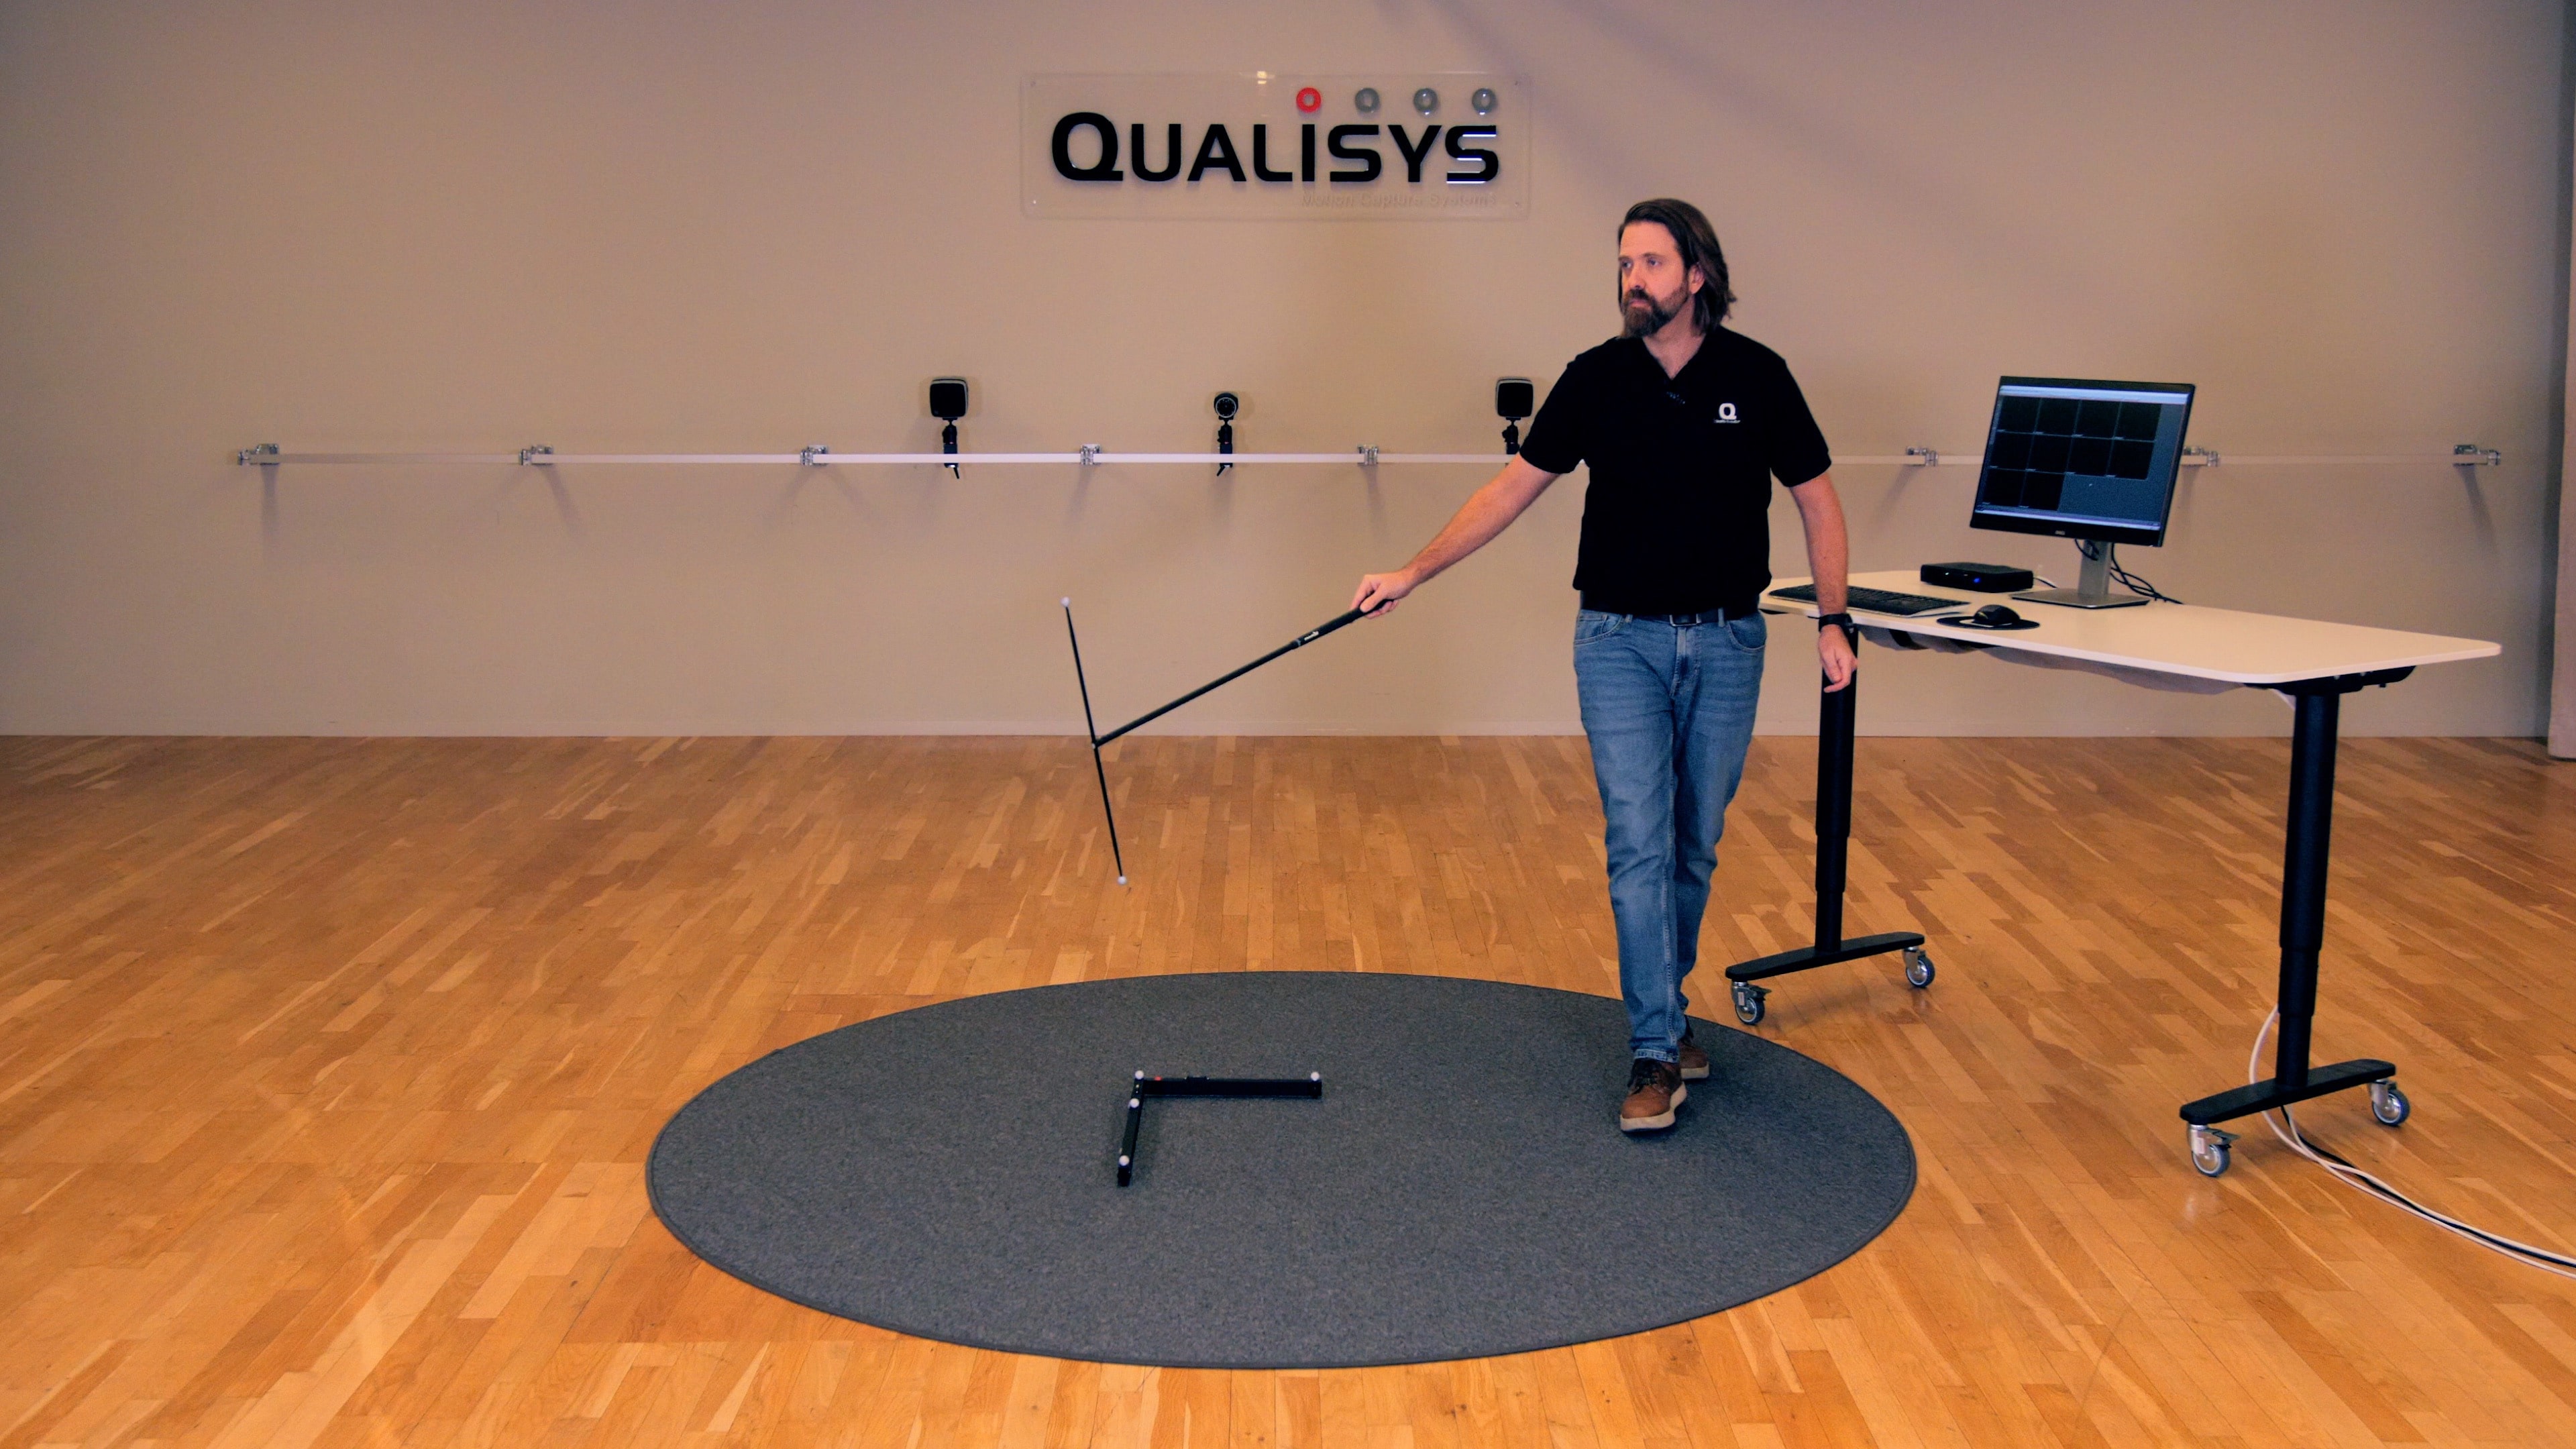
To calibrate, hold the wand by its handle and wave it smoothly throughout the volume.
-
You should move continuously during calibration and make sure that you are not blocking any of the cameras for long.
-
Move the wand in a variety of directions and angles without twirling it.
-
Remember to get the wand near the bottom, top, and sides of the space to be recorded.
-
Keep in mind that if you are using exposure delay groups, you will need to move more slowly during calibration.
-
Be careful not to bump the wand on anything, as this may affect the calibration results.
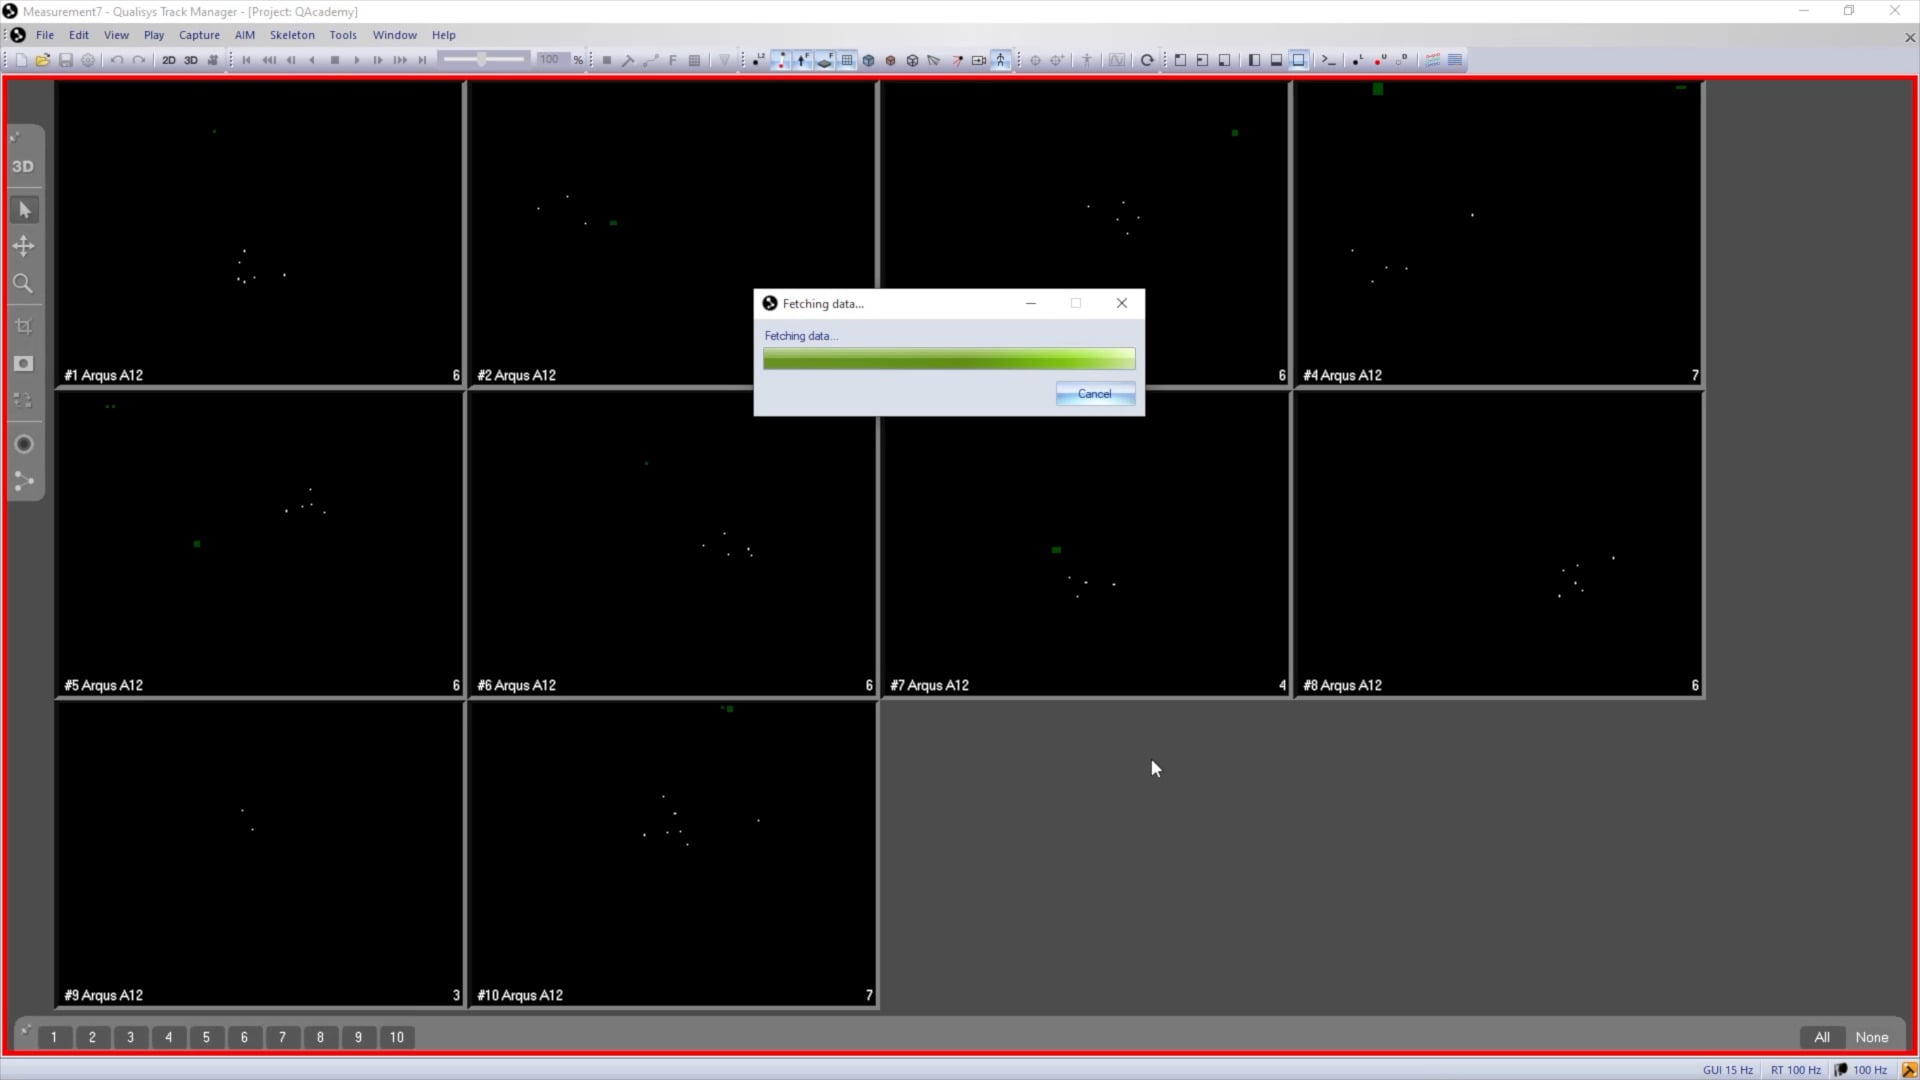
The calibration will end automatically after the set time.