Viewing the cameras in QTM
As long as your camera system is connected to the computer and powered on, you can view and control the cameras through QTM.
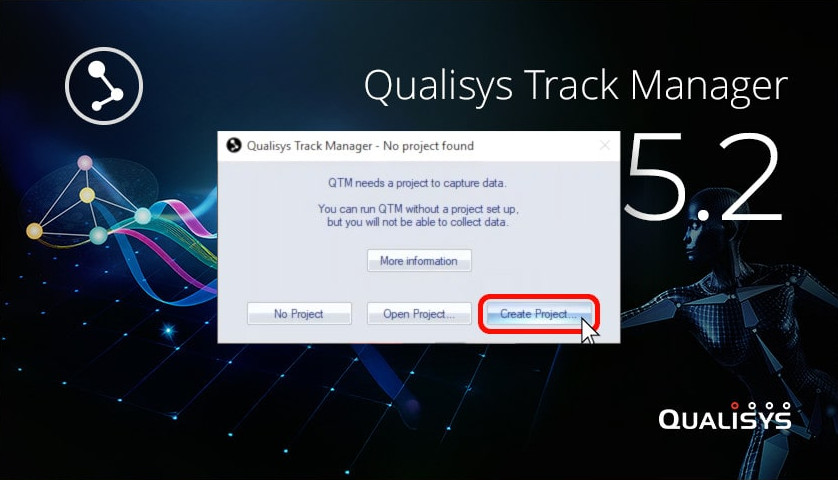
The first step after opening QTM is to create a project, which is the folder where your settings and data will be stored.
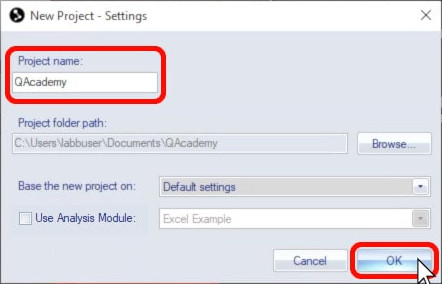
Name your project and click “OK.”
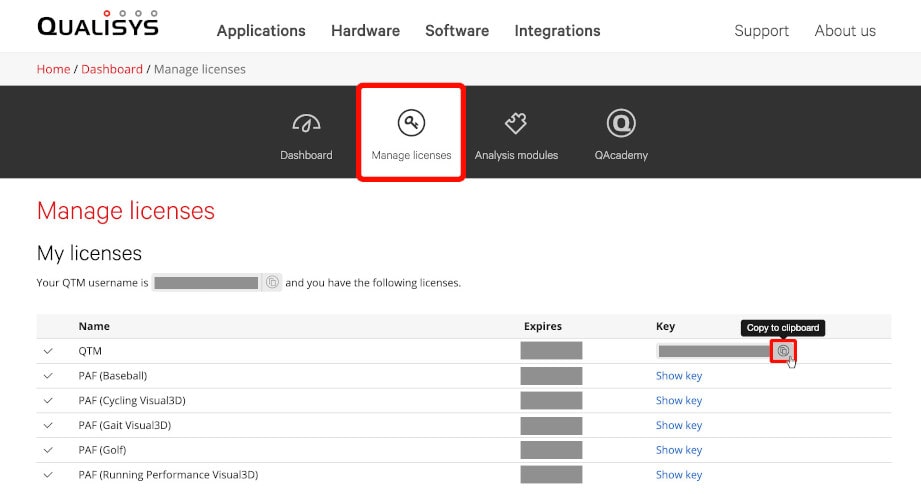
The first time you run QTM, you will be prompted to enter your user name and license key.
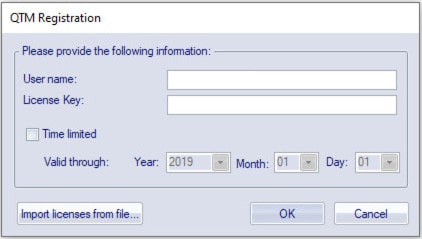
You can find these under “Manage licenses” in your Qualisys.com dashboard. Click the icon next to the license to copy it to your clipboard so that you can easily paste it into the registration window.
Once you have submitted your registration details, you can proceed to locating your camera system:
-
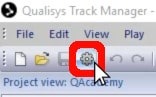
Open Project Options by clicking the gear icon near the top left of your screen or by typing the keyboard shortcut Ctrl+W.
-
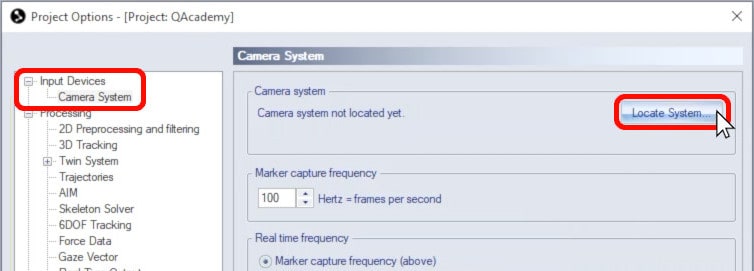
Navigate to “Input Devices” à “Camera System” and click “Locate System.”
-
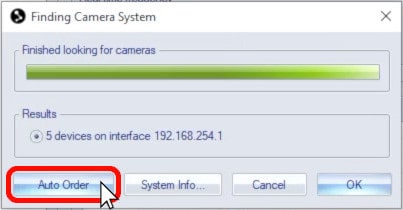
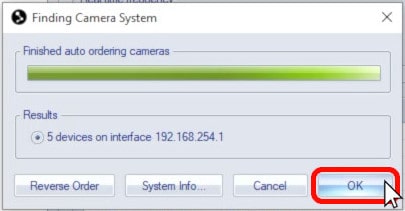
Once QTM has located your camera system, click “Auto-Order” to number the cameras according to their sequence in the daisy chain.
-
Click “OK” to accept the settings and then “OK” again to close Project Options.
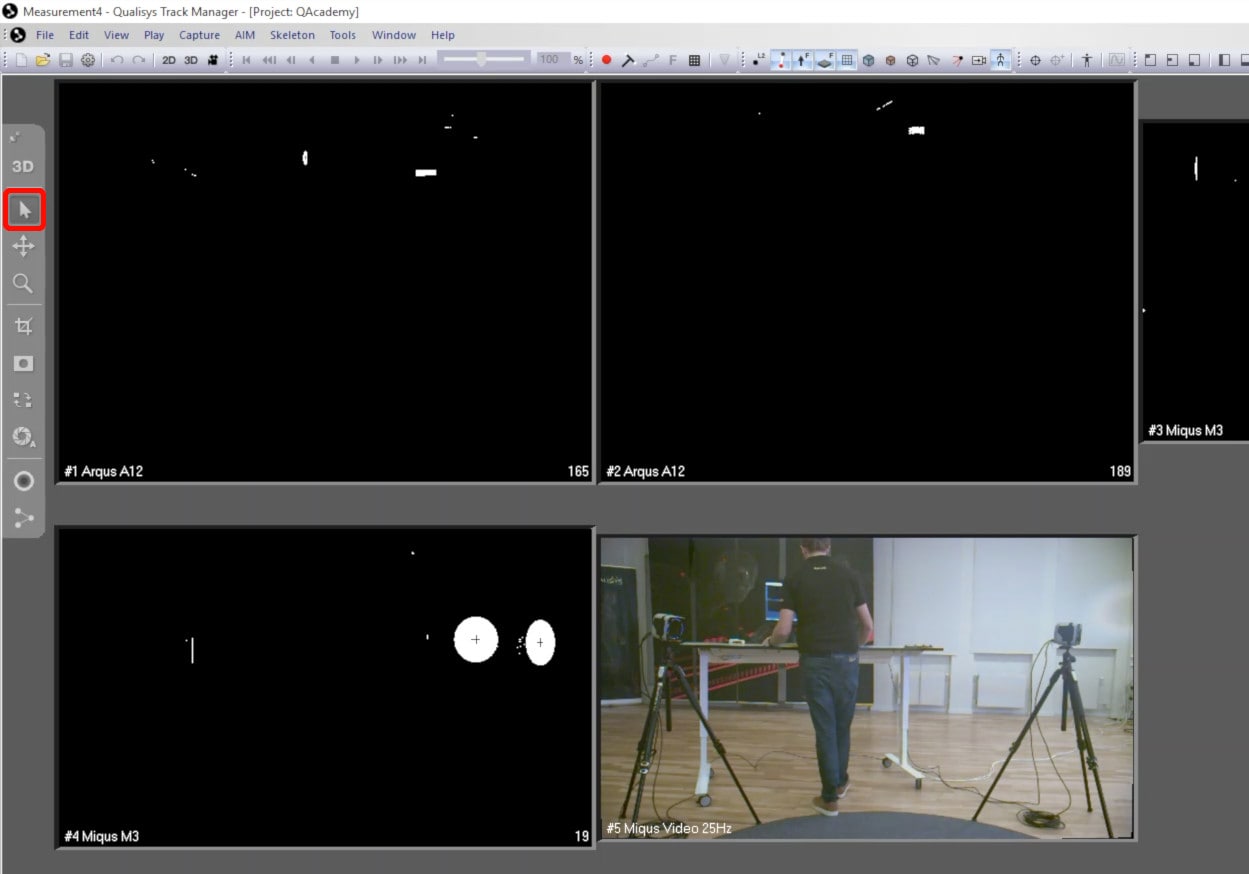
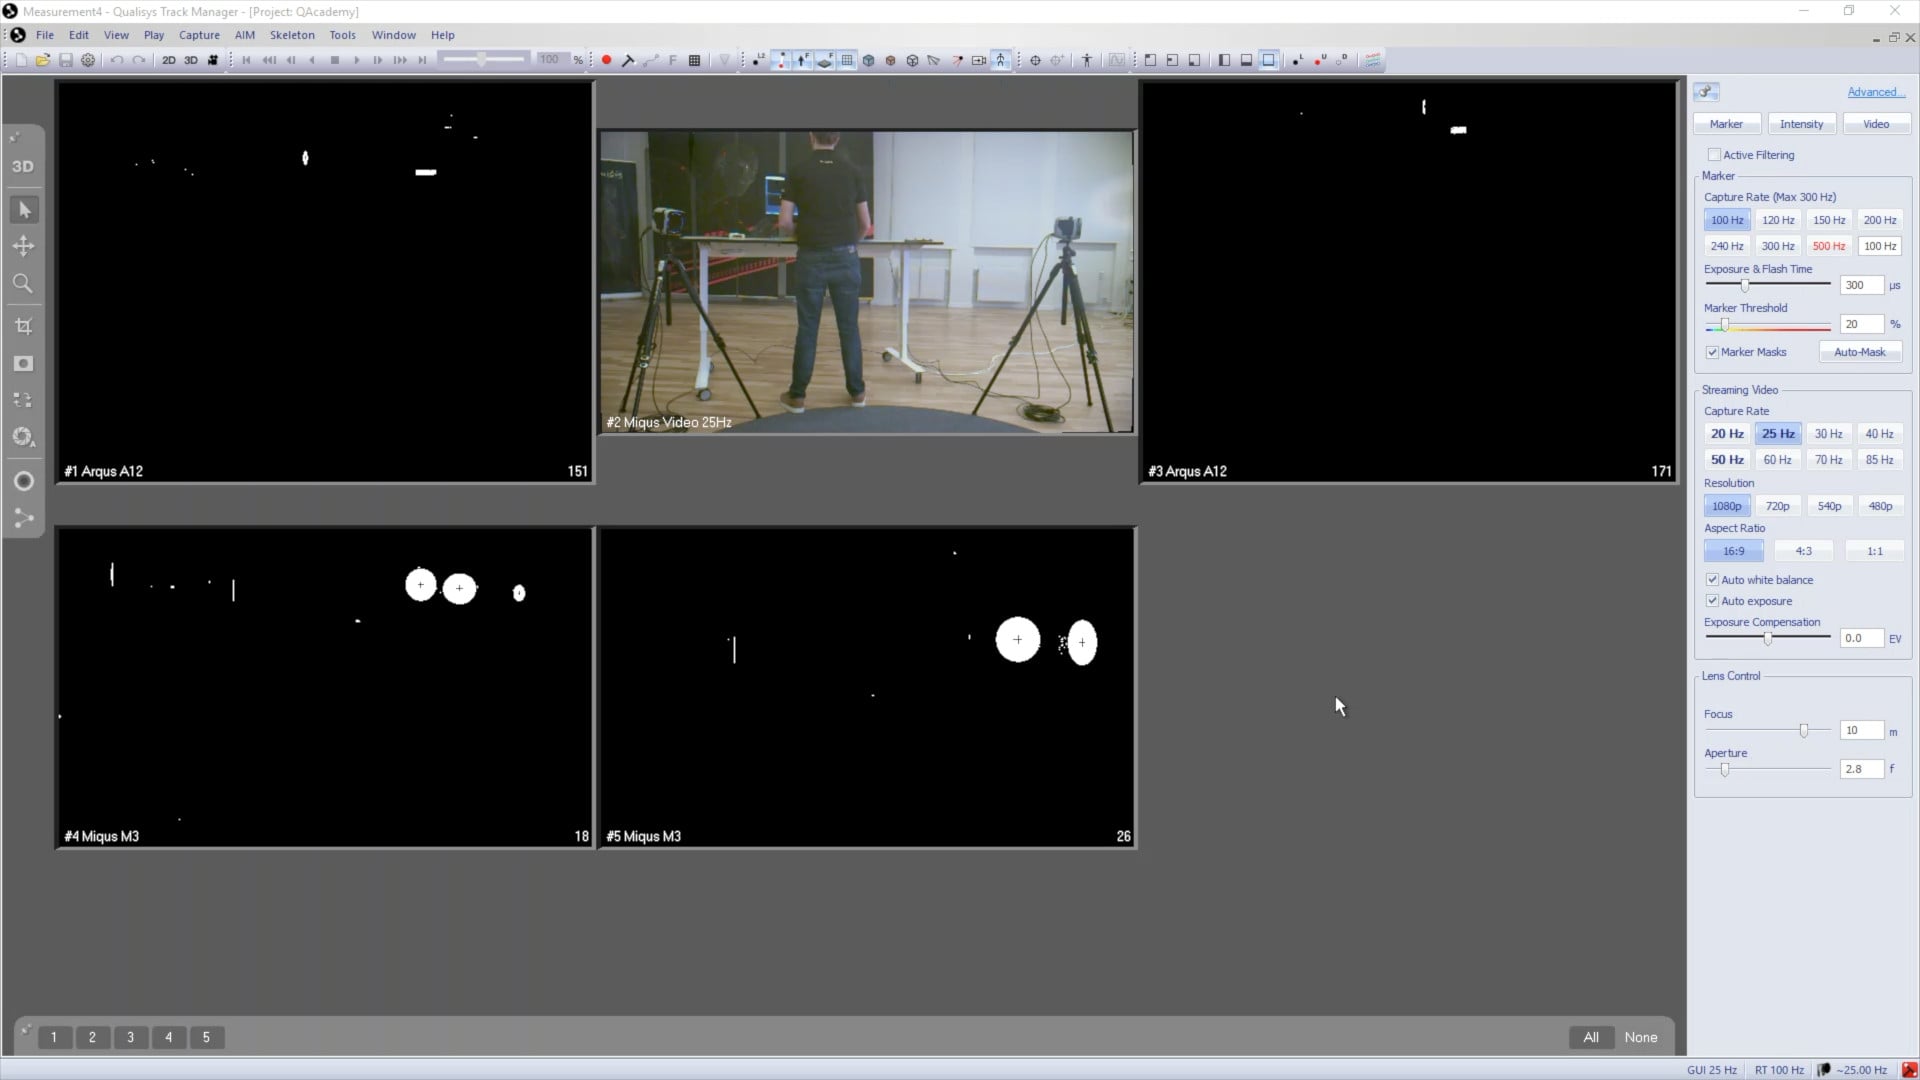
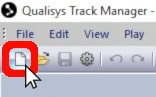 Now you can view the cameras in live preview mode by clicking on the blank paper icon or by typing the keyboard shortcut Ctrl+N. QTM will briefly synchronize with the cameras and then display the camera feeds in 2D mode.
If you need to number the cameras in a different order than the one set by the Auto Order feature, you can rearrange them using the Reorder icon.
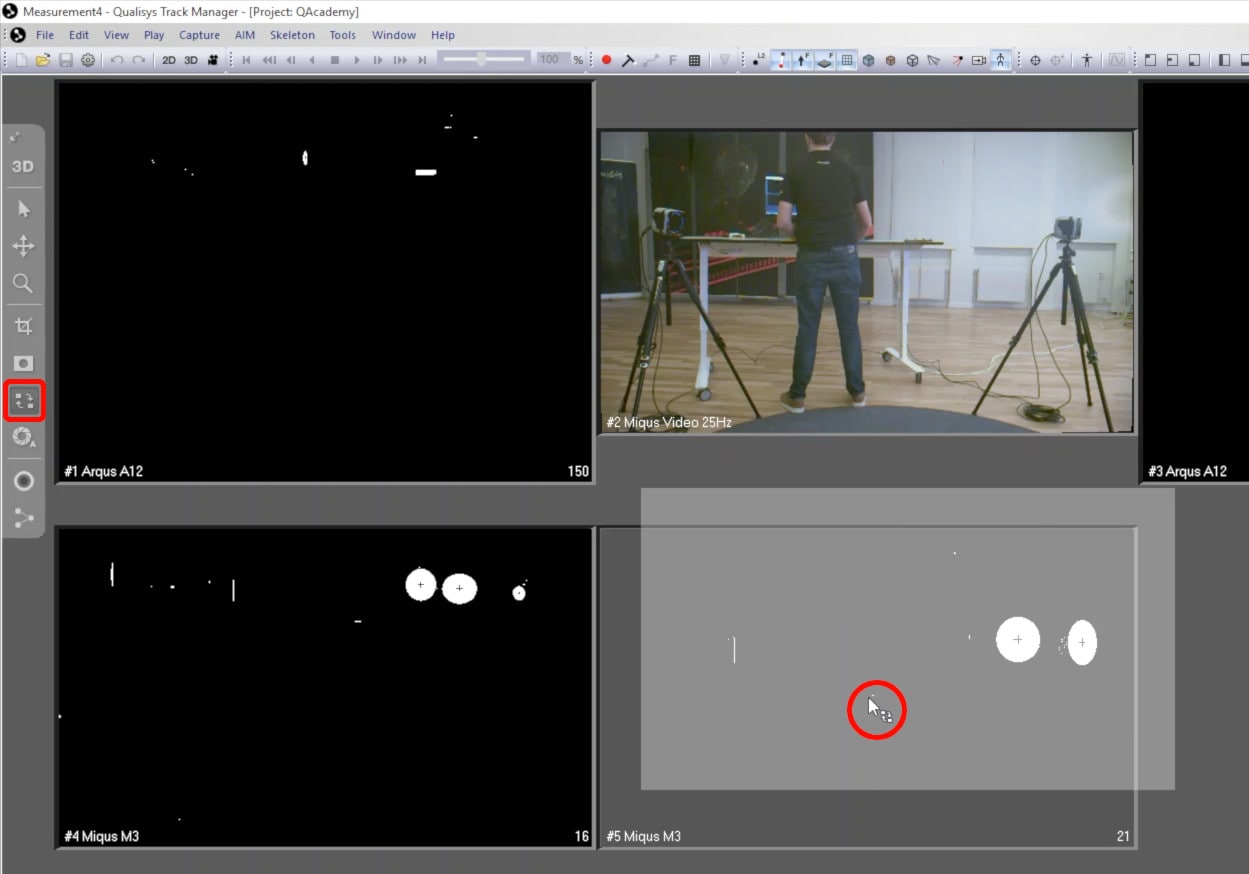
To exit Reorder mode, click the Selection icon.