Pointing the cameras
The next step is to adjust the angles of your camera to ensure that they have the best possible view of the recording volume.
Outlining the perimeter
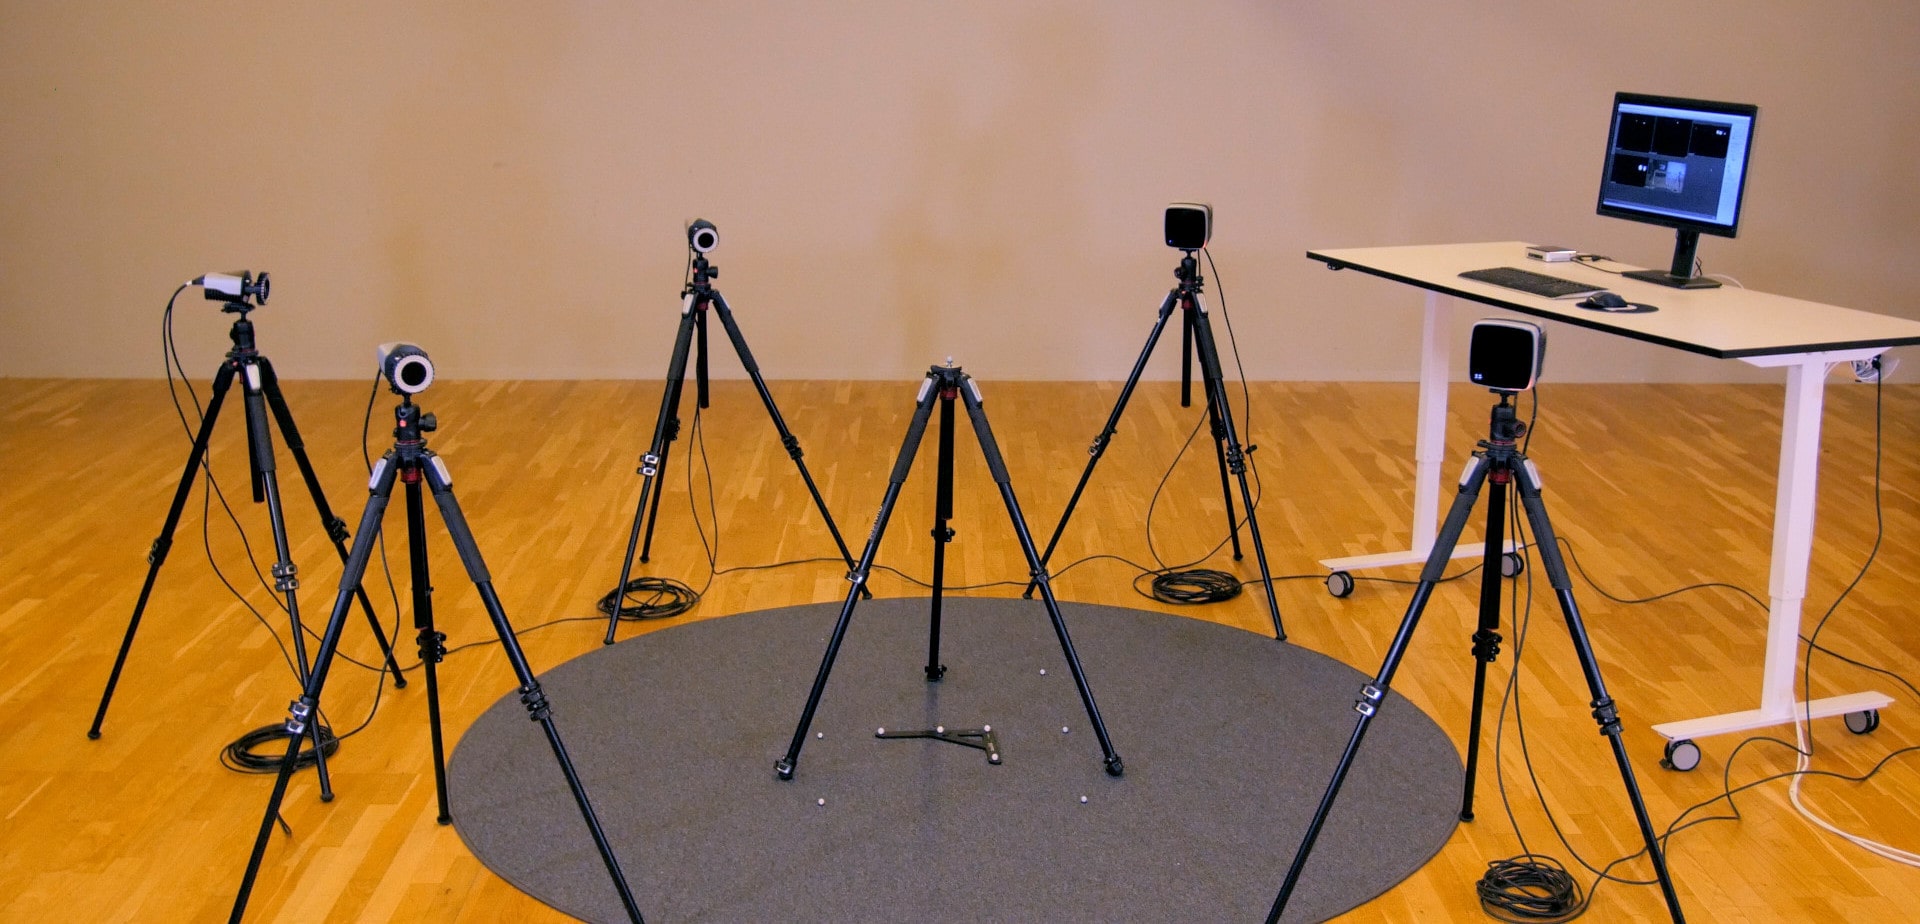
Start by placing markers around the perimeter of the volume for reference as you point the cameras. Don’t worry about placing the markers precisely; they are simply a reference for where to point the cameras, and they will be removed before motion capture begins. Place your L-frame on the floor in the middle of the volume as well.
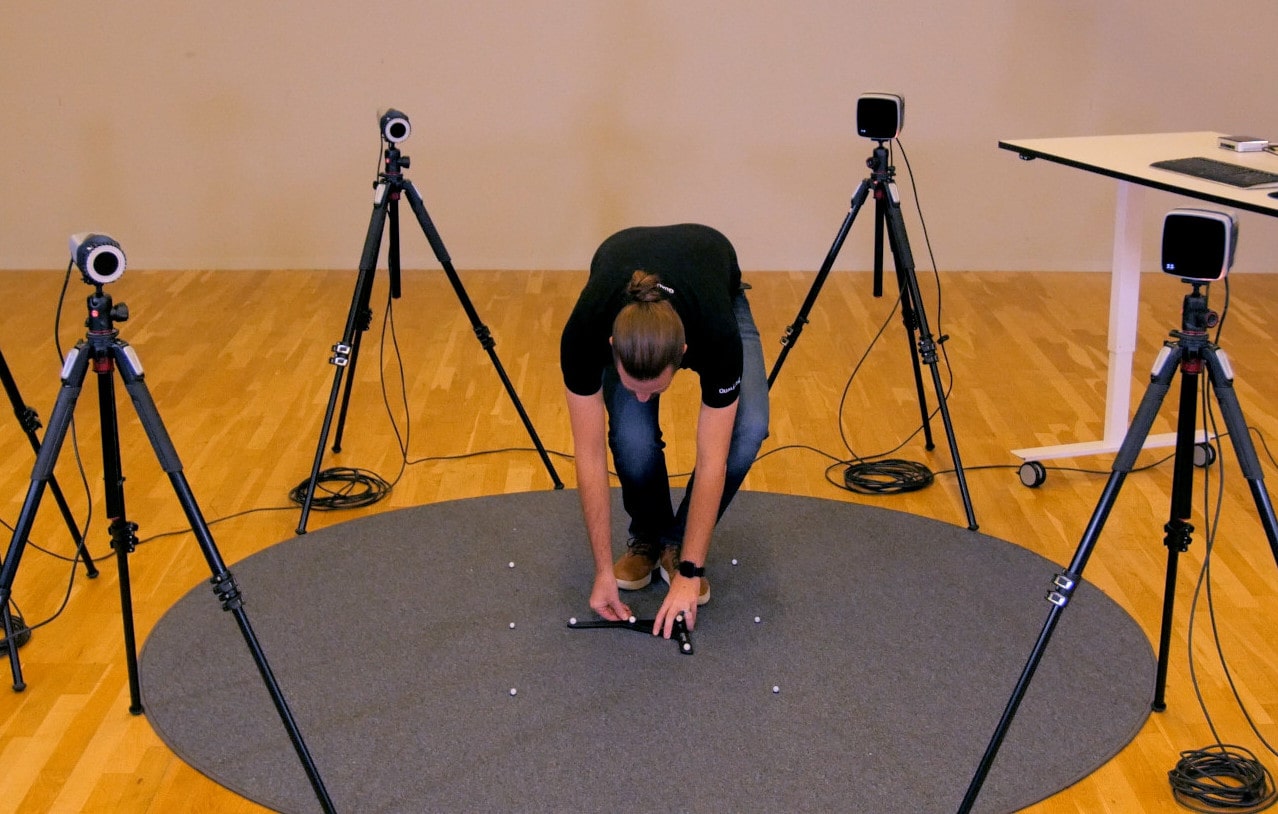
Place a final reference marker on top of a tall object like a tripod or have an assistant hold it up at the highest point of interest in the middle of the volume.
Positioning the cameras
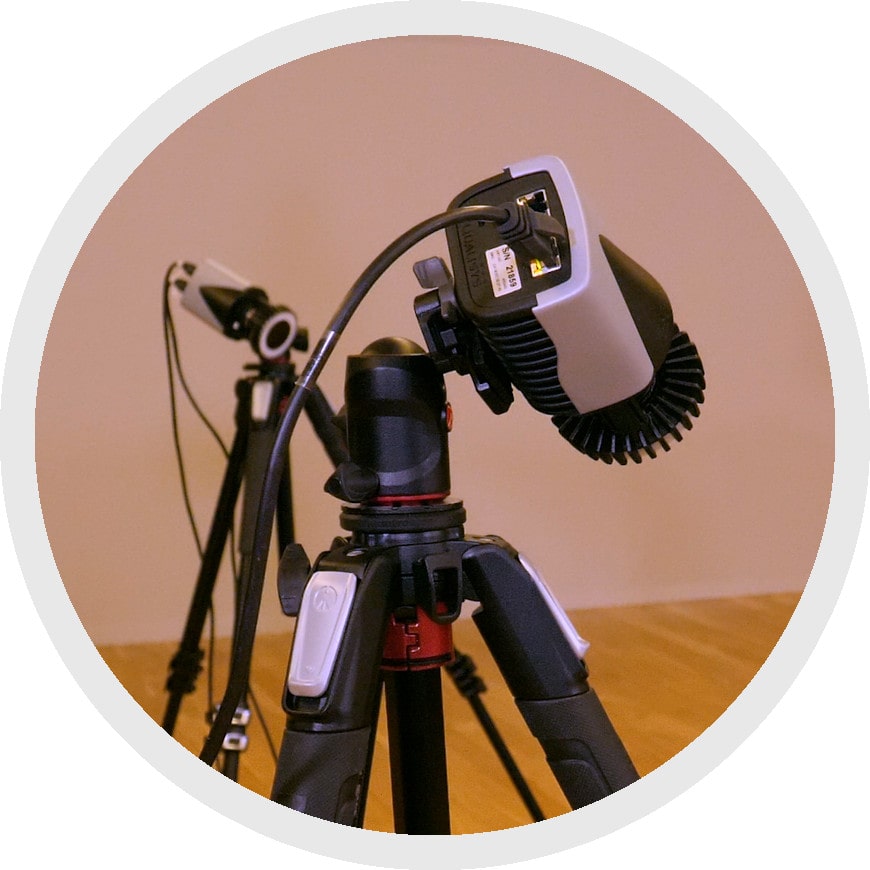 While pointing the cameras, refer to QTM to make sure that they can see as many of the reference markers as possible. When in doubt, prioritize the central markers and those located closest to the camera. It does not matter how the cameras are oriented; they can be upside-down or sideways without affecting the results.
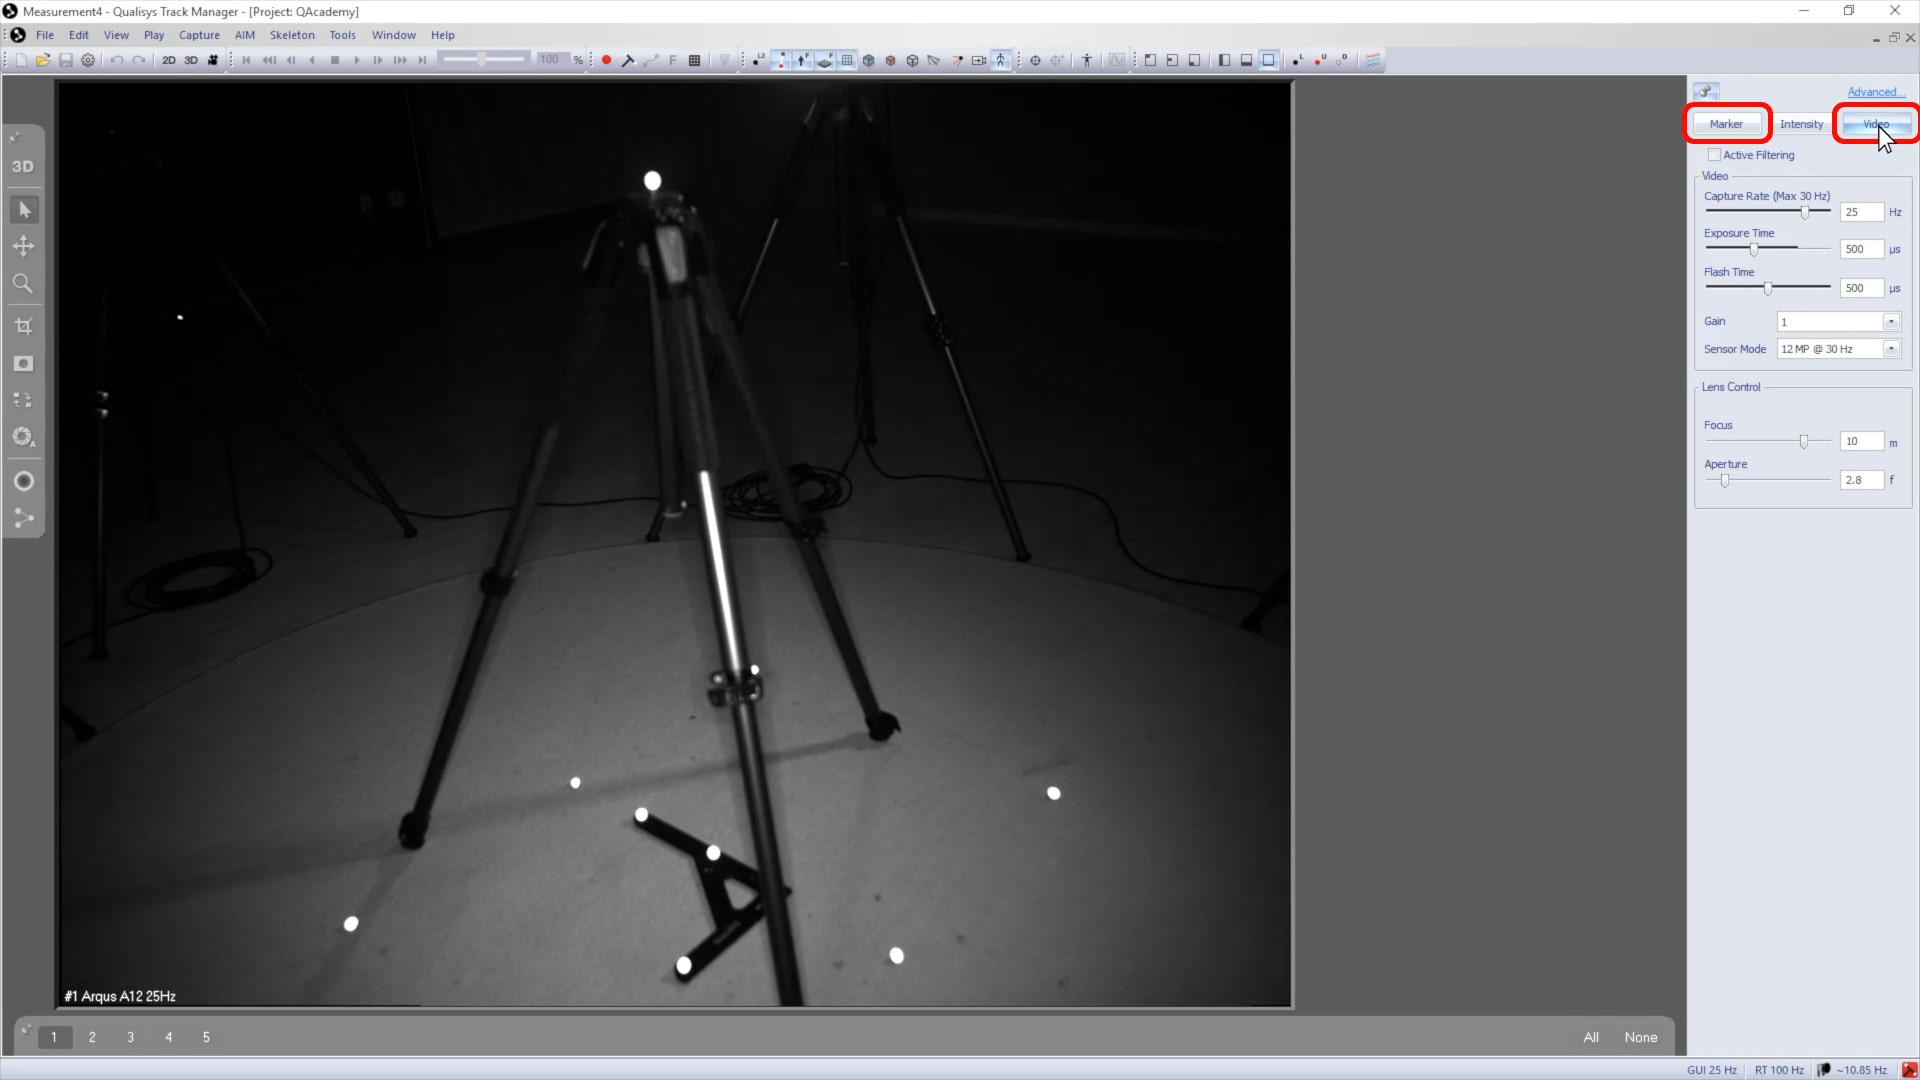
Double-click on a camera frame in QTM to enlarge it, and use the arrow keys on your keyboard to switch between cameras as you point them. You can also use the buttons in the right pane to switch between viewing the cameras in marker mode, which displays the markers as white dots, or in video mode, which shows the live video feed.