Filling gaps
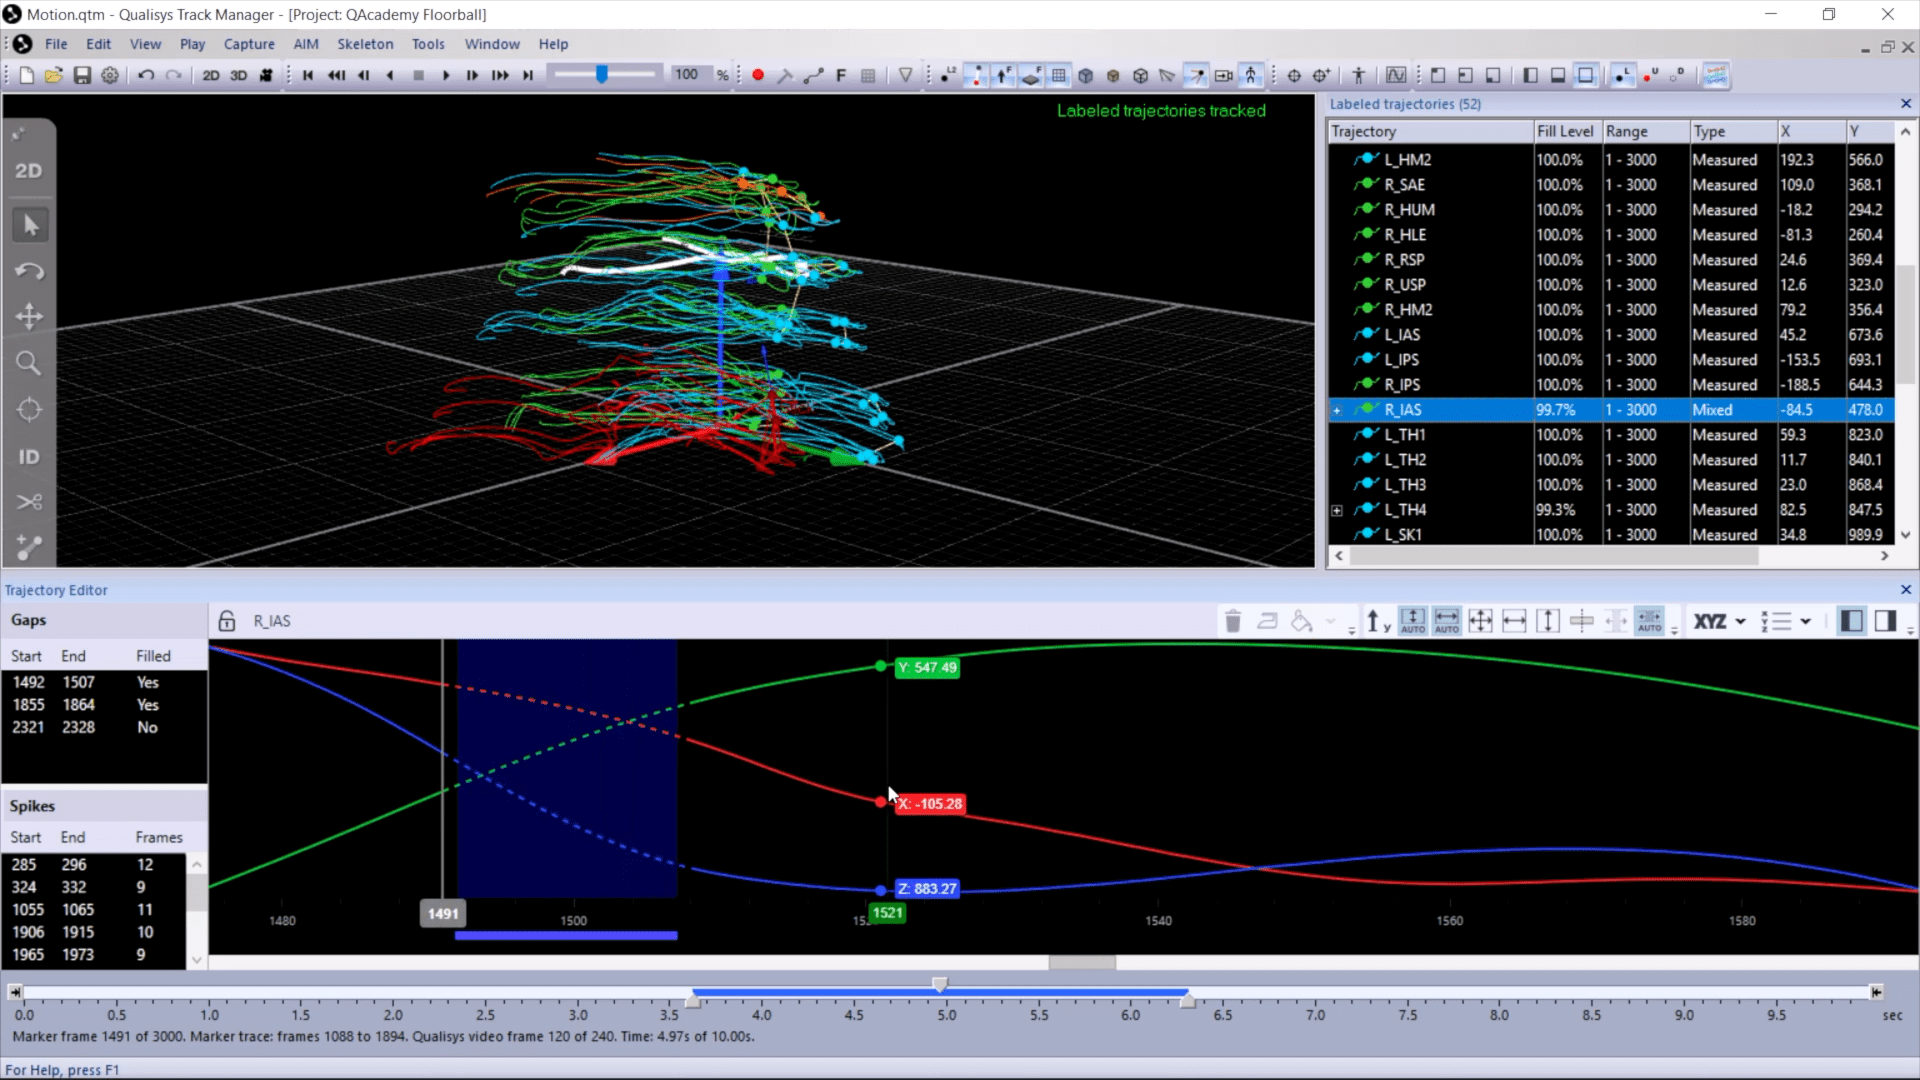
Gaps can easily be filled in the trajectory editor. When a gap or range of gaps is selected in the editor, simply press the Fill icon or use keyboard shortcut F.
![]()
All of the selected gaps will be filled using the fill type specified in the settings sidebar, which will be covered in the following section. The filled sections will now be displayed in the plot area in blue, with the corresponding data shown as dashed lines. If traces are enabled in the 3D viewer, you will see the filled sections shown as dashed lines there as well.
In the trajectory info pane, you will see the filled parts listed as “Gap-filled” or as “Virtual,” depending on the fill type used.

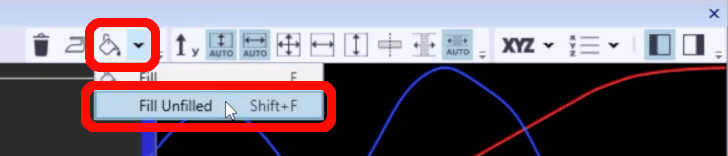
Gaps can be filled more than once and with different fill types. If you want only the unfilled gaps in your selection to be filled, click the dropdown arrow beside the Fill icon and select “Fill Unfilled,” or use the keyboard shortcut Shift+F.
Note that there is sometimes a spike in the trajectory just before or after a gap. You will see spikes indicated with a red bar in the plot area. Deleting these spikes beforehand can improve the gap-filling, especially if using a fill type that relies on the surrounding data. Simply right-click on a selected spike or range of spikes, and click “Delete Spikes,” or use the keyboard shortcut Alt+Del.

After filling gaps in a rigid body or a skeleton, keep in mind that you will need to reprocess the data to apply your changes.