Setting up an actor’s skeleton
To track an actor for animation, their unique skeleton will need to be defined in QTM. It is recommended to repeat this process before each recording session rather than reusing previous skeleton calibrations. This ensures the most precise recognition of the markers in their current arrangement.
Start by recording the actor standing in the T-pose and performing a full range of motion.
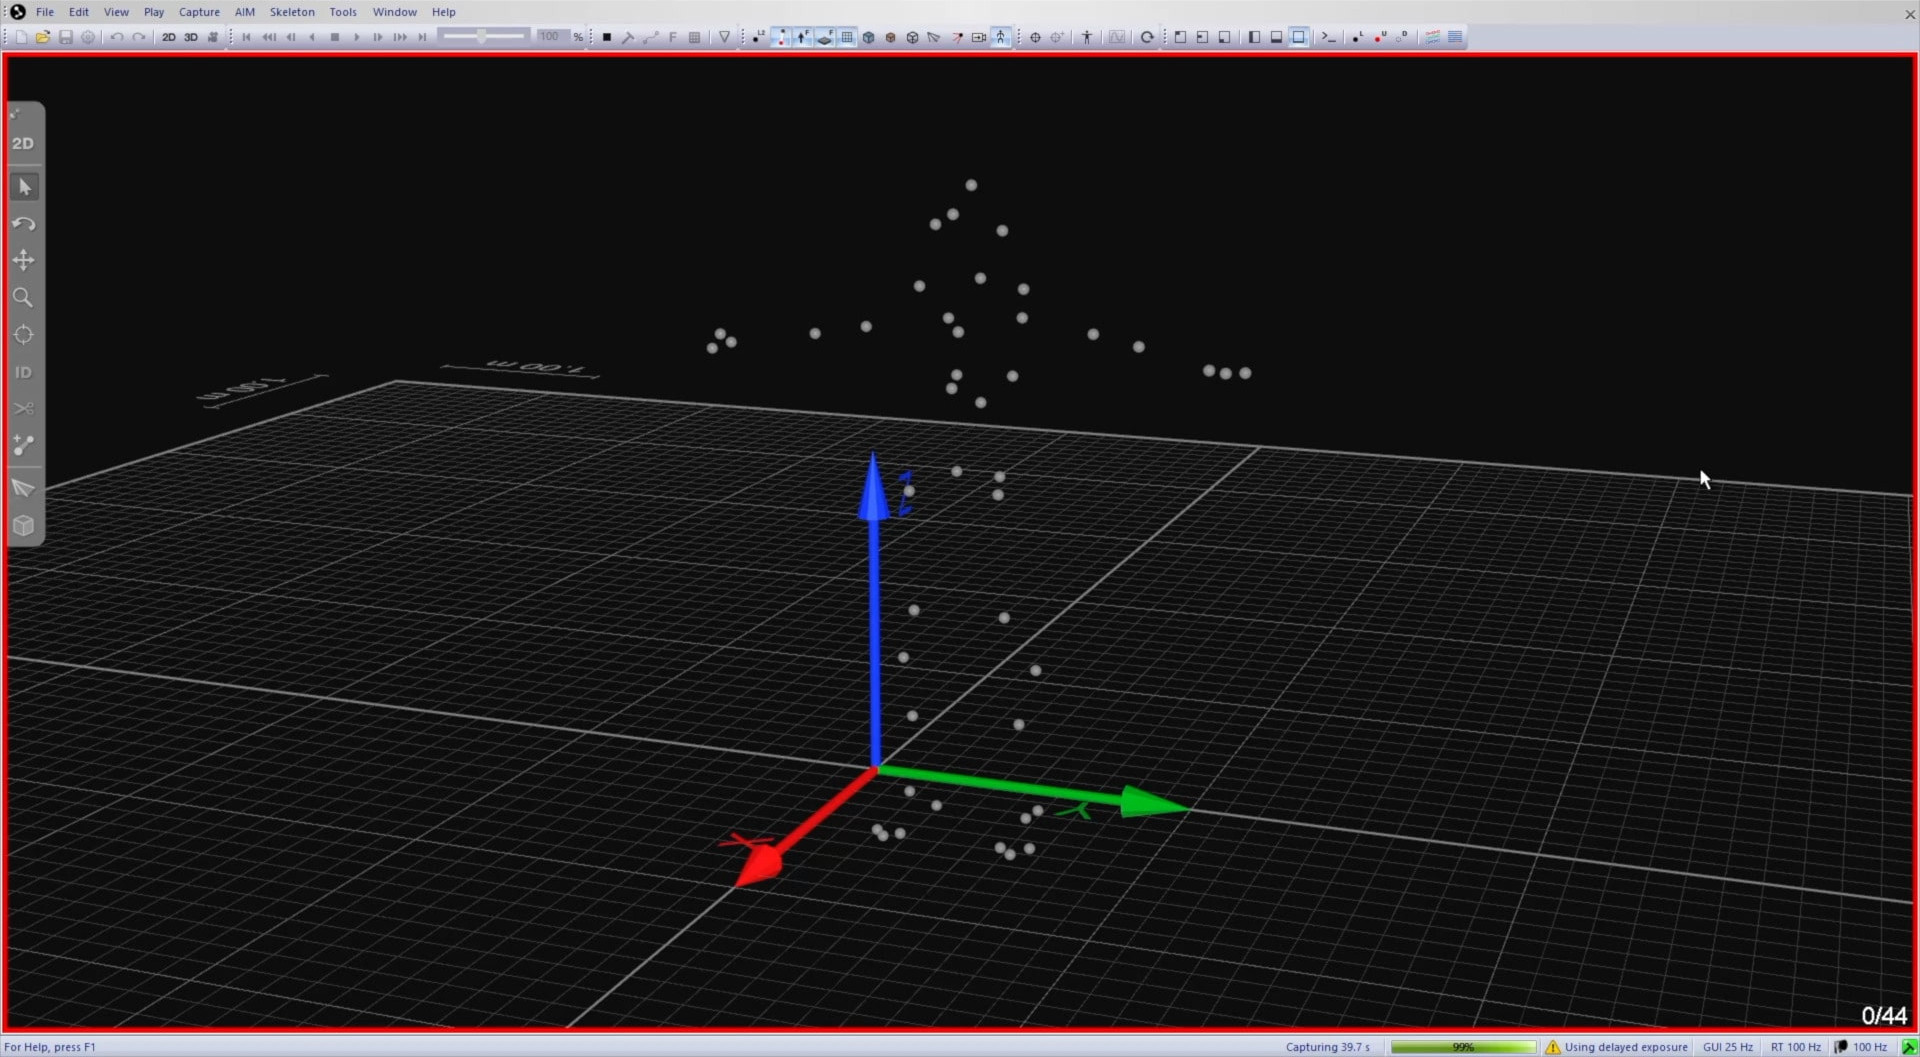
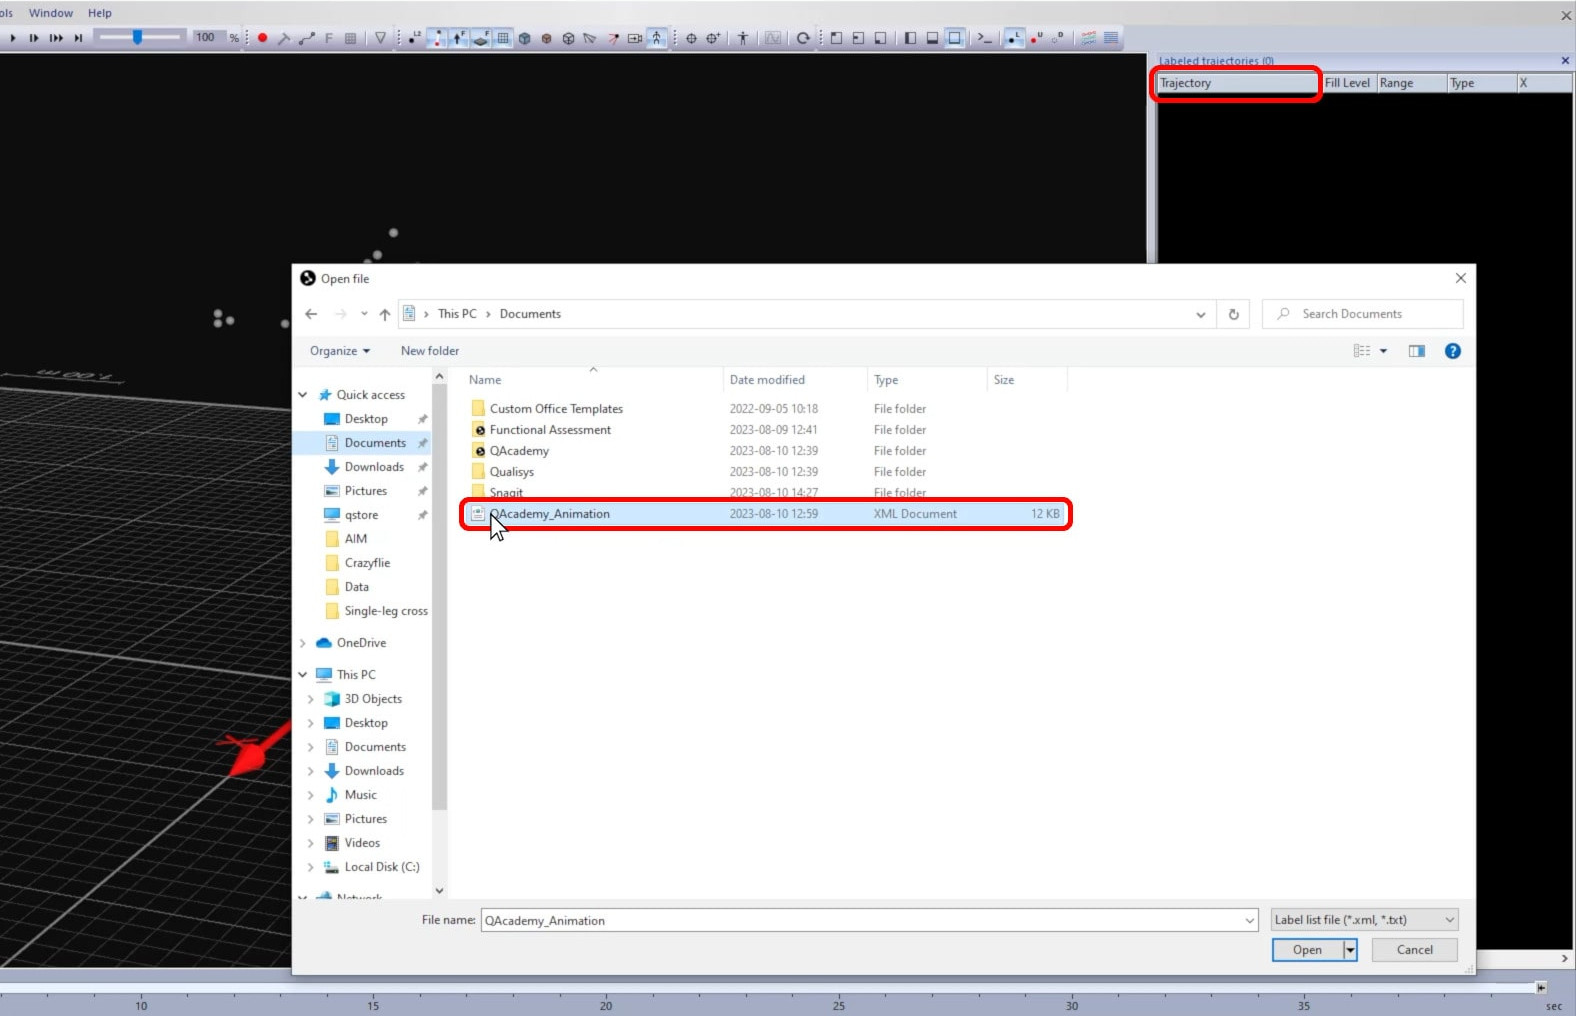
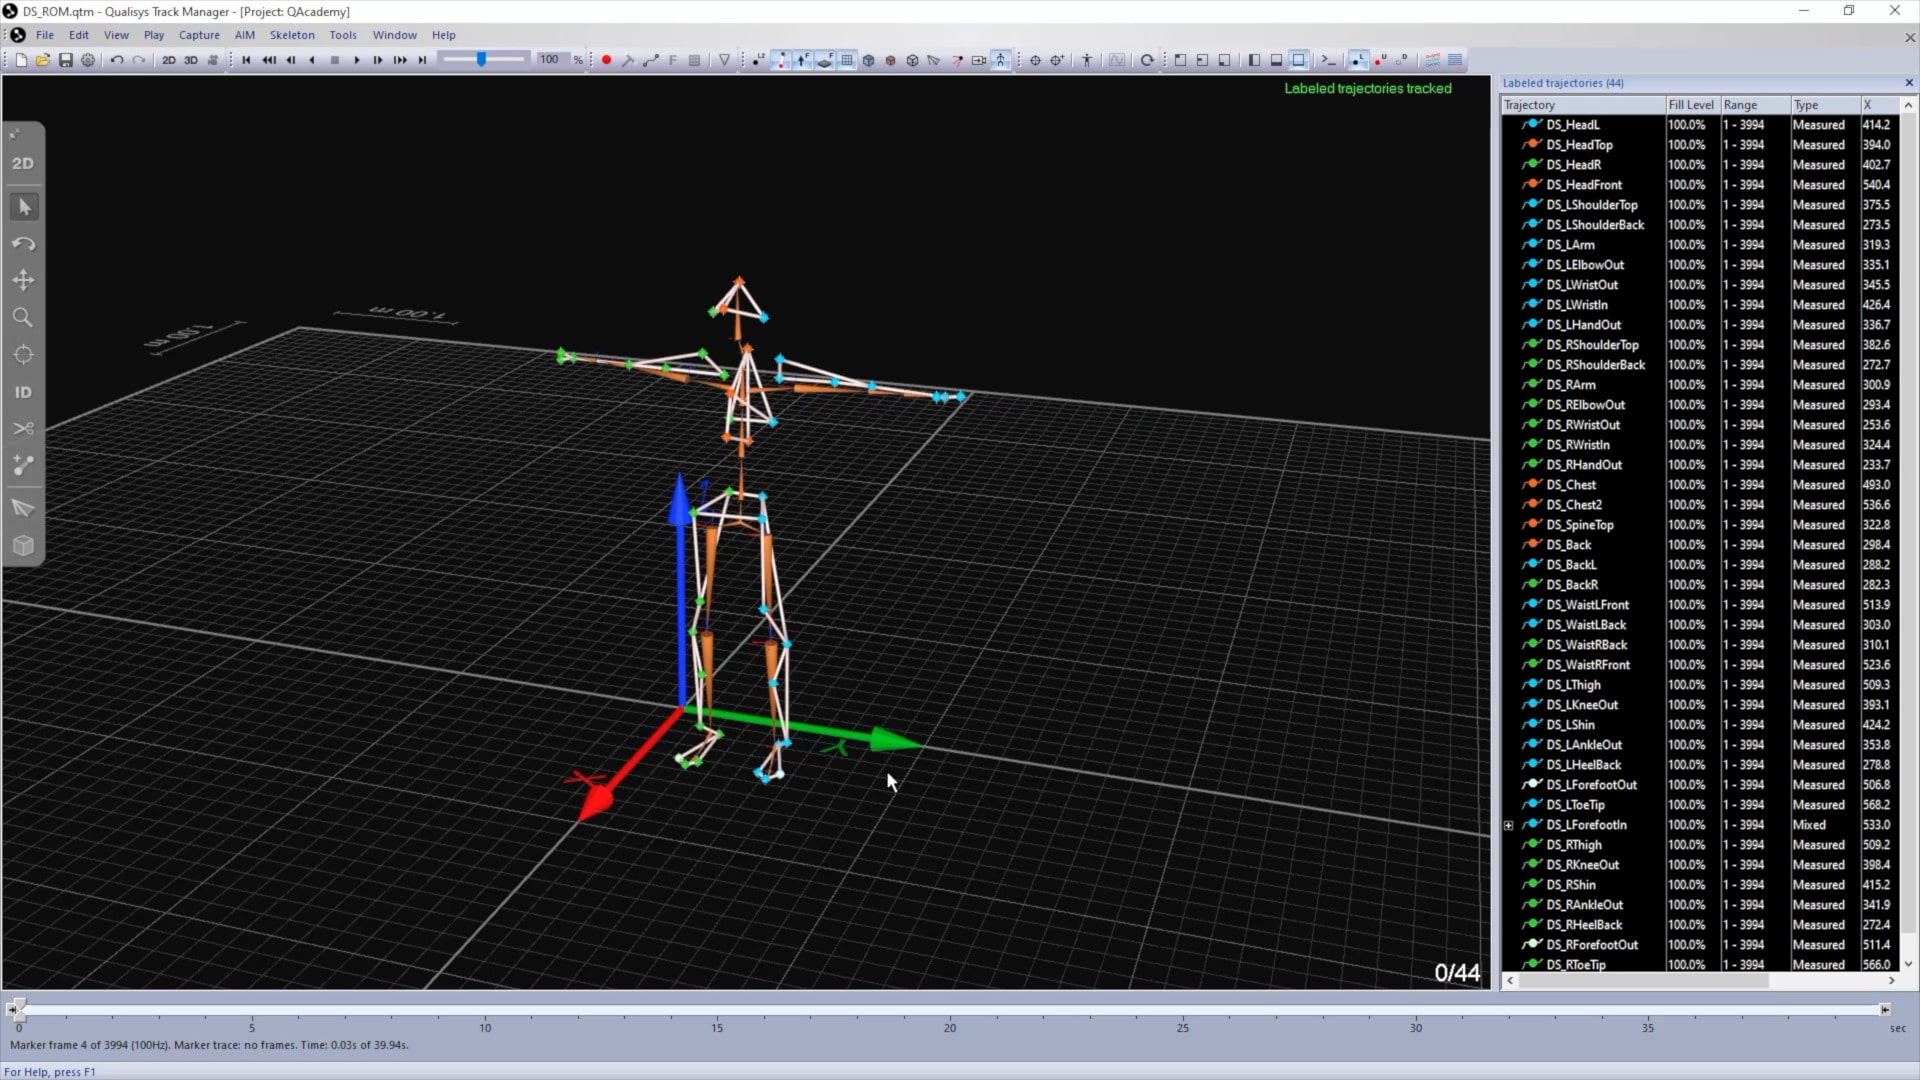
Once the capture has finished, right-click on “Trajectory” to load the label list for the marker set you are using.
Use the Quick ID tool to identify all of the markers, and confirm that the trajectories are labeled correctly throughout the file.

The next step is to name the skeleton by adding a unique prefix to the labels:
-
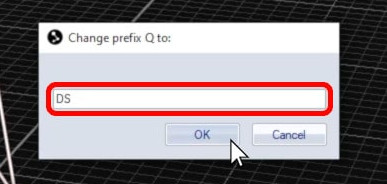
Right-click on any label, and select “Change prefix for all.”

-
Type in a new prefix that is specific to this actor, such as their name or initials. You do not need to add an underscore to the end.
-
Click “OK” to apply the new prefix.

Make sure that you are viewing a frame in which the actor is in the T-pose, then click the Calibrate Skeletons icon in the top toolbar or type keyboard shortcut F10 to define the skeleton.
![]()
If you are using a custom marker set, a dialog will open showing how QTM has associated the extra markers with skeleton segments.
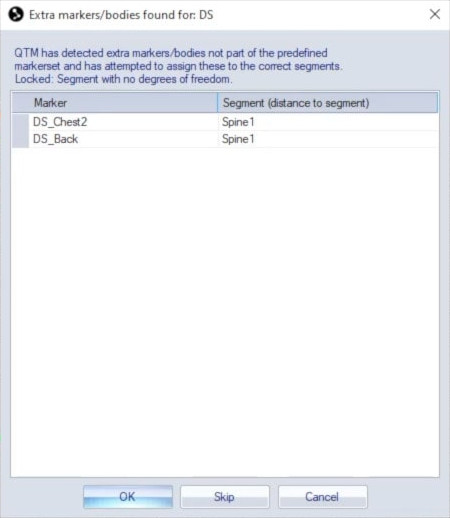
You can reassign markers if needed, referring to the available segment names from the marker set guide.
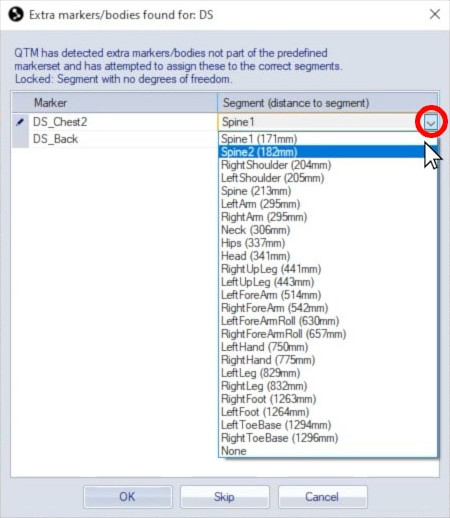
Click “OK” to confirm the marker assignments, and QTM will create a skeleton definition for the actor.
If your project already includes a skeleton definition with the same prefix, calibrating will simply update the existing skeleton definition.