Running the configuration wizard
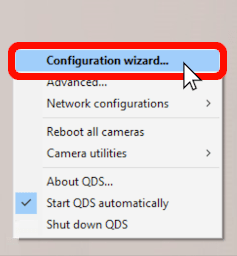
When you connect the camera system to your computer for the first time, you will be prompted to open the QDS configuration wizard, which will guide you through setting up the network for your camera system. You can also access the configuration wizard at any time by right-clicking on the QDS icon in your system tray and selecting “Configuration wizard.”
The wizard shows a list of the different network interfaces available on your computer. Select the one with camera DHCP requests, which is the network that automatically detected the cameras.

If you want to use a different network interface than the one with camera requests, you will need to change how the camera system is connected to the computer—for example, by plugging it into a different Ethernet port.
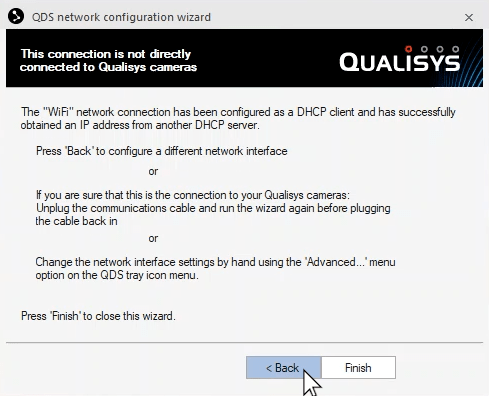
If you select an interface that is not available because it’s already connected to another network, the QDS wizard will prompt you to go back and select a different option.
Once you select the correct network and click “Next,” the wizard will show the static IP address that will be assigned to your camera system.
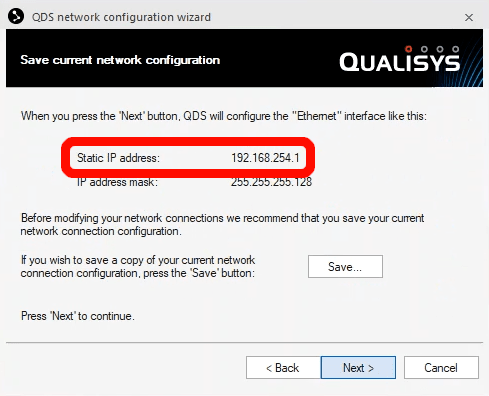
Before continuing, you may want to save your current network setup—for instance, if you can’t reserve this network exclusively for your Qualisys system and will need to switch between configurations.
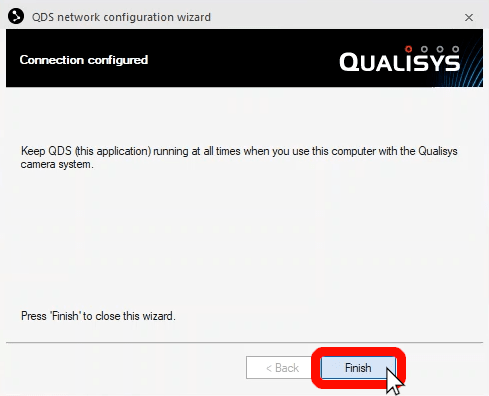
Click “Next” to confirm the connection, and then “Finish” to close the wizard. Now your camera system is ready to run in QTM.
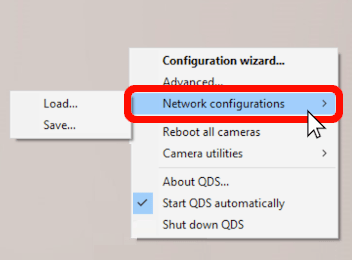
To save your new network configuration or load a previously saved one, right-click on the QDS icon, select “Network configurations,” and choose from the options.