3D view settings
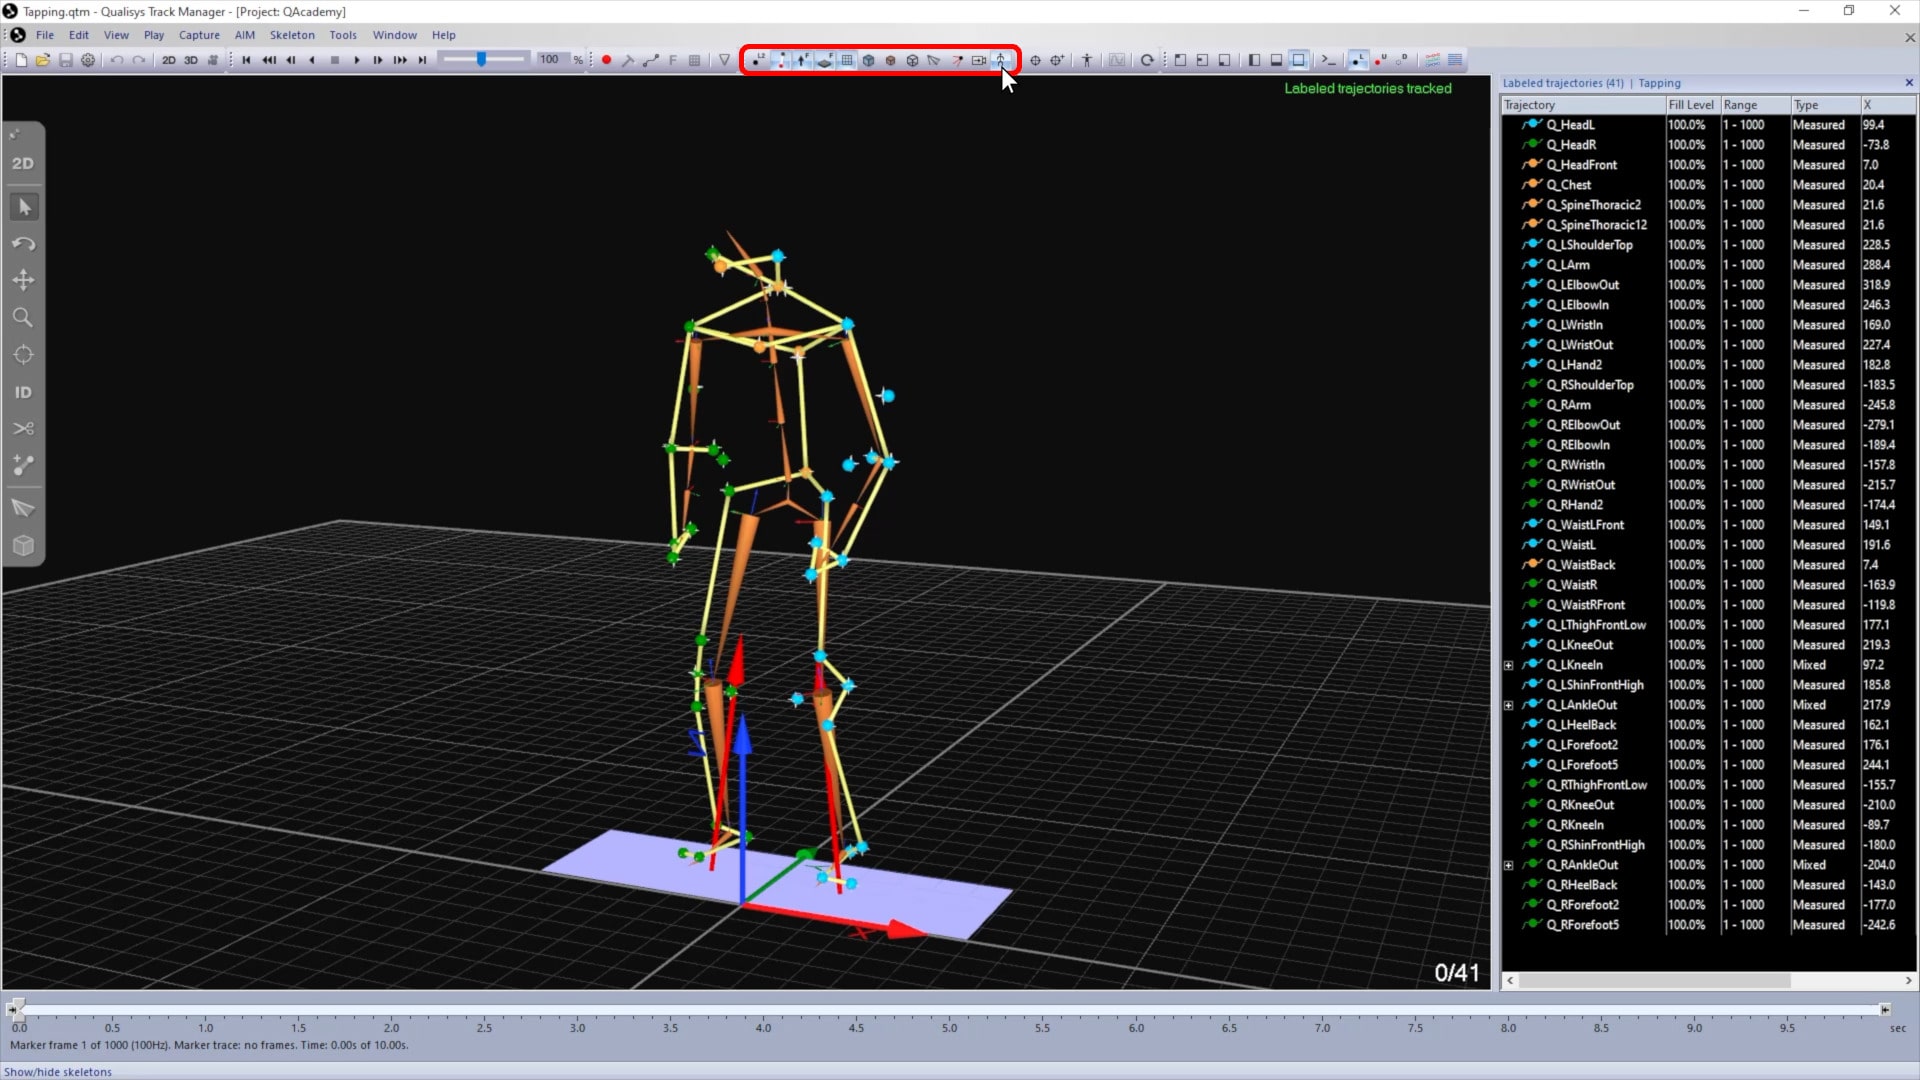
When you open a recorded file, QTM will show the 3D view window by default.
It displays three-dimensional motion capture data as well as any other graphics that have been enabled—for example, the grid, axes, force vectors, camera rays, or skeletons.
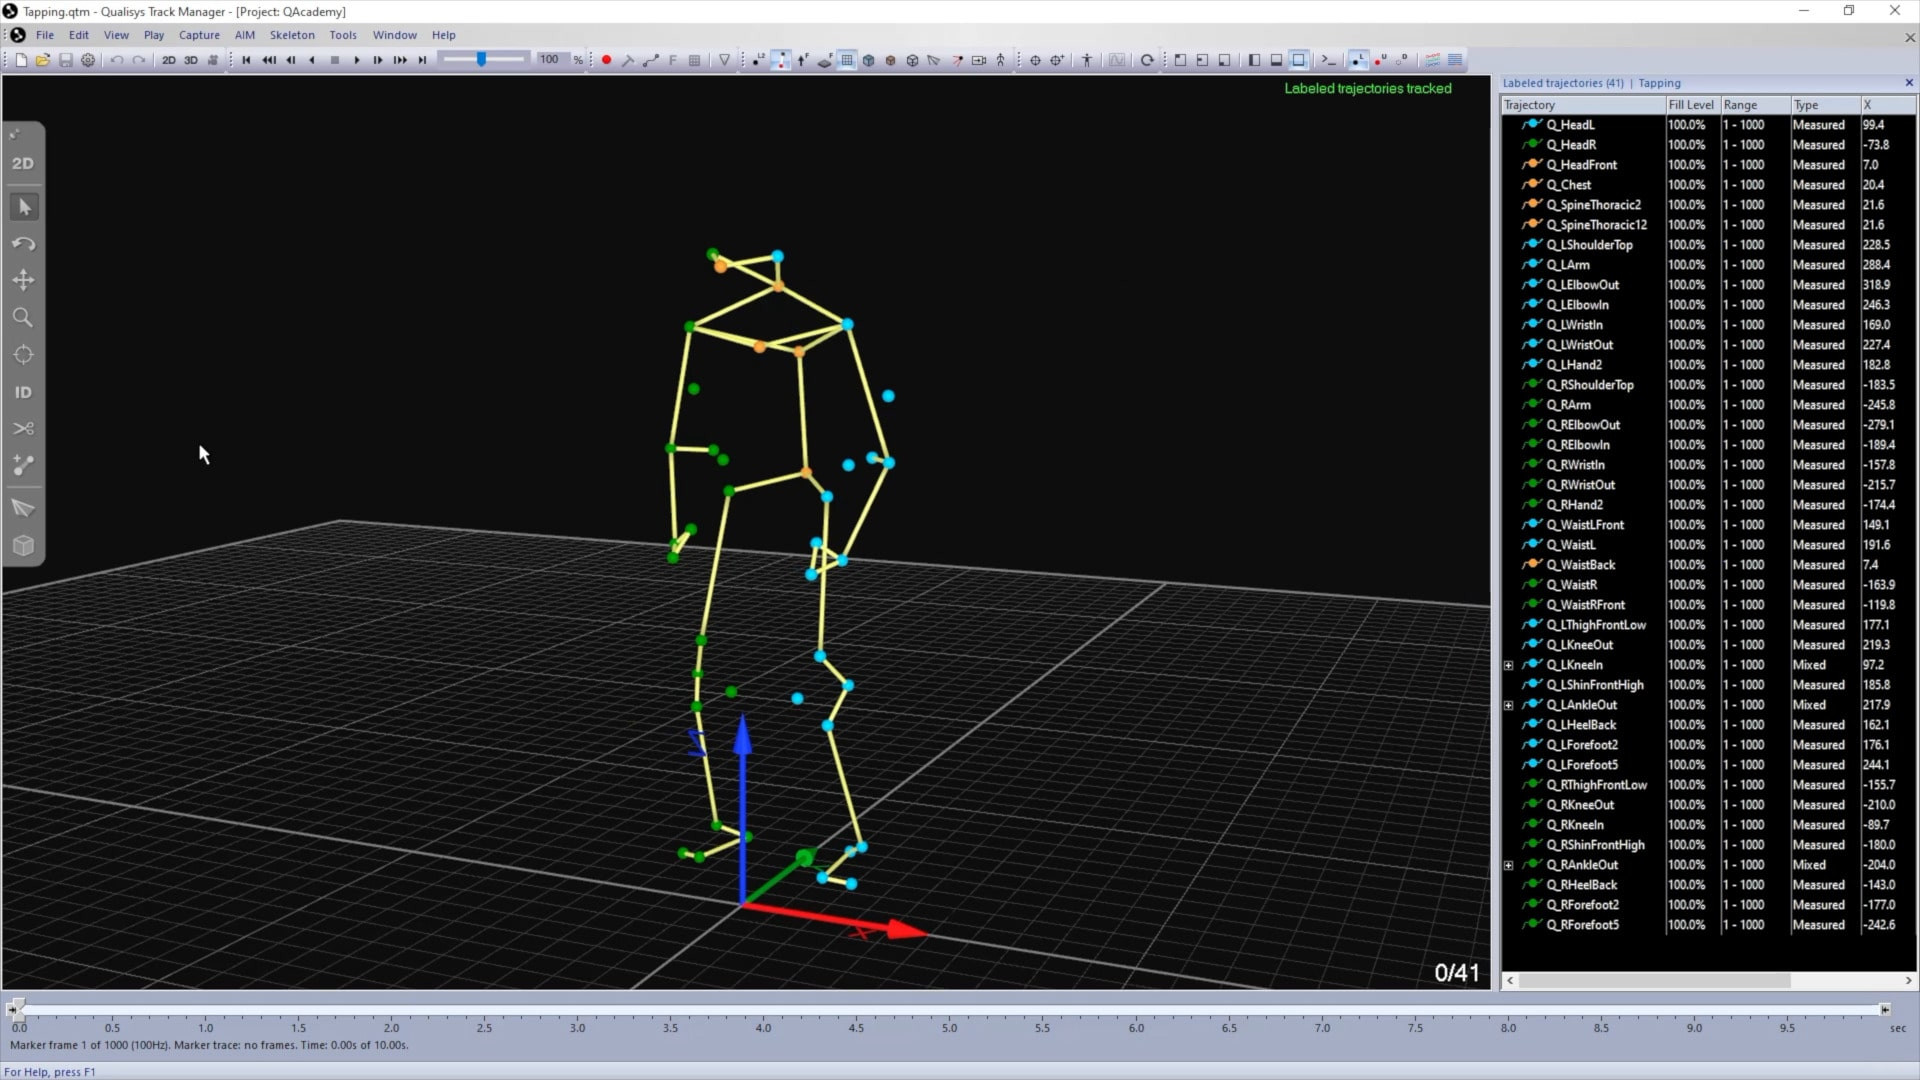
From the 2D viewer, you can switch to 3D mode by clicking the “3D” button in the side toolbar or by using the keyboard shortcut 3.
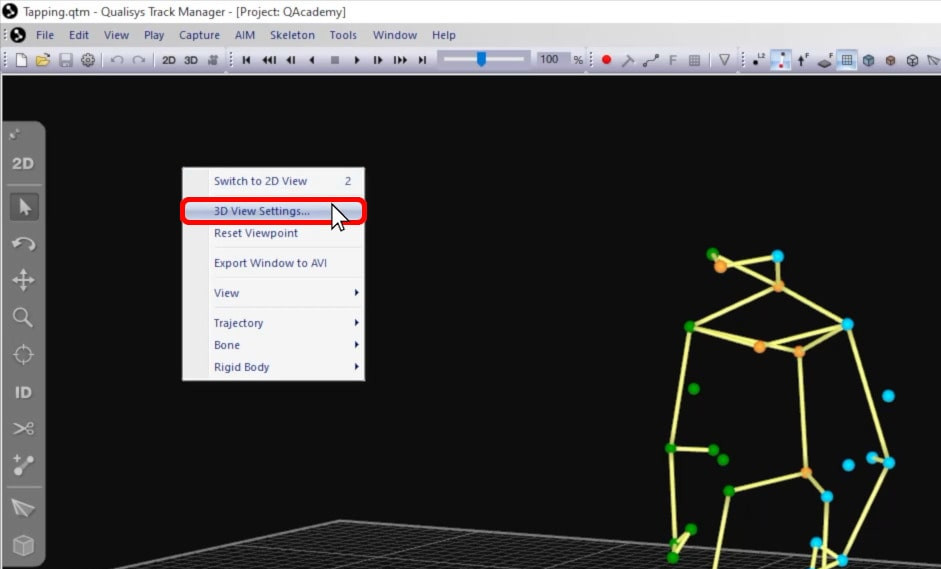
There are two ways to access the view settings page:
-
Right-click on a blank area of a camera feed, and select “3D View Settings.”
-
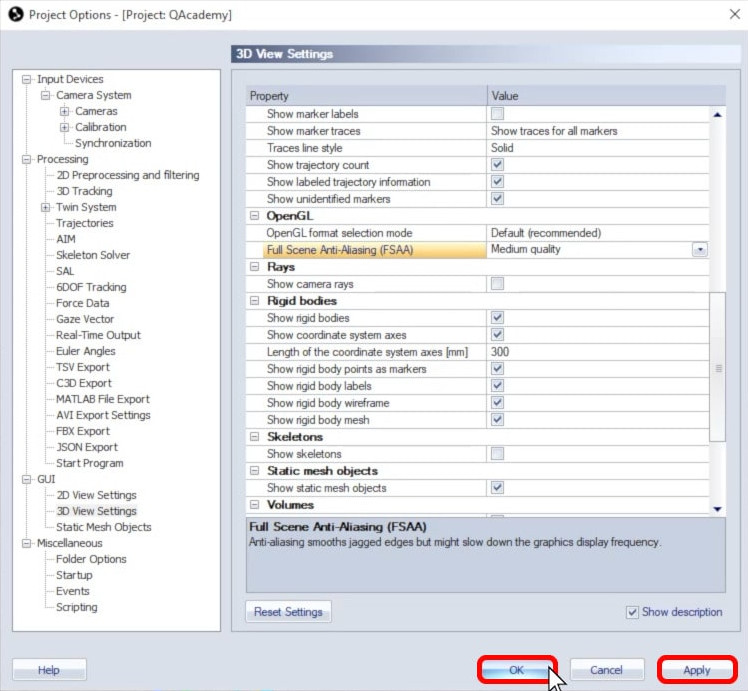
Alternatively, open Project Options (Ctrl+W) and navigate to “GUI” à “3D View Settings.”
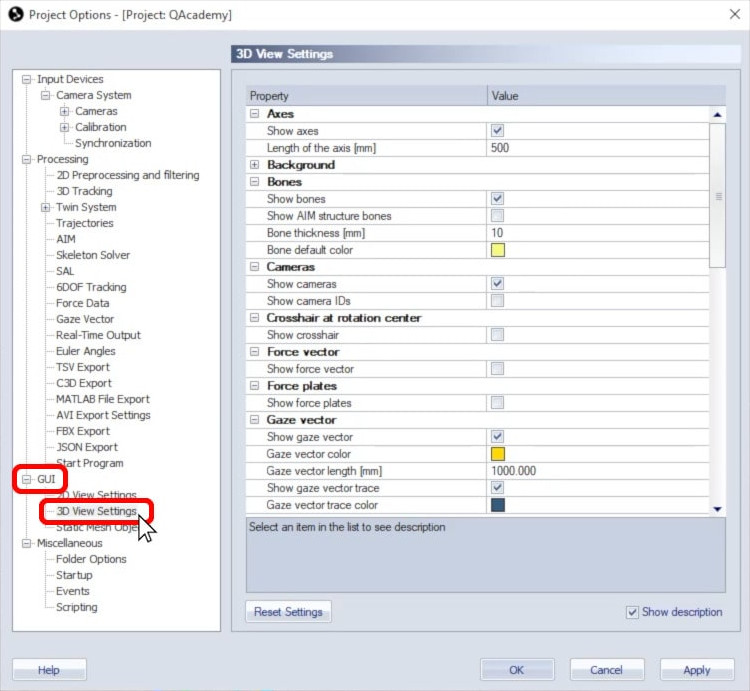
This page controls the display settings for elements shown in the 3D viewer. As with the 2D view settings, these parameters are saved to your project and apply both in live preview mode and to recorded files.
-
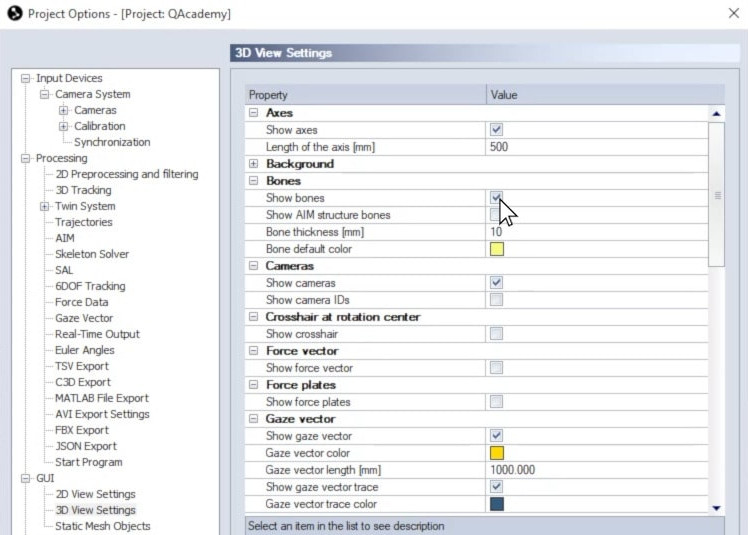
Each element in the settings window comes with slightly different options. For example, you can enable or disable an element from display or change its appearance.
-
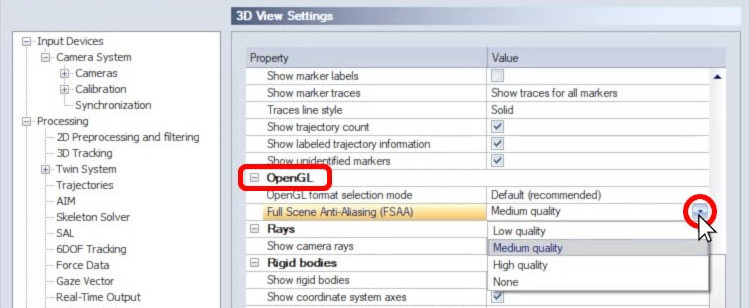
The “OpenGL” setting manages the quality of the graphics display. This setting can be adjusted if your computer is struggling with the graphics or if you have a powerful computer that can handle a higher quality.
-
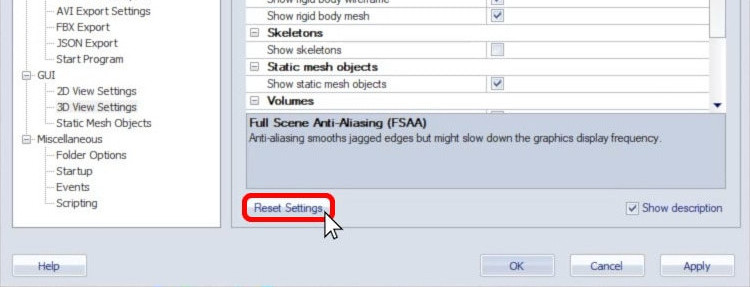
Use the “Reset Settings” button if you want to revert to the default values.
-
Click “Apply” to implement your changes or “OK” to save changes and close the settings window.
Note that the display of many of the 3D view elements can be quickly enabled or disabled from the GUI control toolbar.
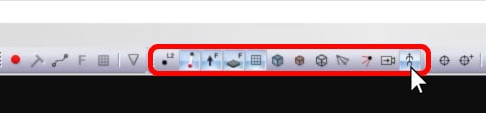
For example you can toggle the display of force arrows, the calibrated volume, camera rays, or skeletons.