2D view settings
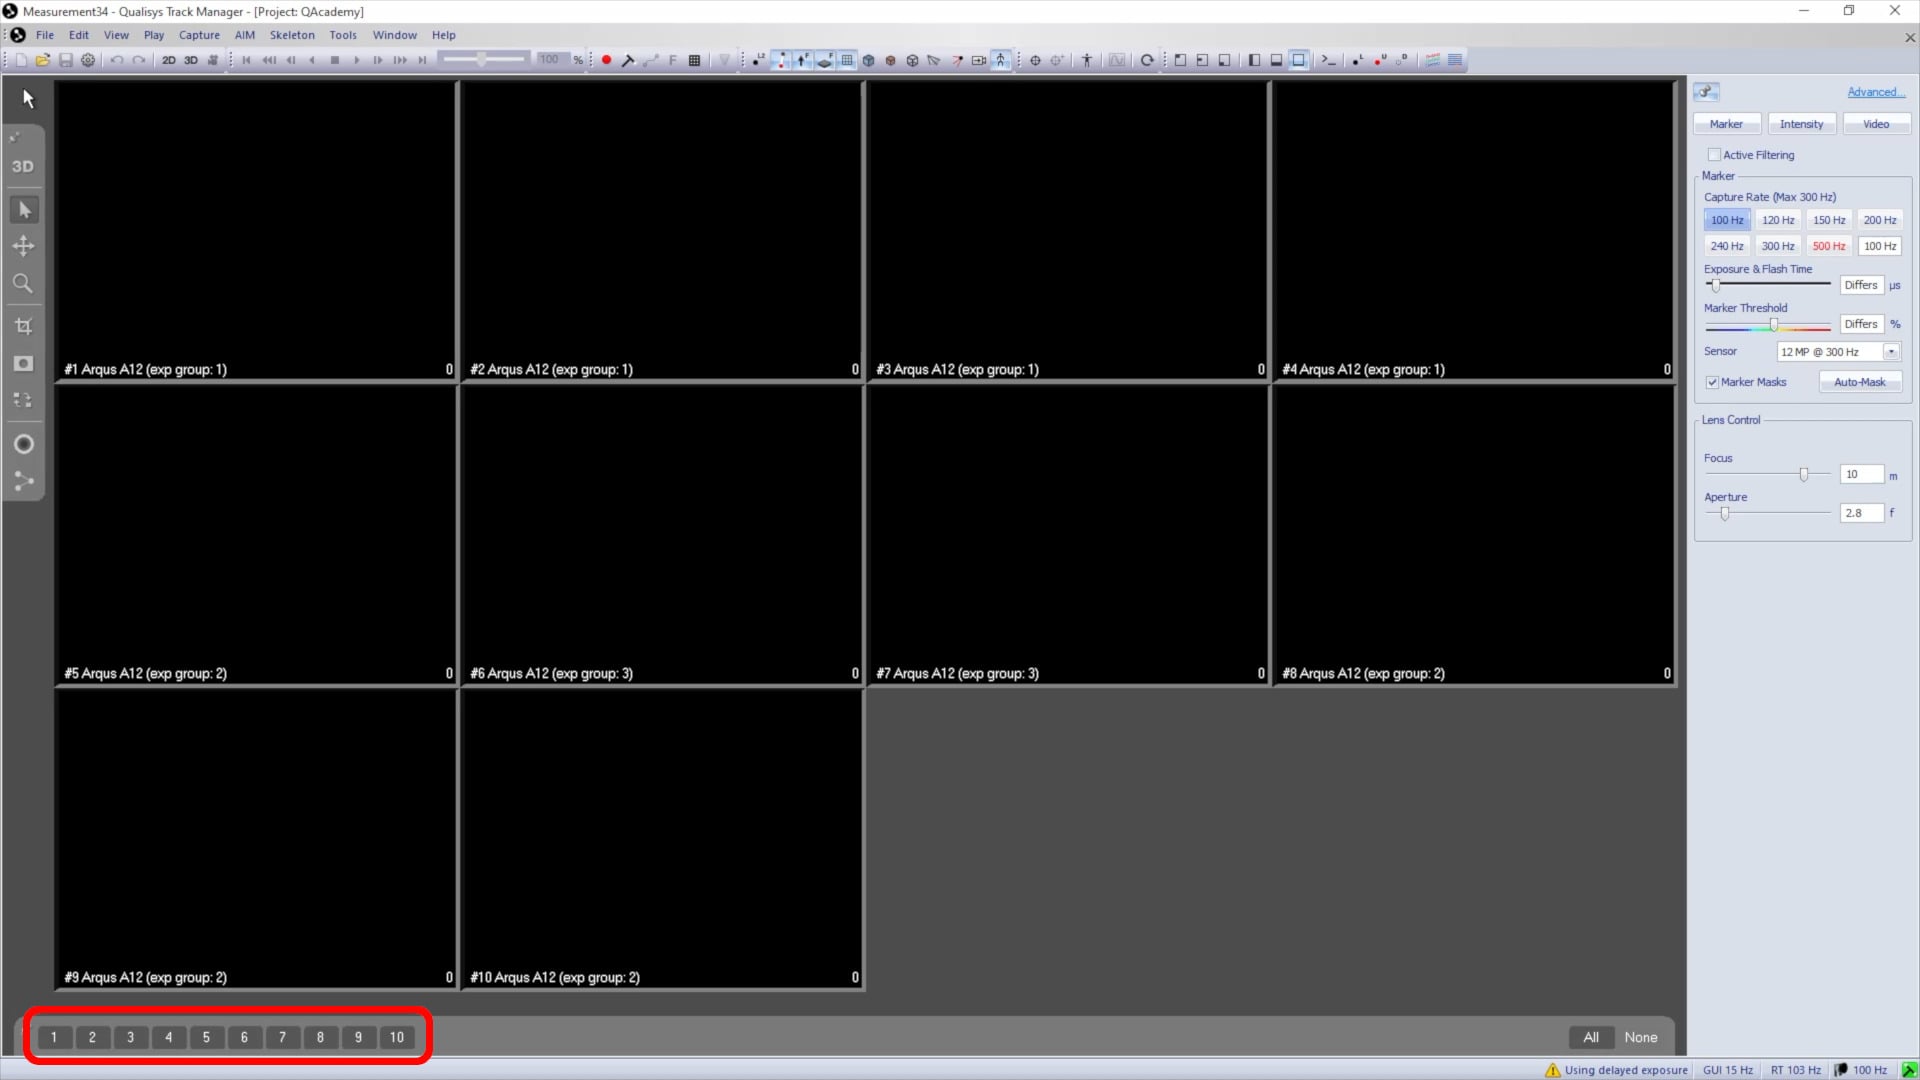
The 2D view window opens by default when you run the cameras in live preview mode. It displays the feeds of individual cameras, which can be selected or deselected from view using the camera selection bar at the bottom of the viewer.
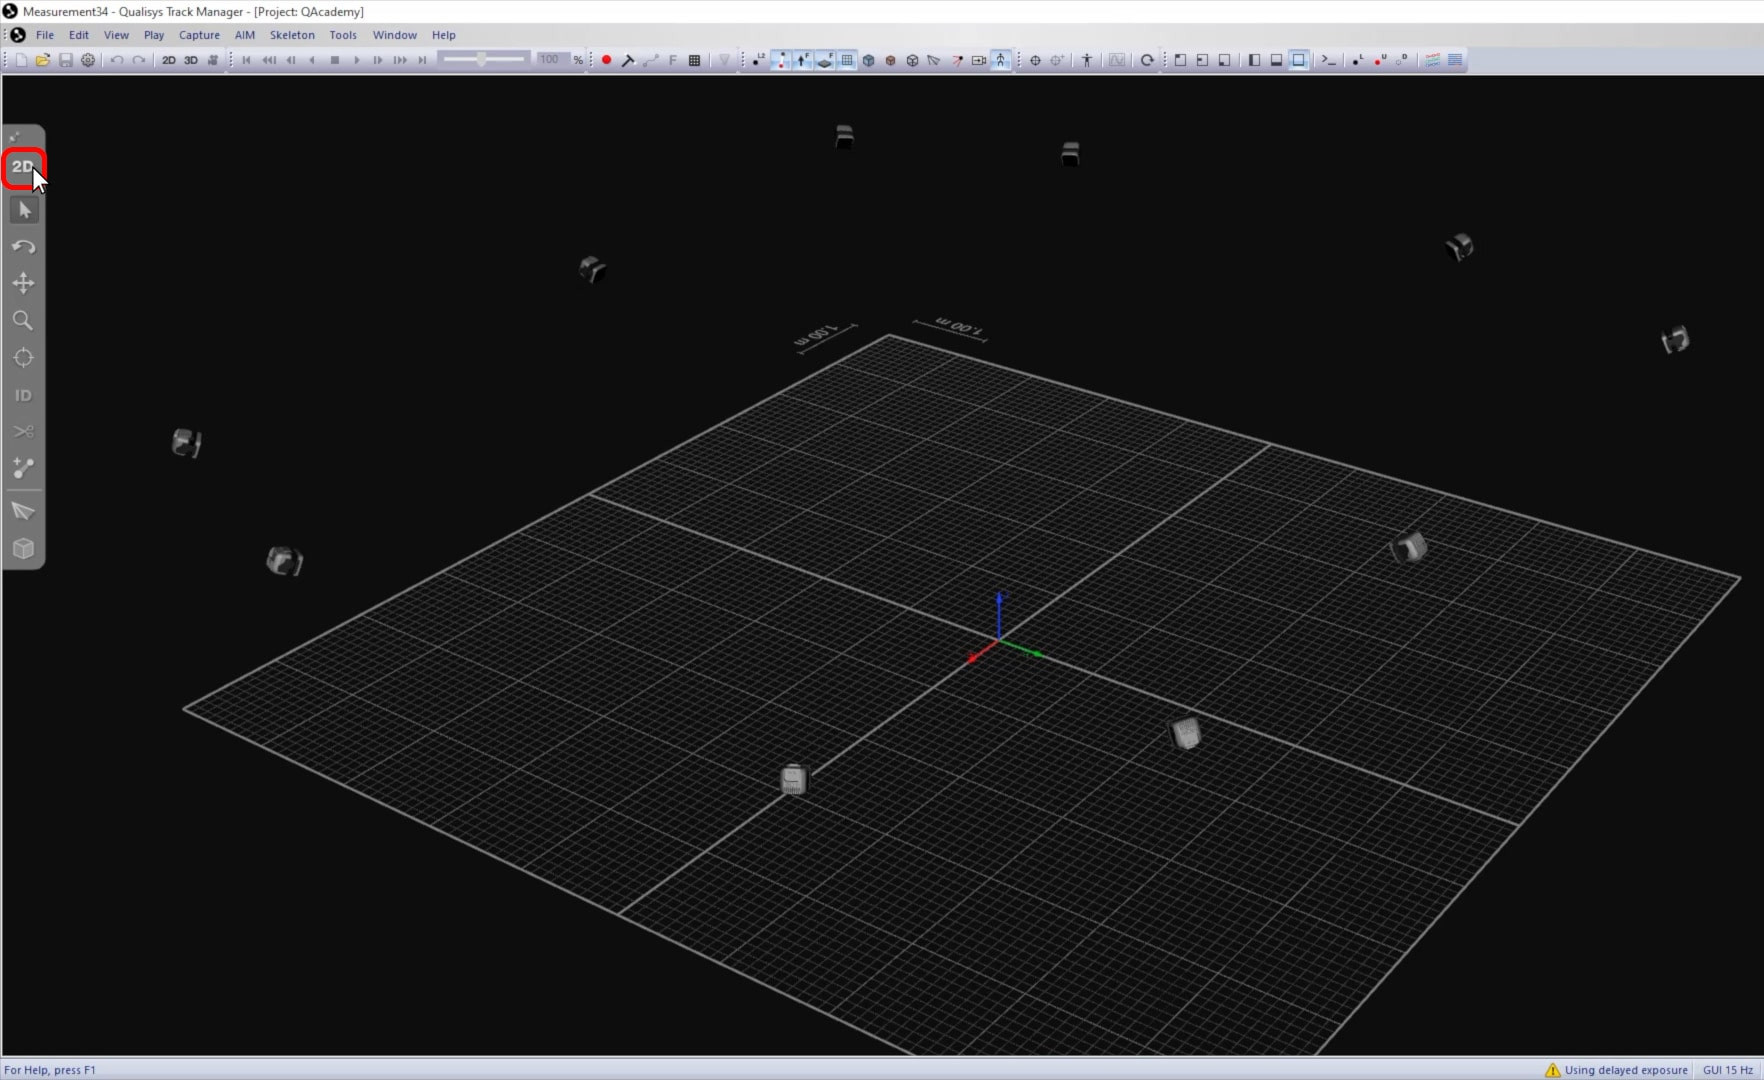
From the 3D viewer, you can switch to 2D mode by clicking the “2D” button in the side toolbar or by using the keyboard shortcut 2.
There are two ways to access the 2D view settings page:
-
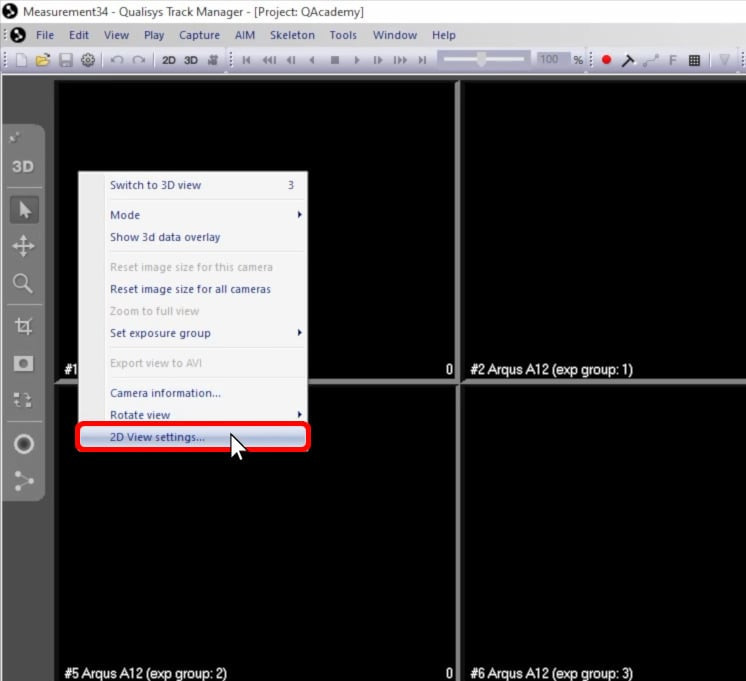
Right-click on a blank area of a camera feed, and select “2D View settings.”
-
Alternatively, open Project Options (Ctrl+W) and navigate to “GUI” à “2D View Settings.”
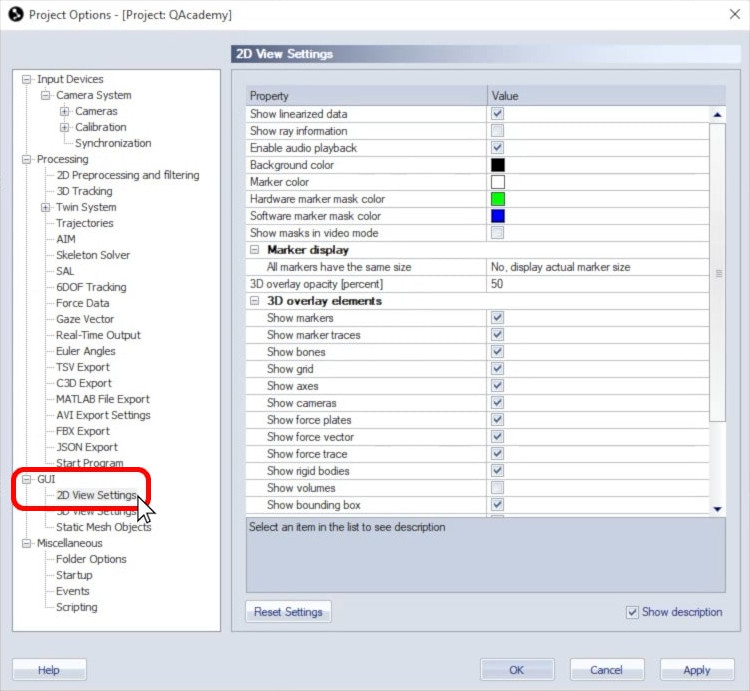
This page controls the display settings for elements shown in the 2D viewer. All of the parameters set here are saved to your project and apply both in live preview mode and to recorded files.
-
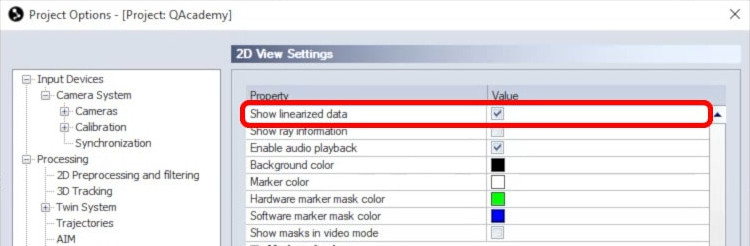
“Show linearized data” displays motion capture data that has been corrected for distortion and lines up with the 3D tracking.
-
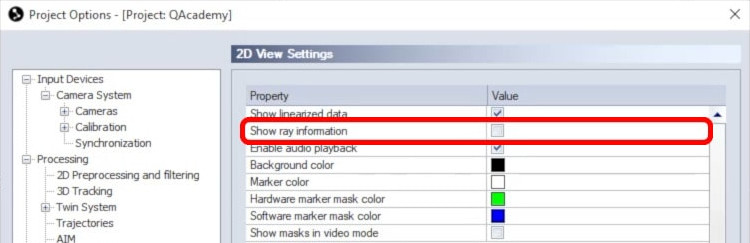
“Show ray information” tells QTM to display the trajectory colors for markers.
-
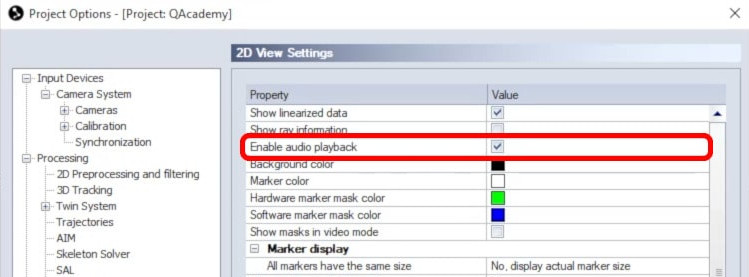
If your videos contain audio, you can choose whether or not to enable audio playback.
-
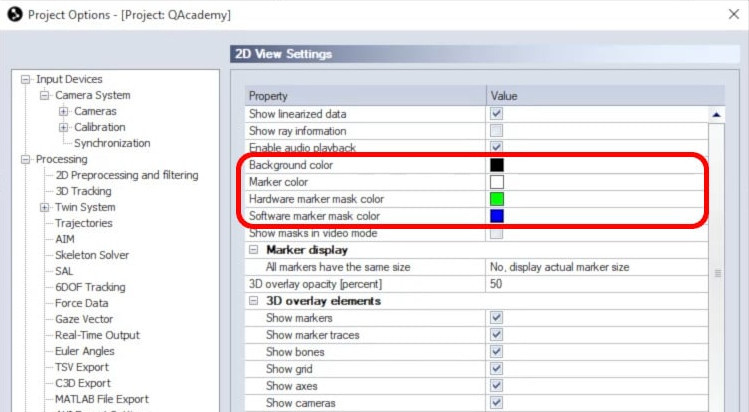
You can change the colors of various elements as desired.
-
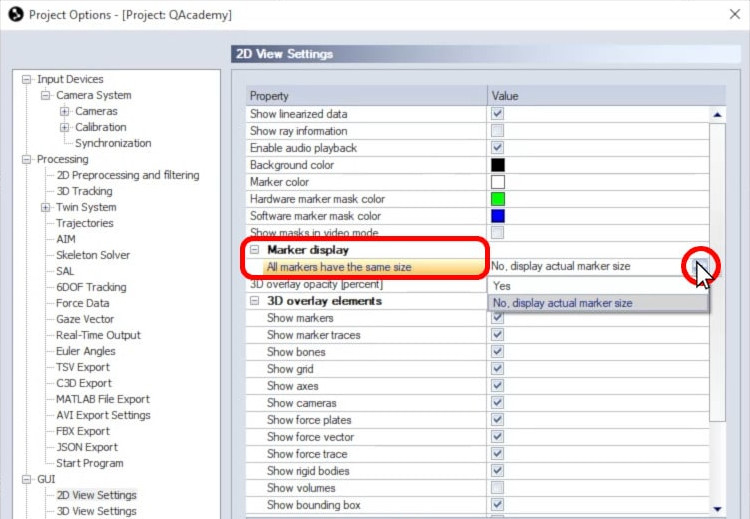
The marker display size can be adjusted as well. It is usually recommended to display the actual marker size so that you can easily differentiate between real markers and other reflective surfaces.
-
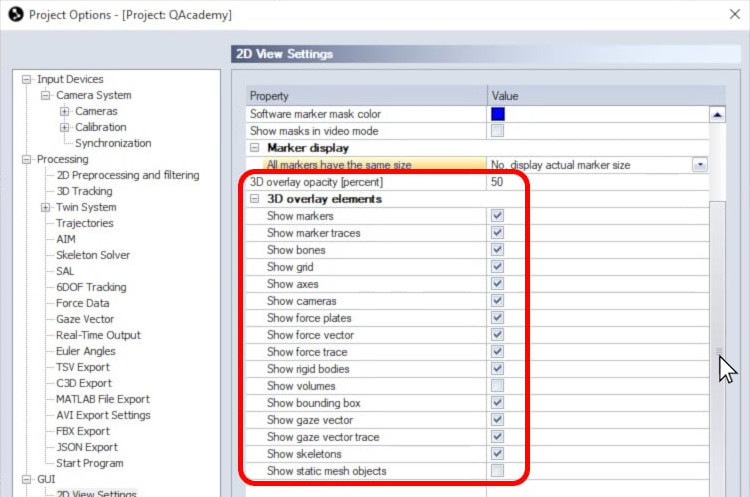
You can change the opacity of the 3D overlay, which is a feature that displays motion capture data superimposed over 2D or video footage, and select which elements to include.
-
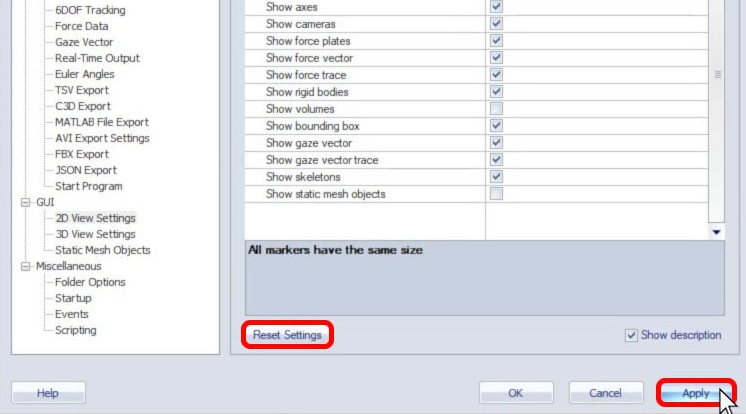
Use the “Reset Settings” button at any time if you want to revert back to the default values, or click “Apply to implement your changes.
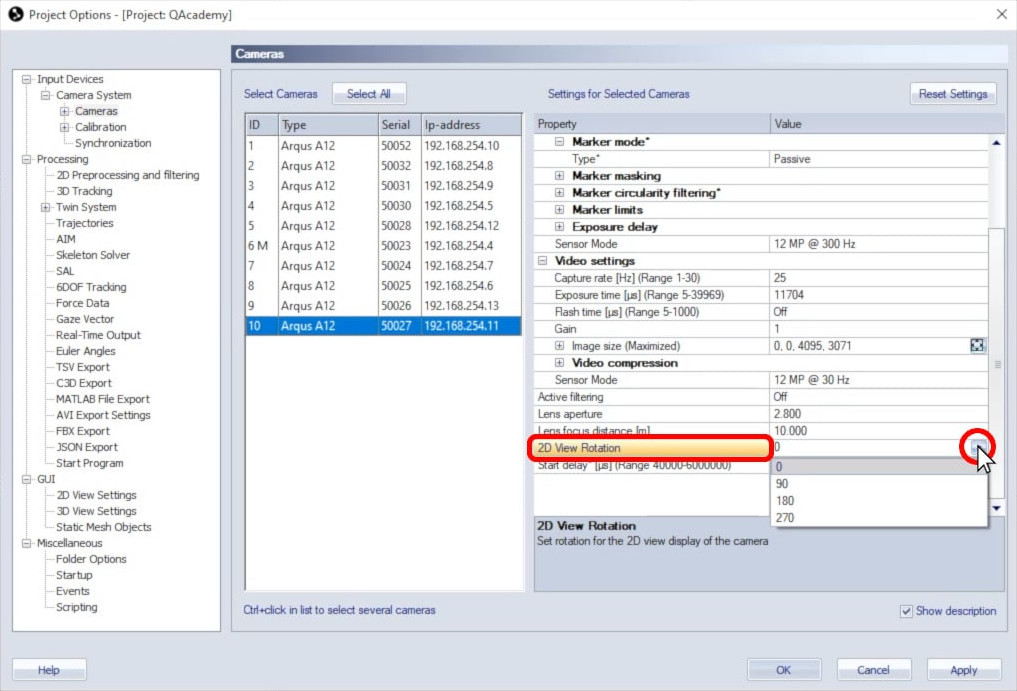
The rotation of the camera views in the 2D viewer can also be modified. This does not affect your motion capture data; it just changes how the cameras are viewed in QTM.
-
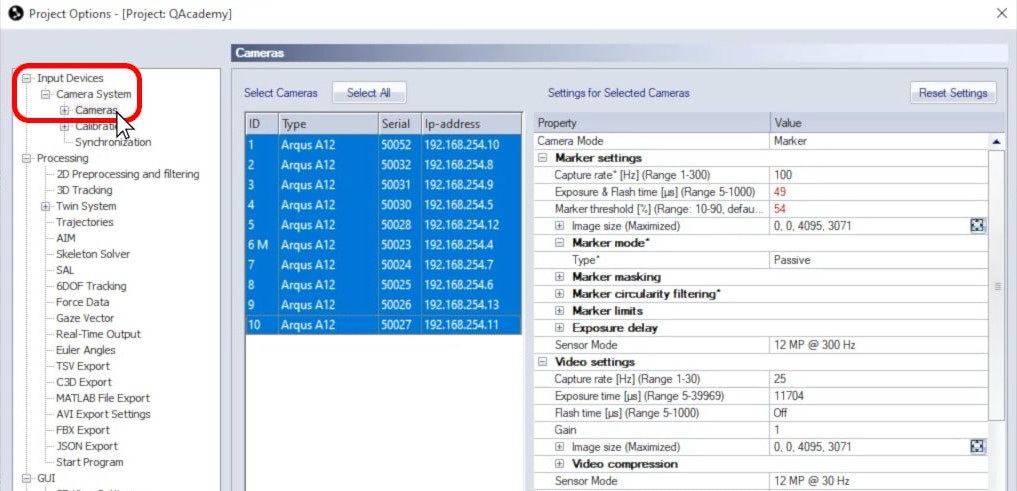
Navigate to “Input Devices” à “Camera System” à “Cameras.”
-
Select any cameras to be rotated together, then beside “2D View Rotation,” choose a value.
-
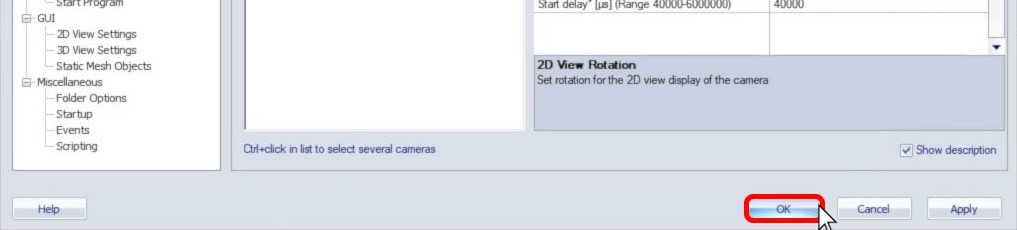
Click “OK” to save your changes and close Project Options.
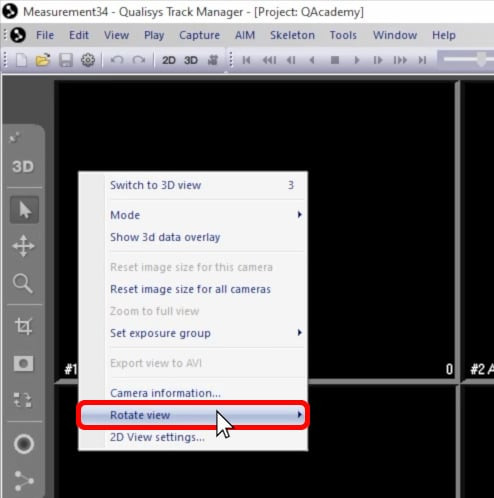
Note that you can quickly rotate a camera feed directly from the 2D view window by right-clicking on a camera feed, selecting “Rotate view,” and choosing a value.