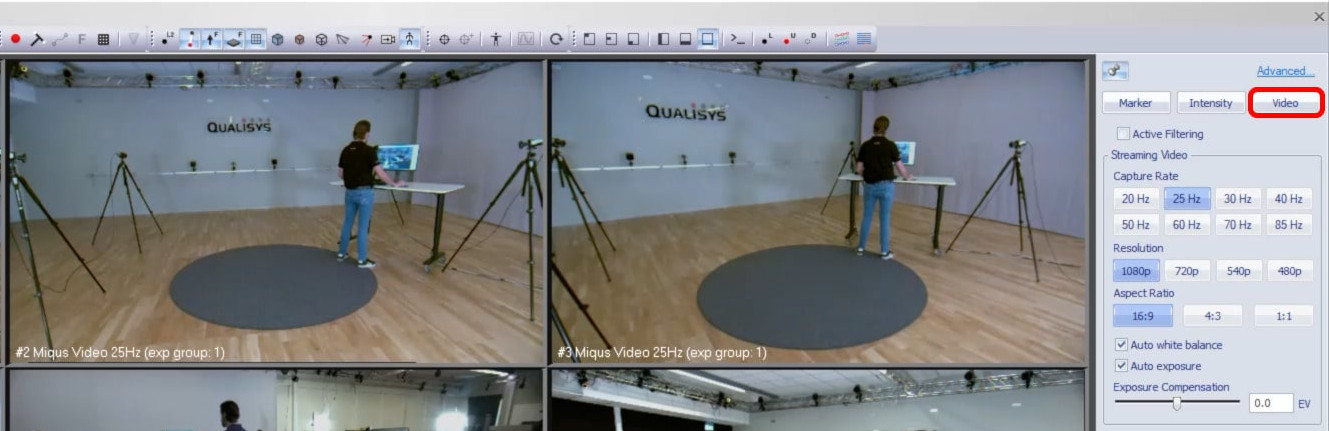
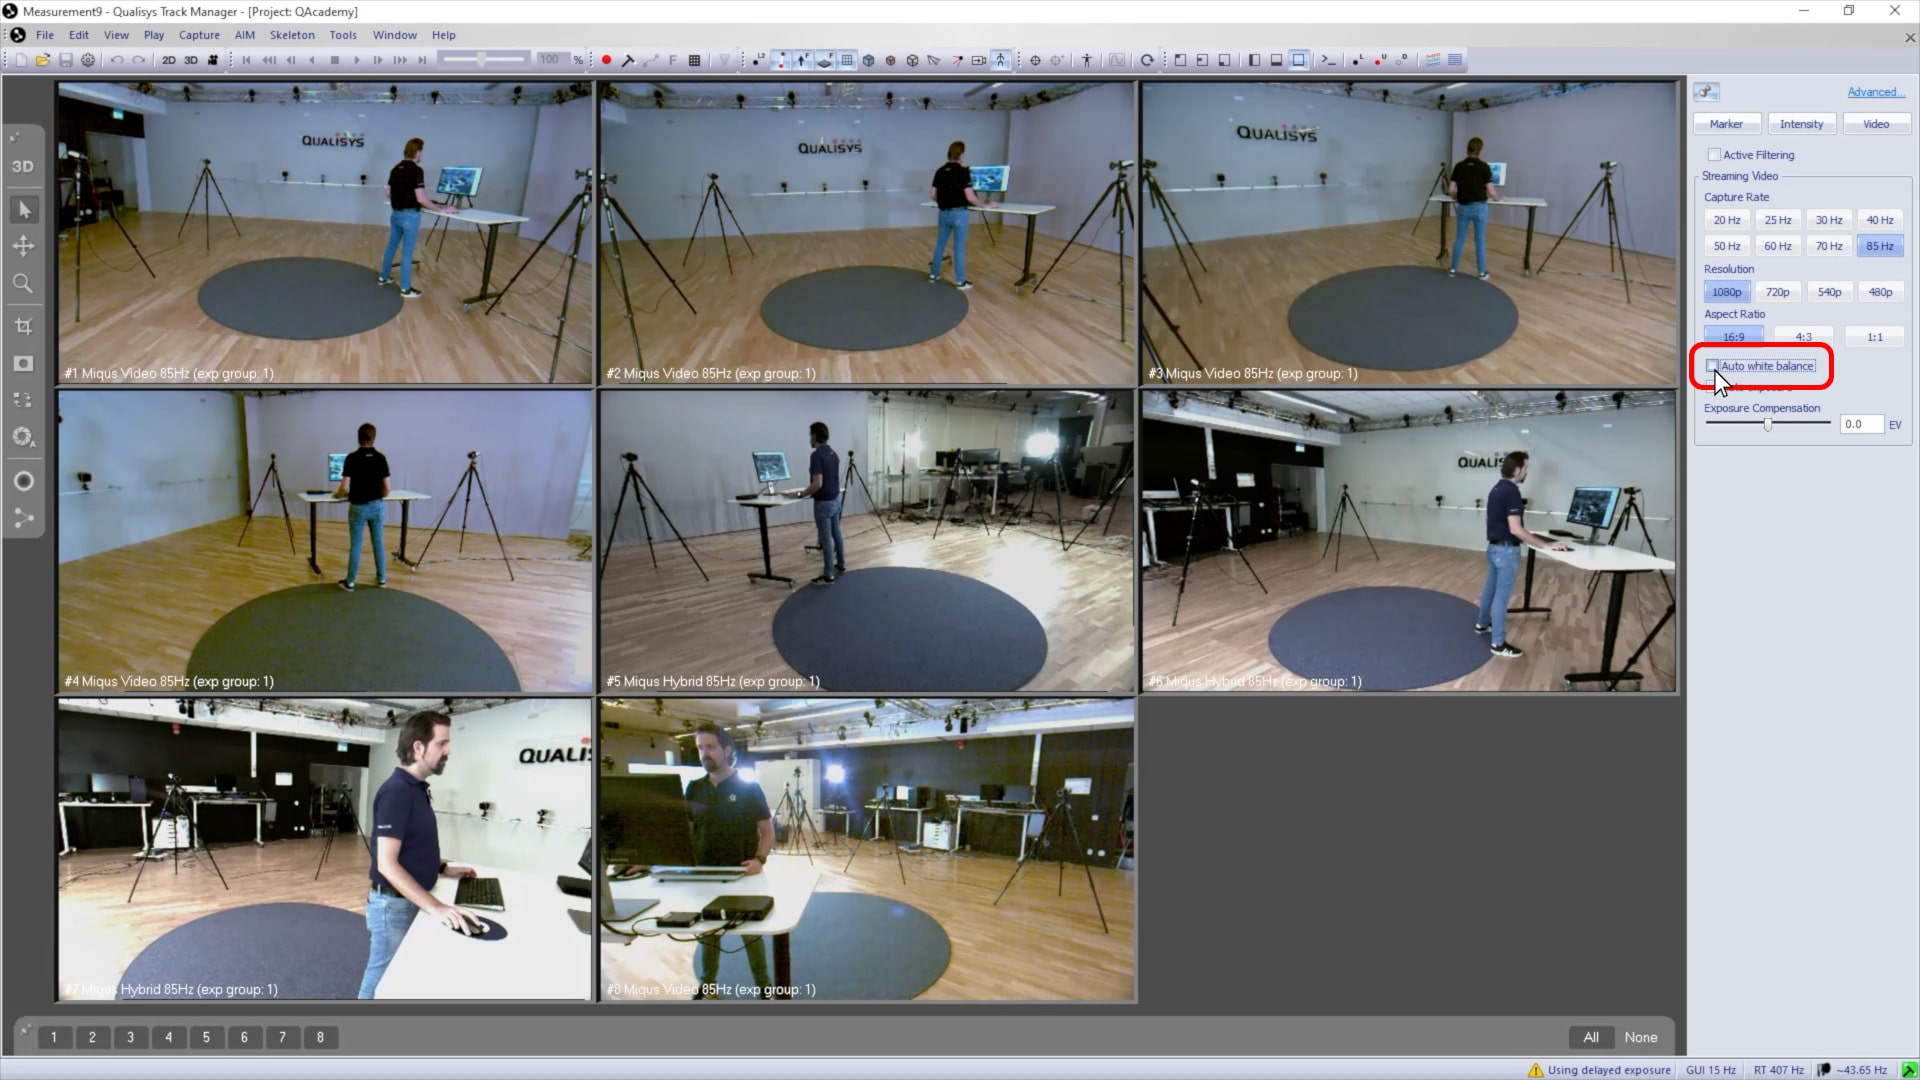
Video settings
Video settings are independent from marker capture settings, even on the same camera.
Each video camera in a system can be set up individually with unique settings. The exception to this is when using the system for markerless motion capture, in which case all video cameras must be set to the same capture rate and resolution.
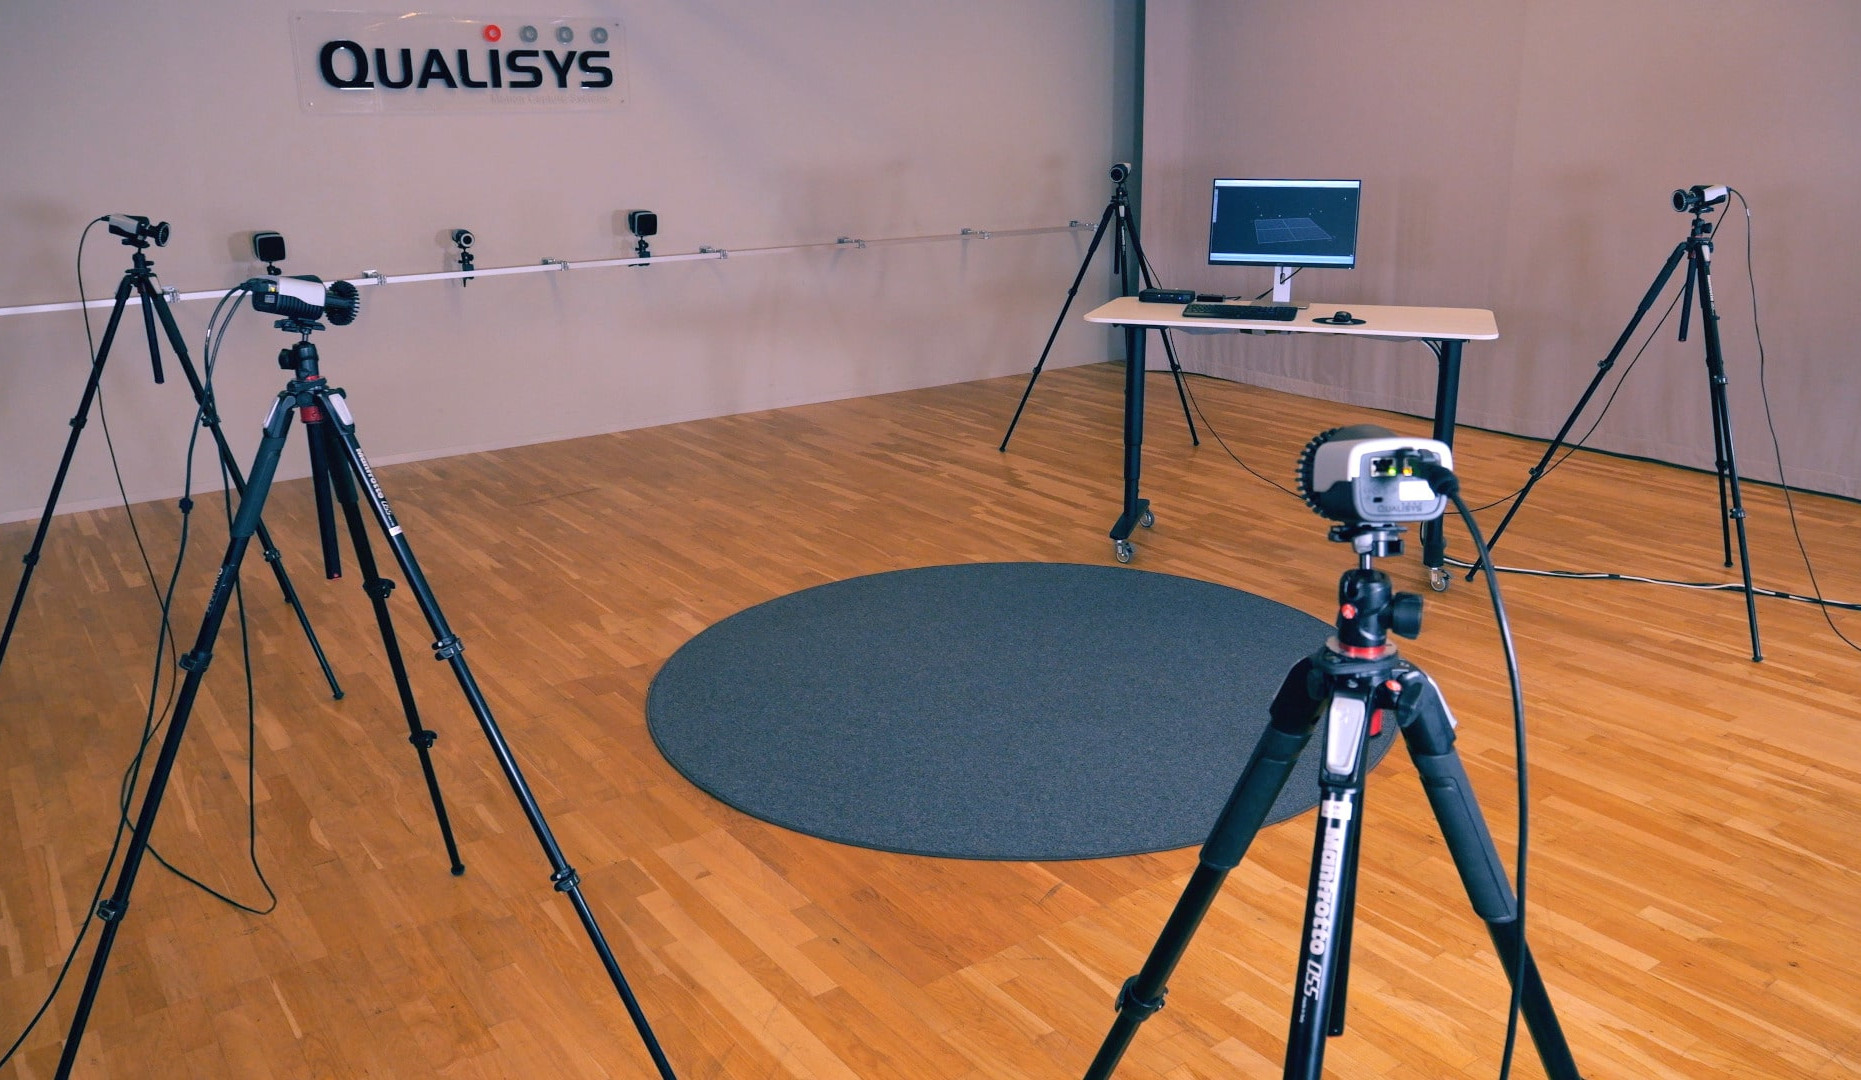
Note that a well-lit recording space will provide the best results for video capture.
To optimize the video settings in QTM:
-
Click the “New” icon or type keyboard shortcut Ctrl+N to put the cameras in live preview mode.
-
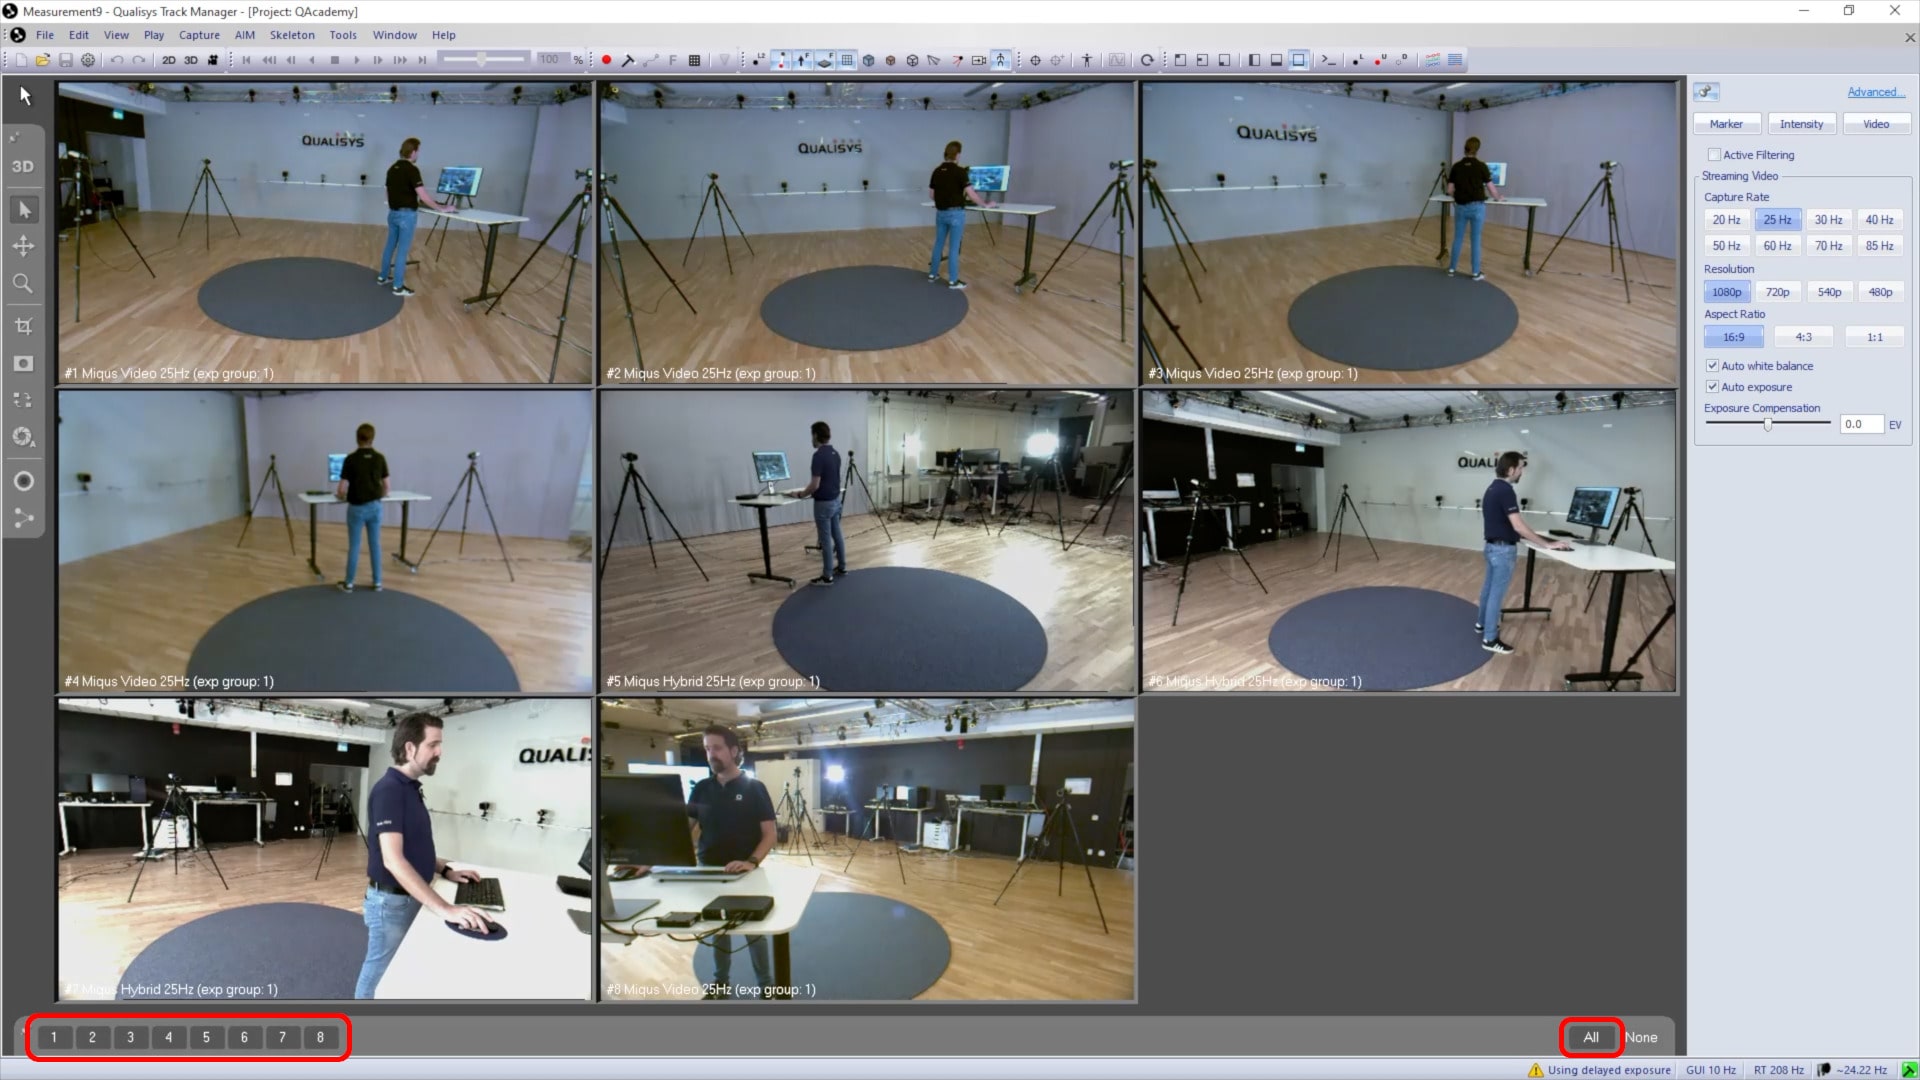
Select the video cameras to be adjusted together.
-
Make sure that they are in “Video” mode so that the following settings will apply to video capture.
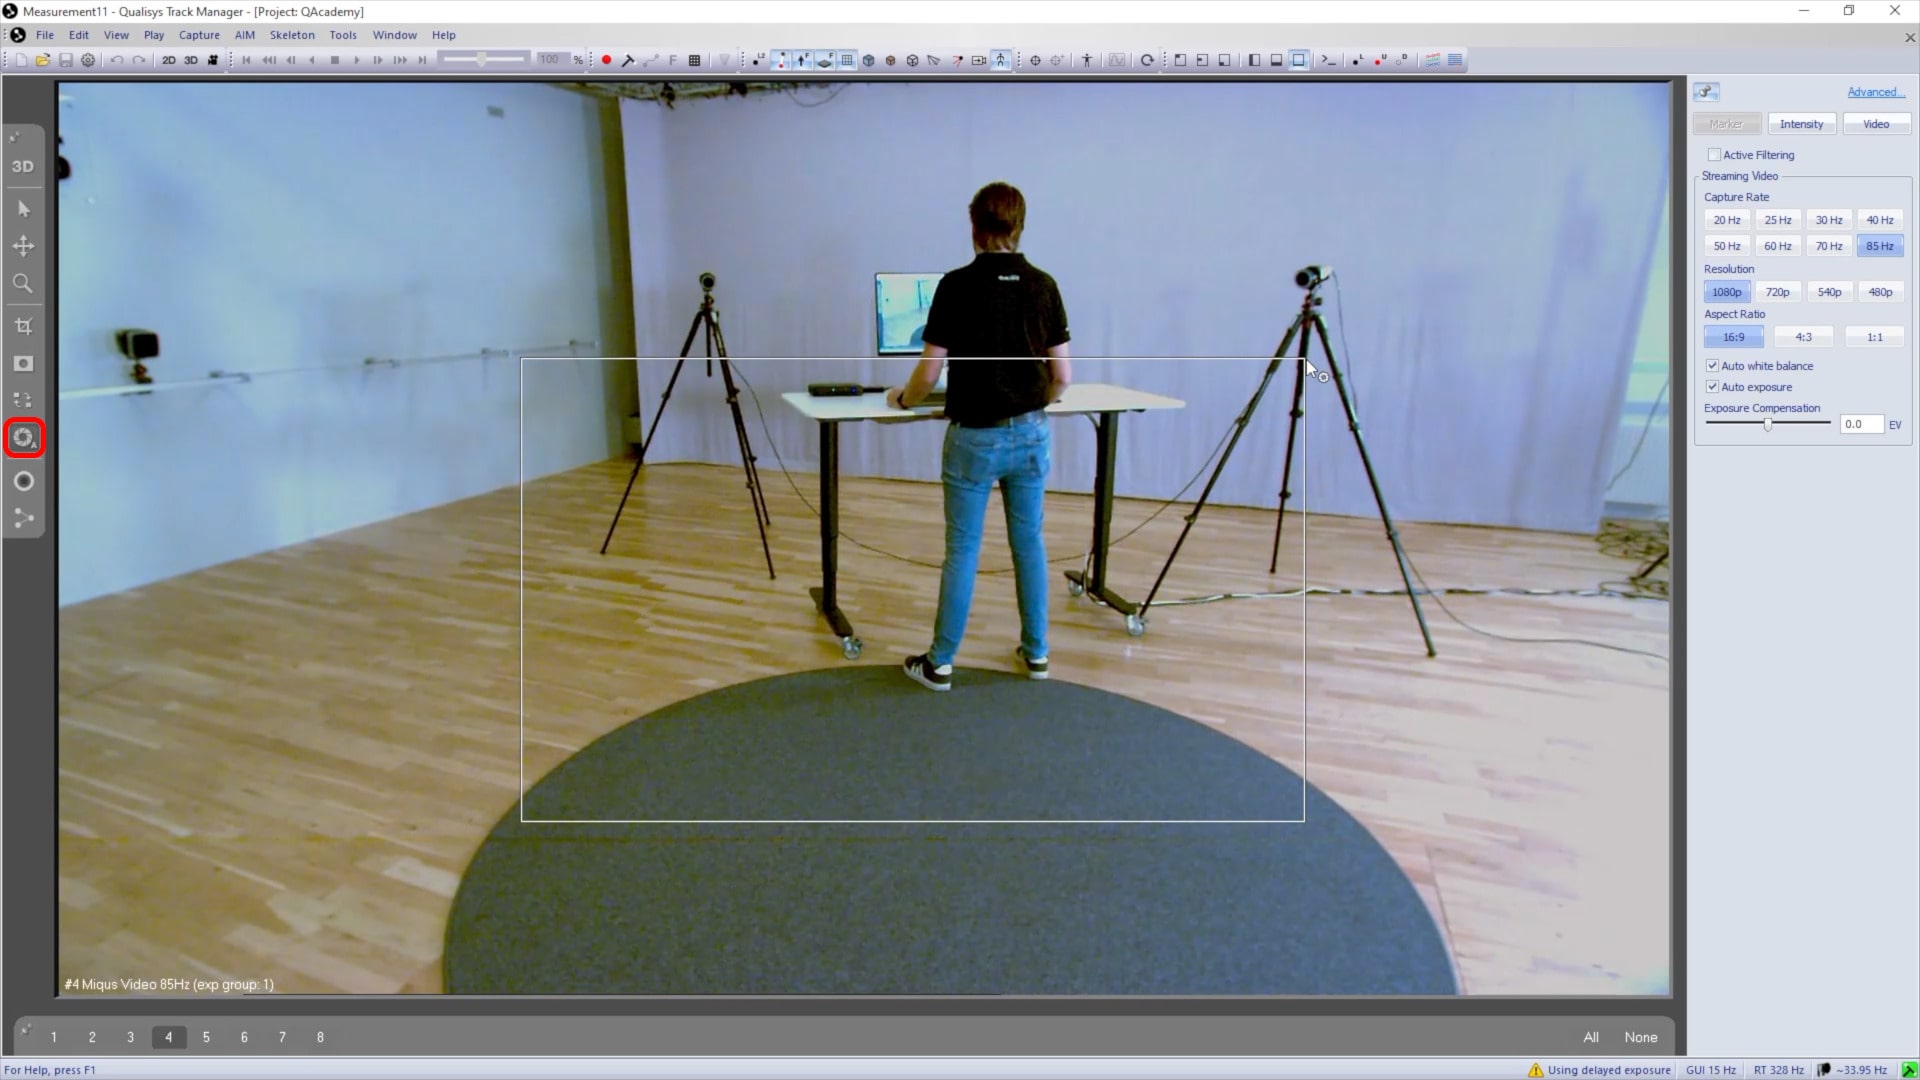
-
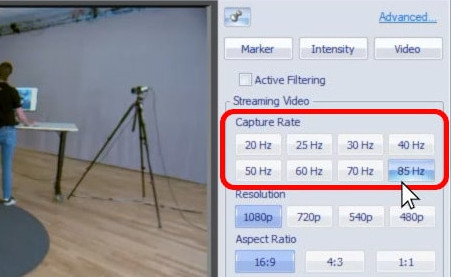
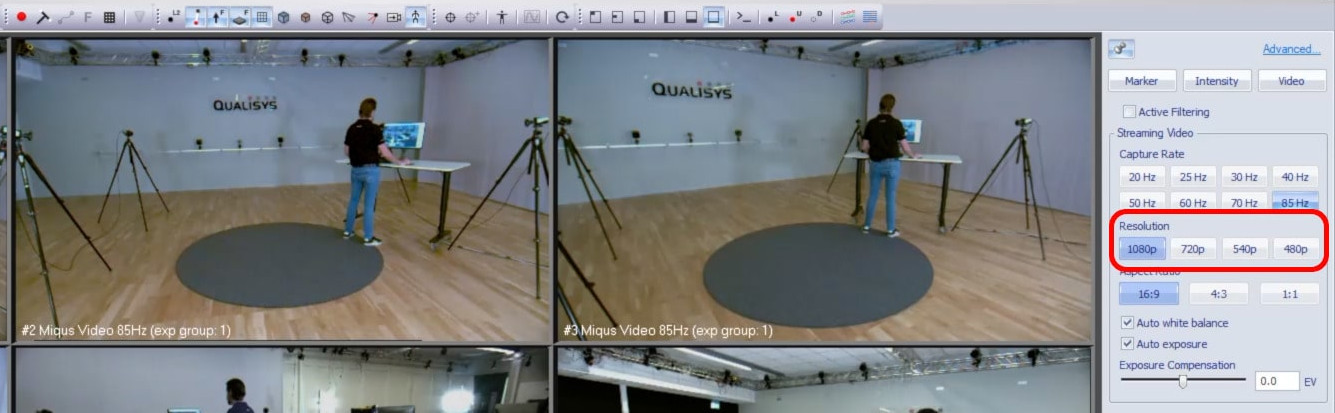
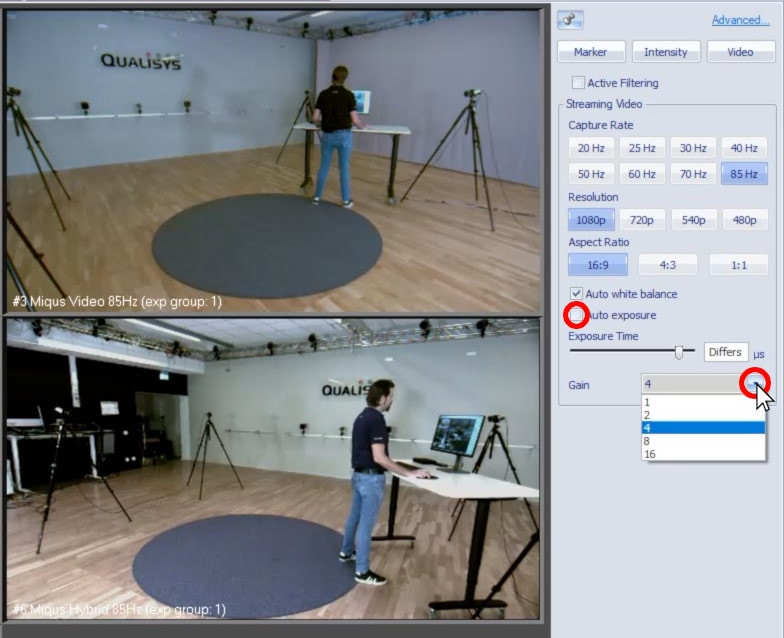
In the camera settings sidebar under “Streaming Video,” choose the video capture rate. Remember that this can be different from the capture rate in marker mode, and it can be changed independently for each camera.
-
Keep in mind that high video resolution and capture rate can result in large file sizes, so it is recommended to set them only as high as needed for your purposes.
-
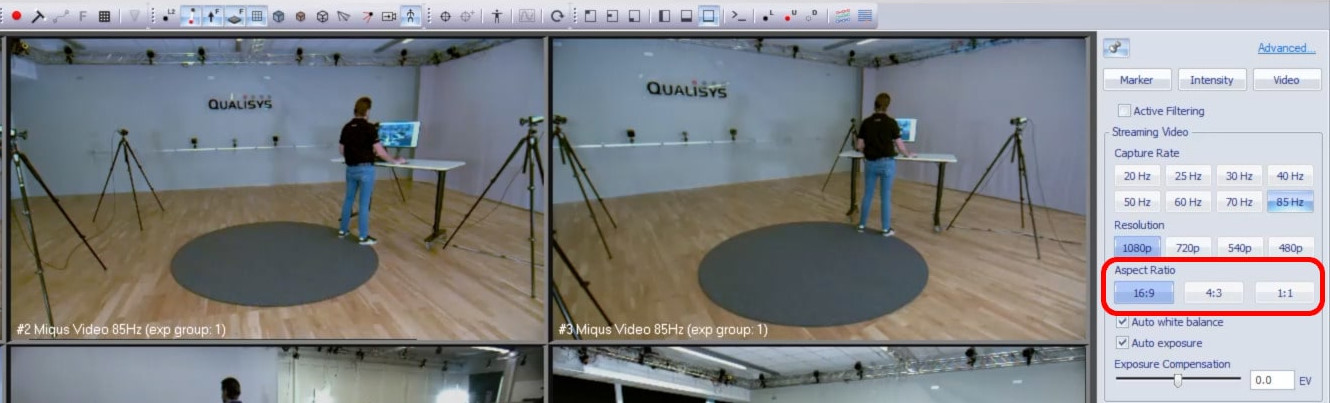
If desired, you can change the aspect ratio, which may also have an effect on the maximum capture rate.
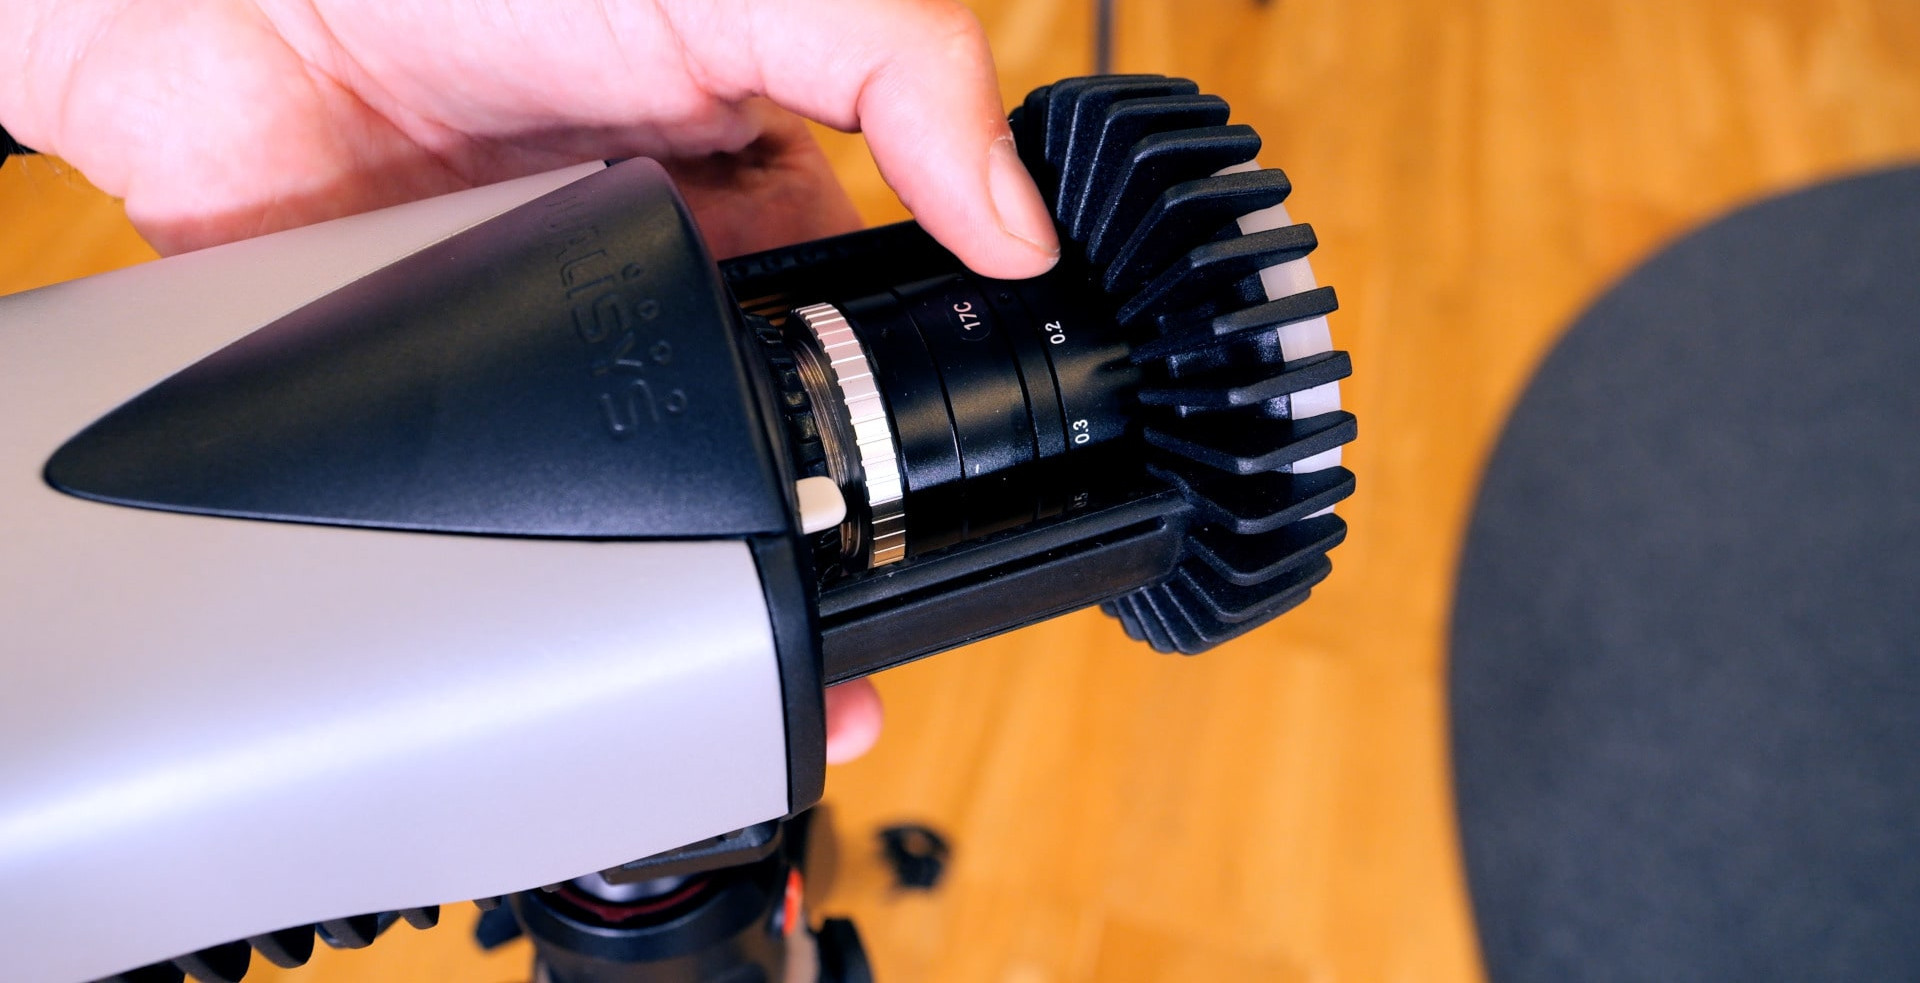
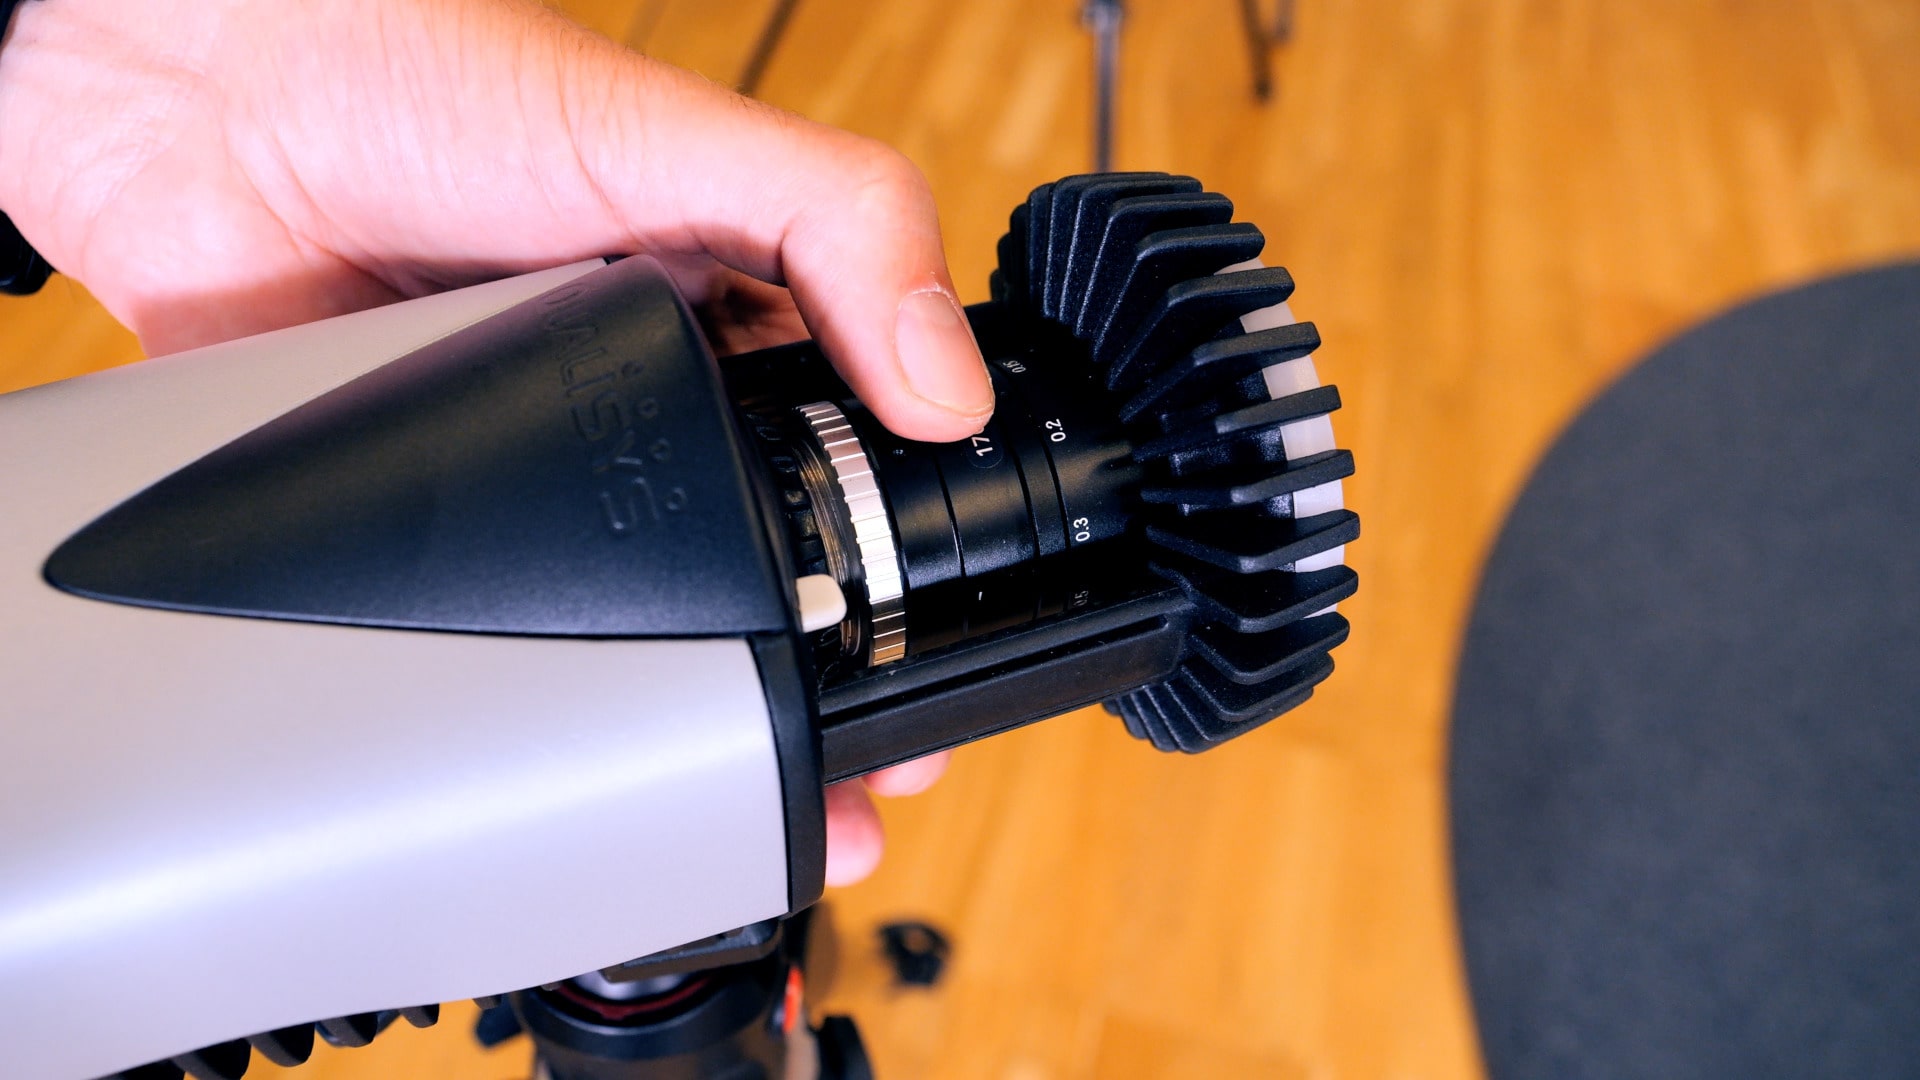
Next, adjust the aperture and focus on the video cameras for the light conditions in your lab:
-
Extend the flash mechanism on the front of a camera and turn the aperture ring until you find the best balance of light.
-
Once the aperture is set, adjust the focus ring for a crisp image of the recording volume.
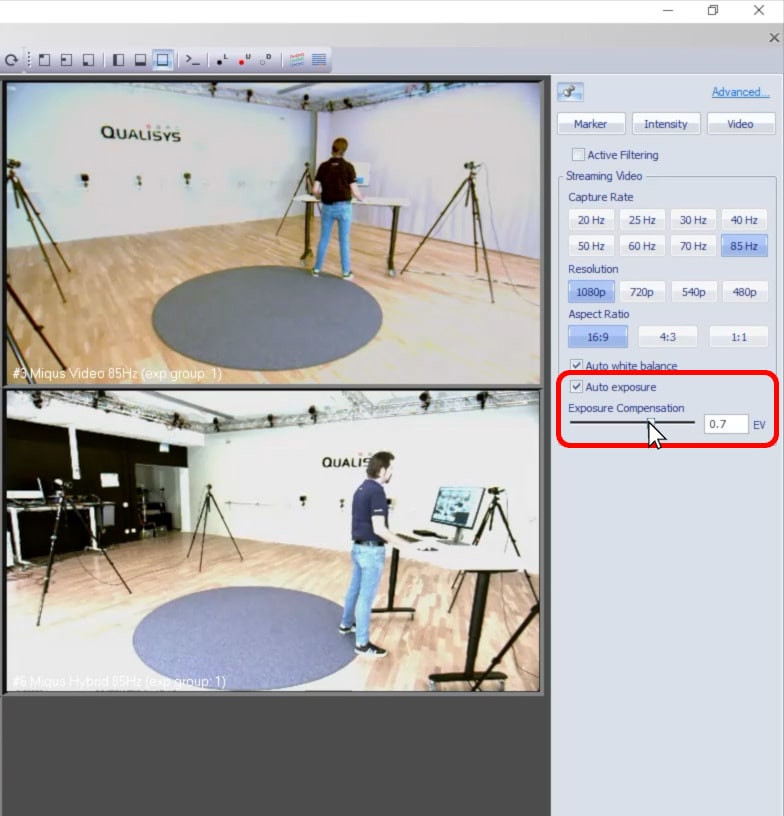
Back in QTM, you can now adjust the white balance and exposure for the video footage:
-
“Auto white balance” is available for some camera models. Deselecting it will lock the white balance at its current value.
-
When “Auto Exposure” is enabled, you can adjust the brightness of the image by changing the exposure compensation.
-
If you deselect auto exposure, you can manually set the exposure time and gain.
-
To set the auto white balance and auto exposure based on a specific area of the image, click the auto exposure button in the 2D view toolbar and draw a box over the area to be used as reference.