Sync unit settings in QTM
Your sync unit is automatically recognized when it is plugged into the daisy chain, so you don’t have to go through any extra steps to add it in QTM.
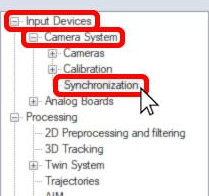
To access the synchronization settings, open Project Options (keyboard shortcut Ctrl+W) and navigate to “Input Devices” à “Camera System” à “Synchronization.”
-
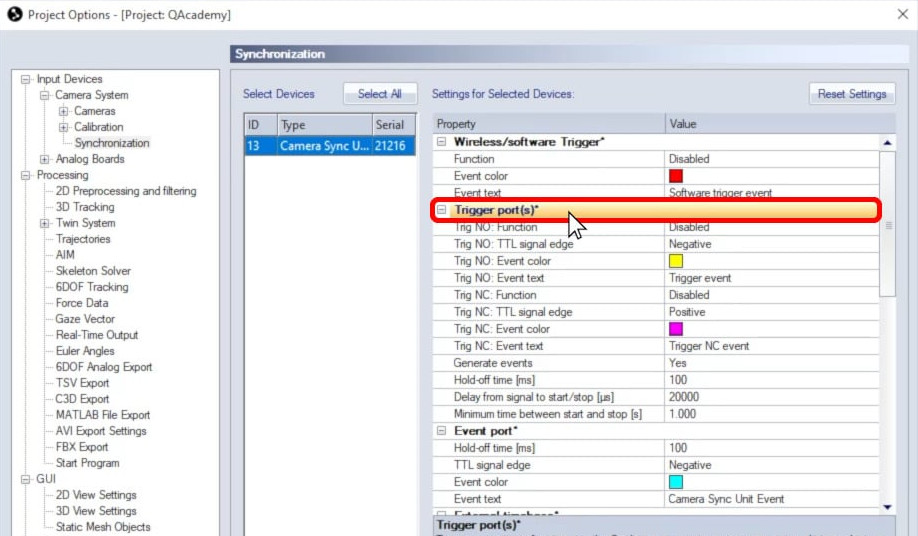
Under “Trigger port(s),” you’ll find the settings for any triggers plugged into the TRIG NO or TRIG NC port. This is where you’ll set the function of the triggers—for example, “Start capture”—along with TTL signal edge, signal delay, and other settings. As long as a trigger is not being used to stop capture, it can be used to generate events during measurements.
-
Under “Event port,” you will find the settings corresponding to the EVENT input on the sync unit. You can set the hold-off time, the signal edge, and the color and text to be associated with events.

-
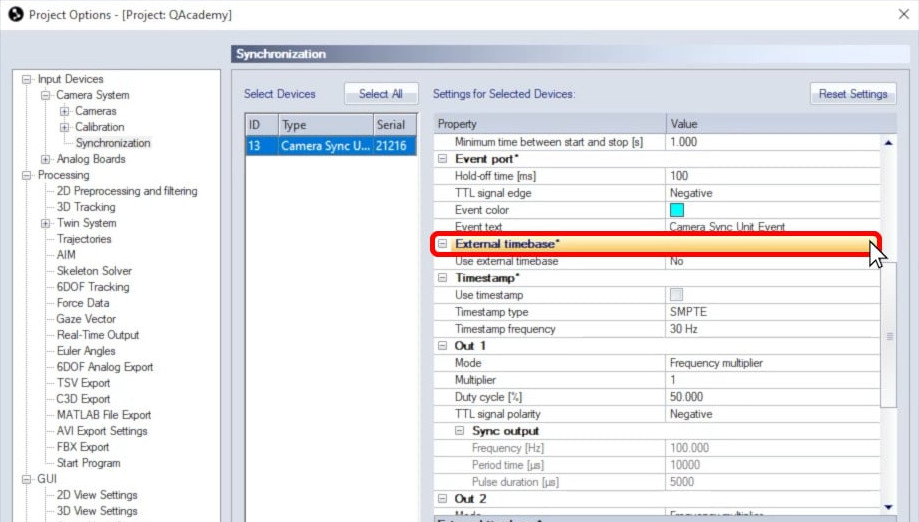
“External timebase” controls the capture rate of the camera system according to a source plugged into the sync unit—for example, a periodic TTL signal or a GENLOCK video signal. Once you enable the external time base and choose the signal source, you can specify the other settings, such as signal mode, frequency multiplier, and nominal frequency.
-
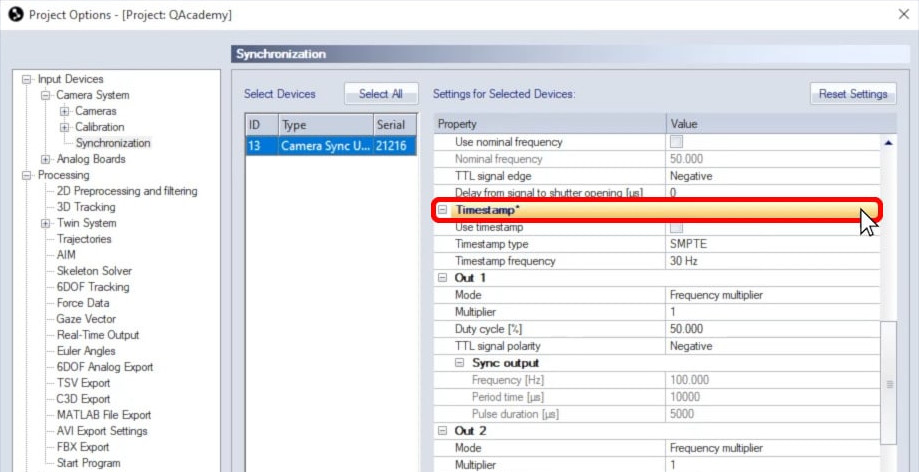
Under “Timestamp,” you can enable the use of time codes from an external time code generator or master clock to timestamp the camera frames. You can then select the type of time code signal and its frequency.
-
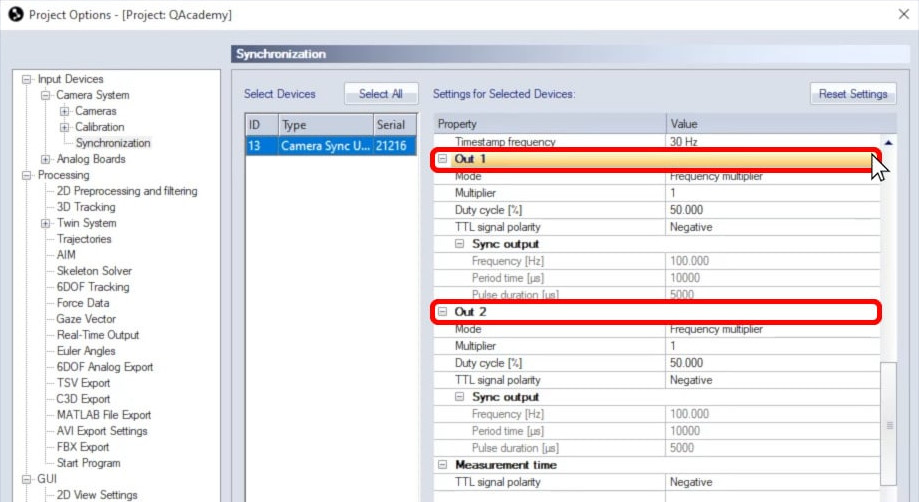
The sections for “Out 1” and “Out 2” allow you to customize the signals sent to devices plugged into the corresponding ports on your sync unit. For example, when the mode is set to “Frequency multiplier,” you can then specify the multiplier, duty cycle, and TTL signal polarity.
-
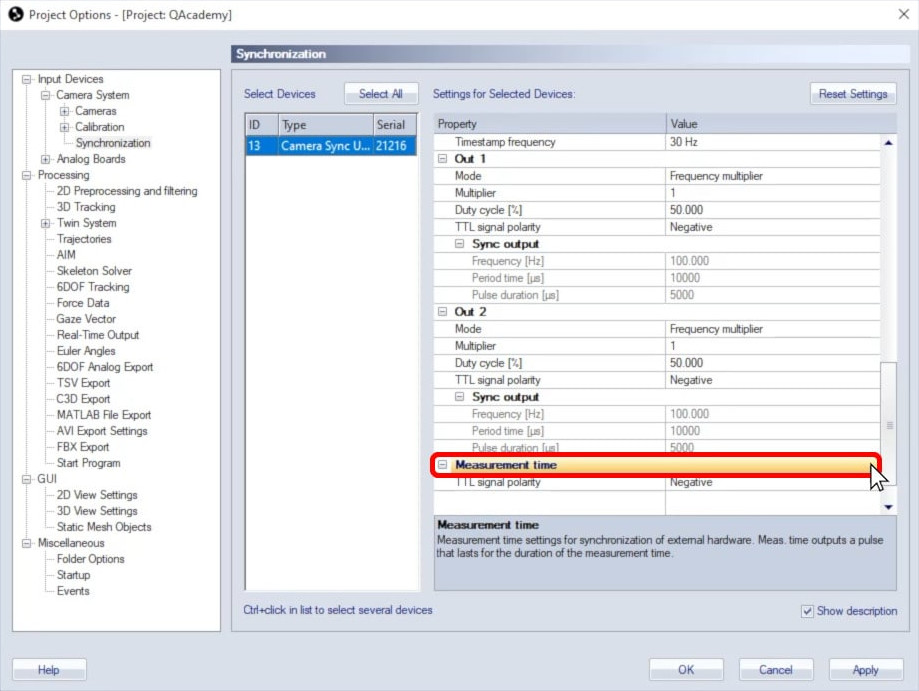
Finally, under “Measurement time,” you can stipulate which TTL signal polarity to use for the MEASUREMENT TIME output on the sync unit.
For in-depth details on using the camera sync unit with a particular device or for a specific purpose, please refer to other tutorials on QAcademy or to the QTM user manual.