Generating an AIM model
Now you can proceed to creating an AIM model from the saved file.
-
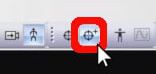
Click the Generate Model icon in the top toolbar.
-
Select “Create new model,” and click “Next.”

-
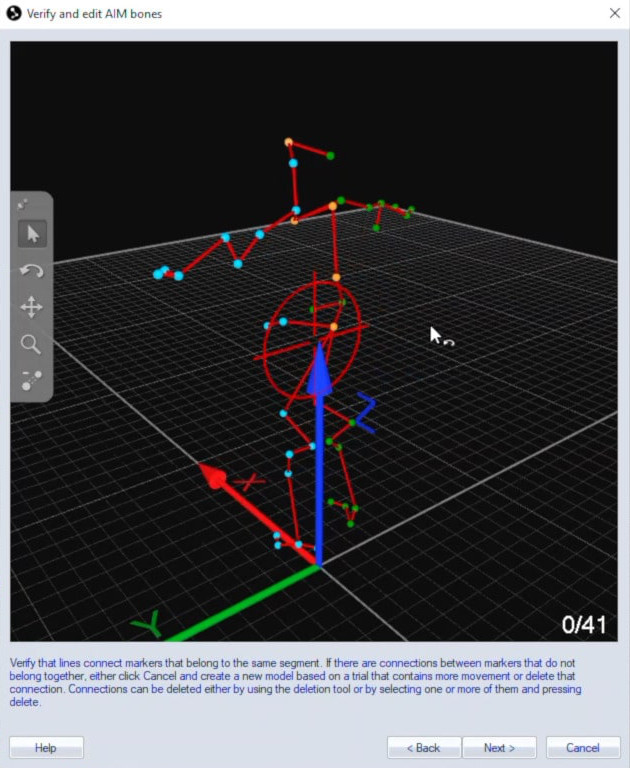
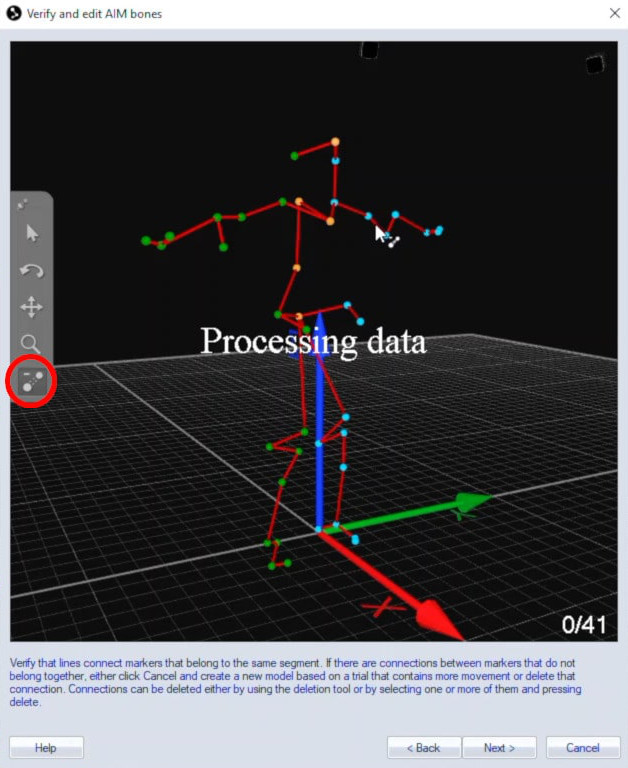
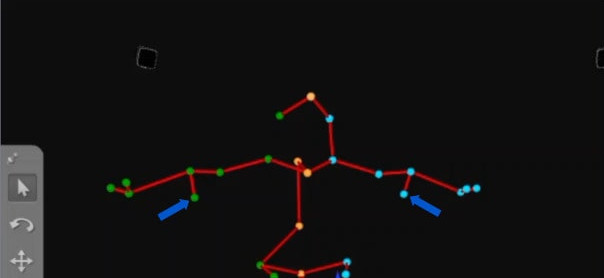
Check the model preview to confirm that all of the markers are present and that the connections between them create a logical structure. Note that these are not anatomical bones or the visual bones that you might have added while labeling the trial; they are marker connections that QTM has identified based on the motions.
-
If a connection is misplaced—for example, linking the knees to each other—use the “Delete bone” tool to remove it. When deleting a bone, QTM will create an alternative connection, so you may need to repeat the process until the correct markers are linked.
-
It is recommended that markers which are more likely to become obstructed from view of the cameras be placed at the ends of bone chains.
-
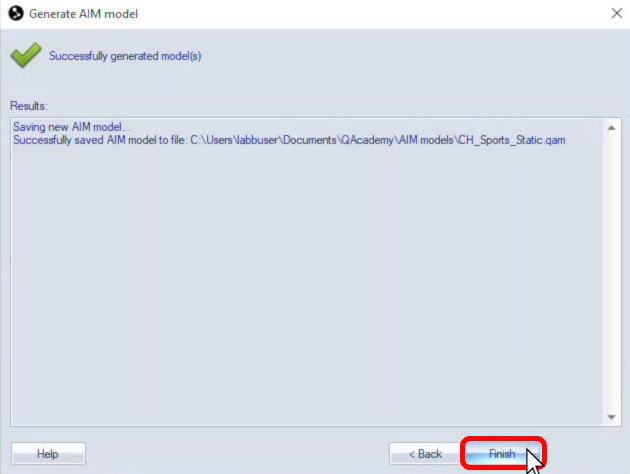
Click “Next” again, enter a name for your AIM model, and click “OK.”

-
QTM will let you know that it has successfully generated the model, and you can click “Finish.”
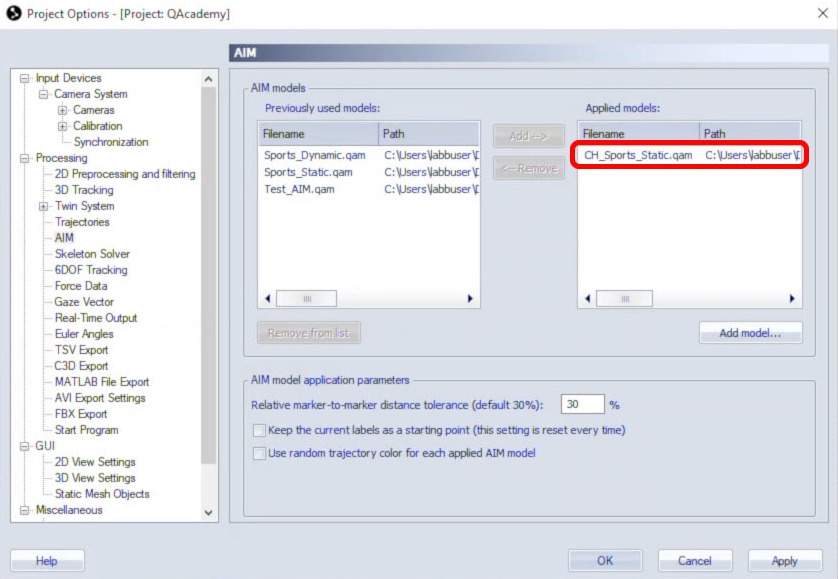
The new AIM model will automatically be enabled in Project Options.