Placing motion capture markers
If you are running a QTM analysis module, you can click “Show guide” at the bottom of the project automation pane to open a guide for the related marker set. Refer to the “Static” column for which markers should be placed on the subject initially.

Clusters
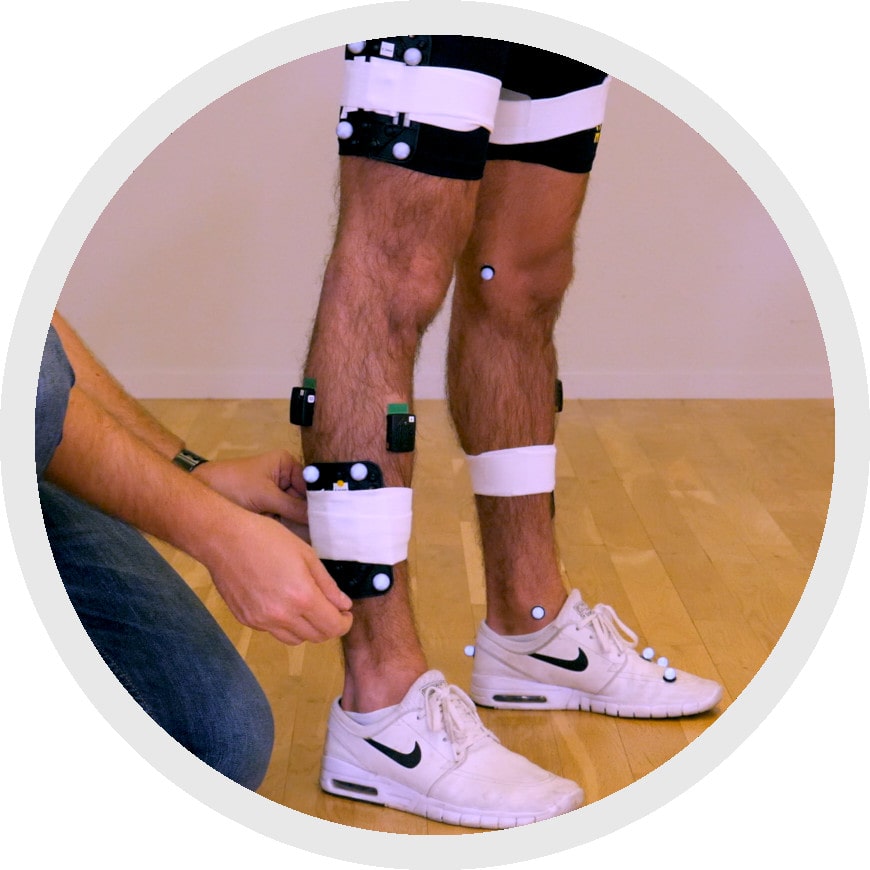
If you are using clusters, it is easiest to put them on the subject first so that you don’t have to worry about knocking other markers out of place in the process. Position the clusters on the subject’s legs, wrap the straps around as if applying a bandage, and Velcro them into place. Take care not to wrap over any of the markers.
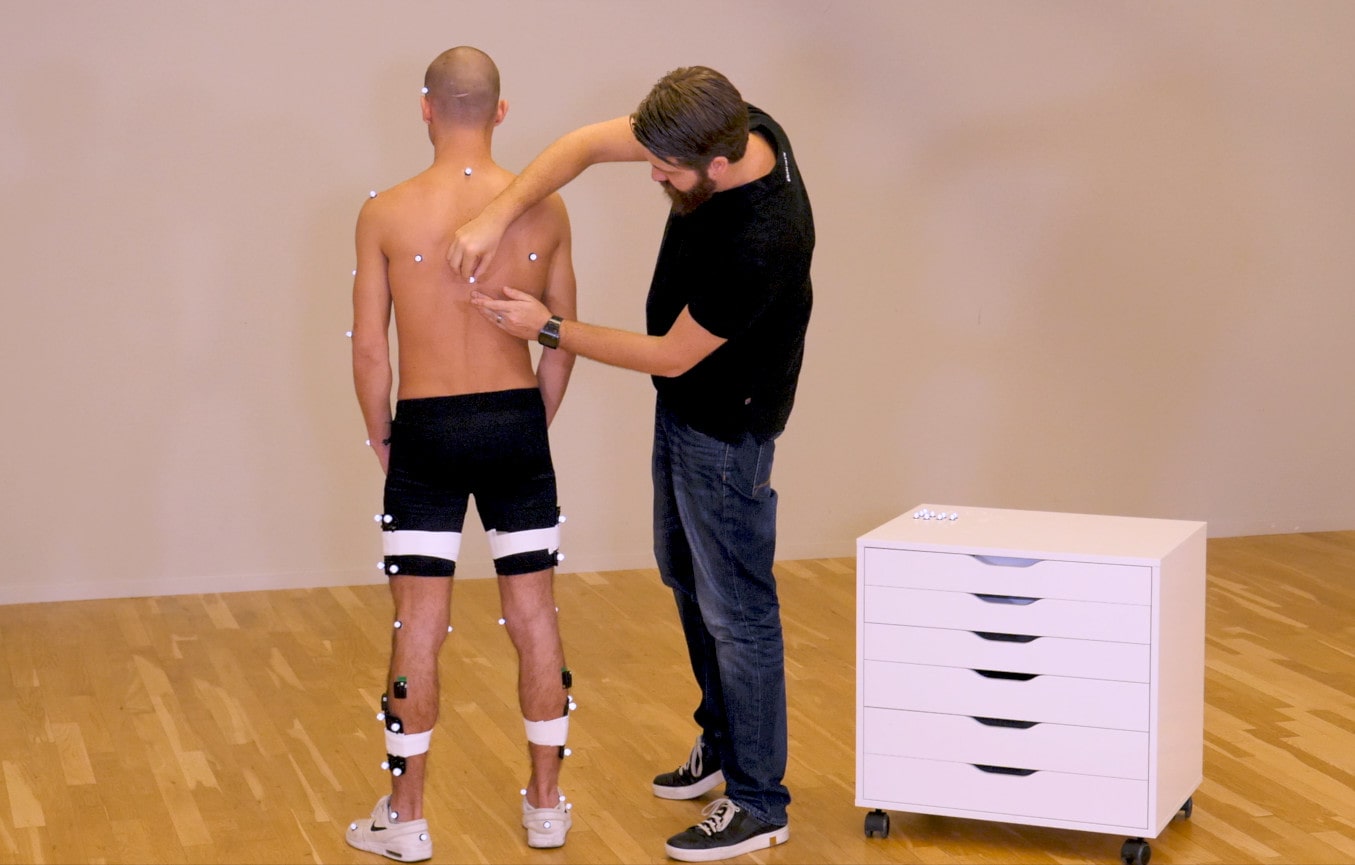
Individual markers
When placing individual markers, you will need to remove the paper from the double-sided tape, palpate the anatomical landmarks on the subject, and stick the markers to the subject’s clothing or skin, shaving the area if necessary for a firm bond. Remember to use the exact definitions and palpation methods decided on by your lab.

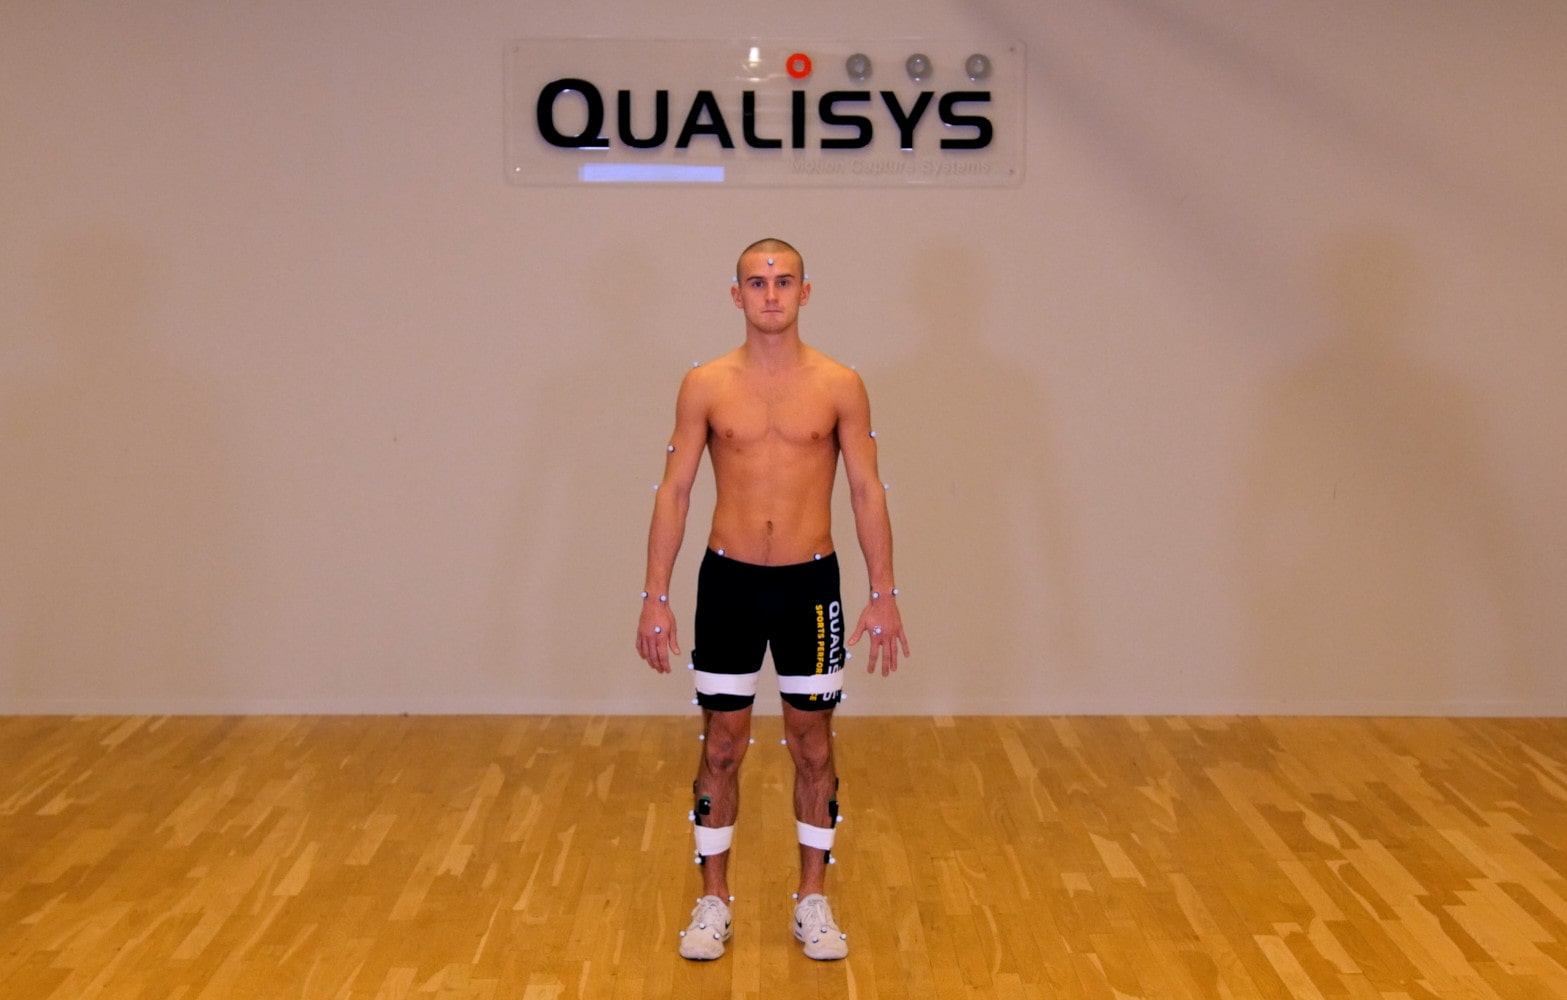
Place the markers starting at the feet and then proceeding up your subject’s body. If possible, the subject should stand while the markers are being placed because the skin moves significantly between sitting and standing, and the markers need to be at the correct anatomical positions when the subject is upright. If your subject is unable to stand for the whole process, they can sit until you reach the pelvis markers.
Final considerations
Even though your team should already have established the methods for marker placement, it is recommended that only one person place the markers and electrodes on your subject to avoid any inconsistencies.
Take a moment to visually double-check that all of the markers are on the subject in the correct positions. Once you’ve confirmed that your subject is set up correctly, you are ready to begin recording.