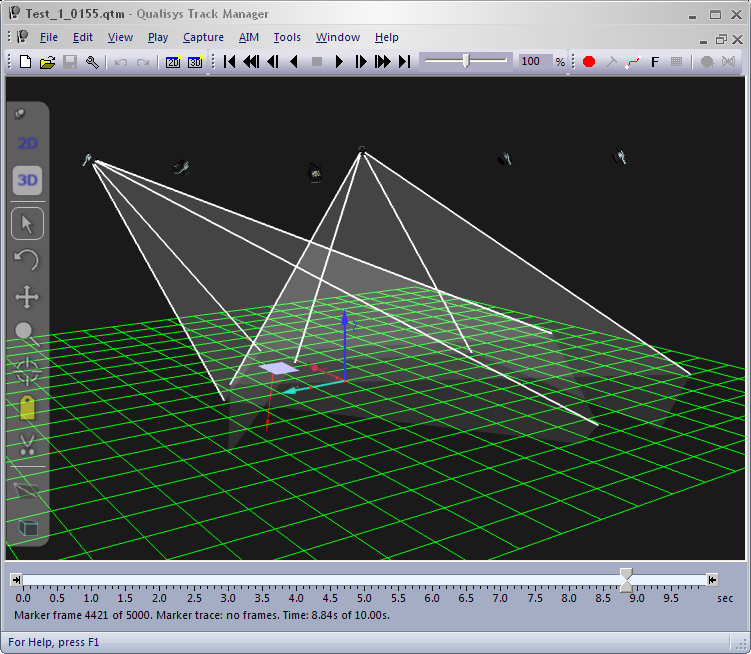
Camera view cones in 3D views
The camera view cones display the field of view of the camera, i.e. what a camera will be able to measure. It can be used to evaluate how the cameras are placed in the system so that the placement can be better optimized. By enabling multiple cones, you can also study what is covered by a certain subset of the camera system.
The view cones can be enabled per camera from the Camera view cones menu on the 3D view toolbar. Click on the
Camera view cones button ![]() to open the dialog and enable the cones with
the Show camera view cones checkbox.
The feature can also be enabled on the 3D
view settings page in the Project
options dialog.
to open the dialog and enable the cones with
the Show camera view cones checkbox.
The feature can also be enabled on the 3D
view settings page in the Project
options dialog.
You can also use the Camera view cones button on the GUI Control toolbar to toggle the display of the cones.
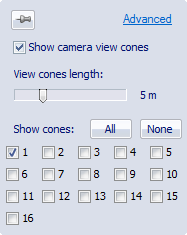
The length of the cones is set in meters by the setting. The cones are by default cut at the floor level, but that can be changed by disabling the Cut covered volume at floor level option on the 3D view settings page in the Project options dialog.
Select which camera cones that are to be shown with the All/None buttons and camera check boxes.