PAF module installation
Downloading installation files
The required files and licenses are available via the Qualisys client login, see http://www.qualisys.com/my/. Log in with your Qualisys user account associated with your QTM registration.
New installation
Follow these instructions if you are installing the module for the first time. If you are updating an existing installation, see next section.
-
Download the analysis module installer via the Analysis modules page at http://www.qualisys.com/my/.
-
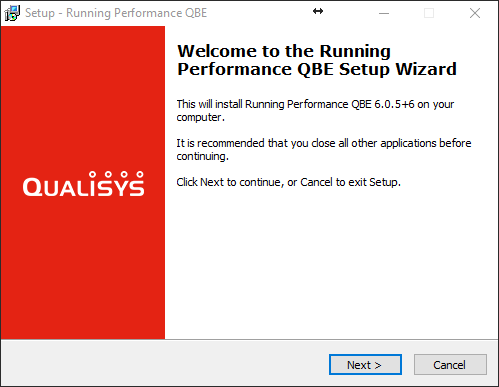
Run the installer and follow the instructions.

-
Start QTM and create a new project. Use this project to collect all future data that you want to analyze with the analysis module:
-
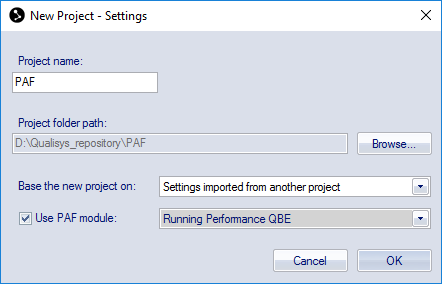
Select File > New Project.
-
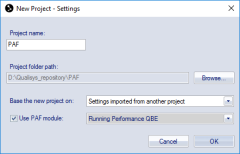
Enter name for the project. Change the location of the project folder if you wish to, however we recommend that you keep it in Documents unless multiple different users need access.
-
If you collected data previously and you want to use the same camera settings, choose “Settings imported from another projects” and select a project that contains the correct camera settings that you want to use. Otherwise select “Use default settings”.
-
Check Use PAF module and select the correct module from the drop-down.
-
-
If you selected to import the settings from another project, choose the settings file in the next dialog.
-
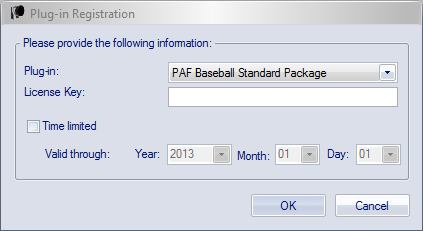
Enter the module license when prompted to do so. Select the name of the module in the Plug-in drop-down. For Gait modules, always select PAF Gait Module, regardless of the exact name of the module you are using:

-
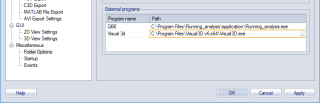
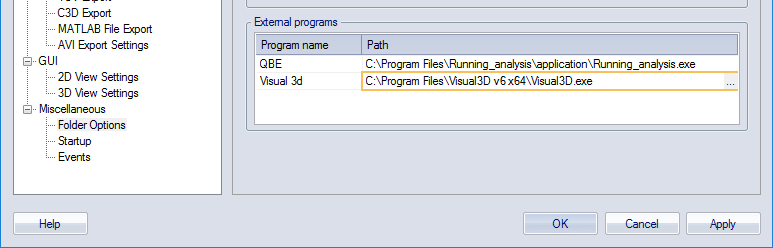
Open the Project Options, select Folder Options and specify the location of the computational engine. If using Visual3D, locate Visual3D.exe by clicking the “…” icon (on most computers the path is 'C:\Program Files\Visual3D v6 x64'). If using QBE navigate to' C:\Program Files\Running_analysis\application'.
-
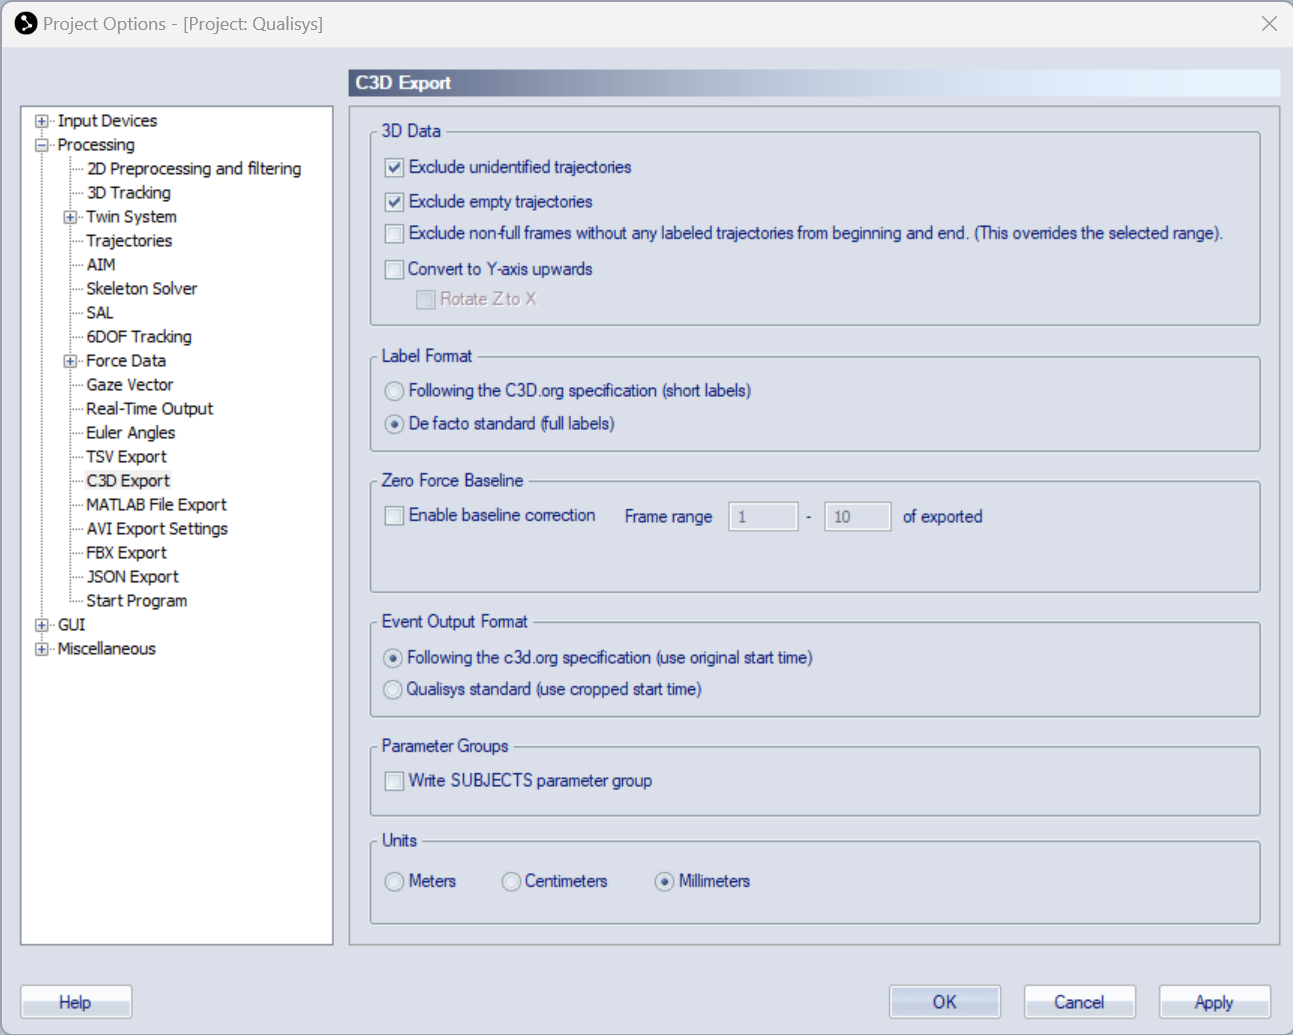
Check the C3D export settings in Project Options match the screenshot below:
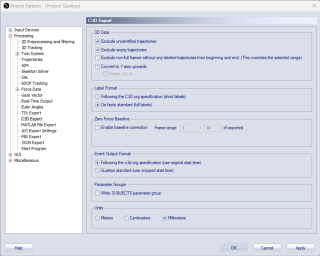
-
Check Exclude unidentified trajectories
-
Check Exclude empty trajectories
-
Un-check Exclude non-full frames
-
For the Label Format, choose De facto standard
-
For the Event Output Format, choose Following the c3d.org specification
-
Export units are millimeters
Zero force baseline can be used if the force plate is unloaded at the beginning of the measurement but note that depending on which module you are using the Visual3D script is set up to apply a zero baseline correction as well. The Visual3D correction will overwrite the zero frame range that is set here.
Physically zeroing the force plates is also required prior to data collection. The method for zeroing depends on the force plate used.
-
-
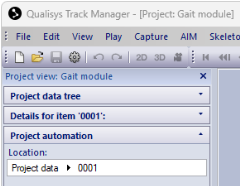
Open the Project View by selecting View > Project View (shortcut Ctrl+R).

Upgrading an existing installation
If you have an existing analysis module that needs to be updated, follow these steps to update to a new version.
-
We recommend that you create a backup of the complete project folder. In particular, make sure to keep a backup copy of all files that you have customized since you installed the module (for example report templates or AIM models).
-
Run the installer and follow the instructions.
-
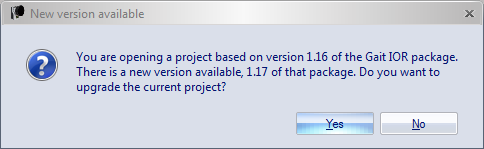
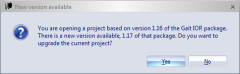
Start QTM and load the project that you want to update. QTM will ask if you want to upgrade the project. Click Yes to confirm.
-
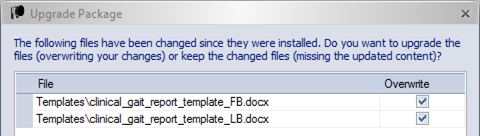
If you have modified template files within the PAF project and there is a conflict because the same files have also been changed in the PAF installer, the following dialog is shown:
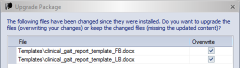
If you check Overwrite, your changed files will be overwritten.
If you un-check Overwrite, you will keep your changed files but will miss the updated files from the module installer.
For AIM files, your modified files are kept by default. If only AIM files are affected from conflicts, the dialog is not shown.
If you have modified a file, but the original file has not changed between module versions, your modified file will be kept automatically.
-
The update is complete. You can verify the module version number in QTM under Help > About.