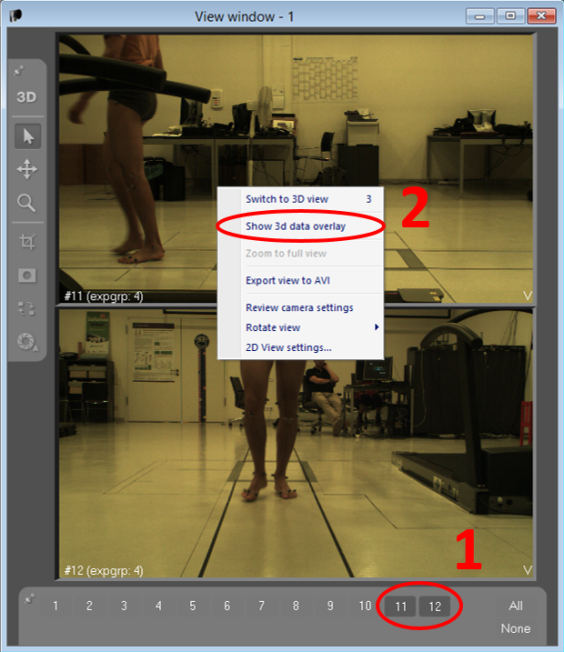
Switch to 2D view and select view(s) you want to include in final video (1). If you wish to include 3d overlay, right click on 2d camera view (2).
In “AVI Export Settings” select appropriate Window settings and Video settings.
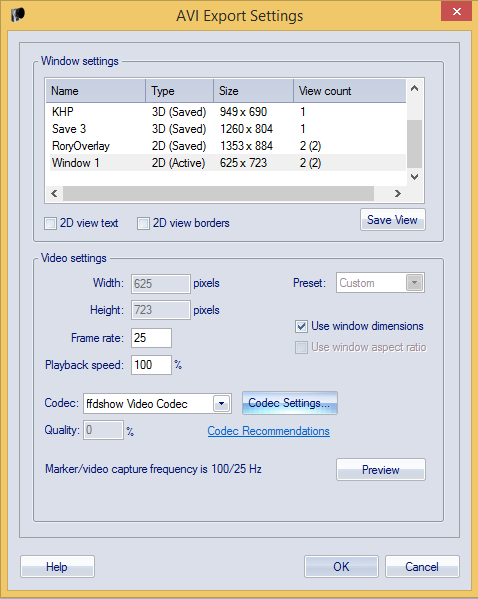
Check the box "Use window dimensions".
Frame rate: It is best to use the same frame rate that was used for recording the video.
Playback speed: Set to 100%.
Codec: ffdshow is recommended, make sure it is set up correctly (see QTM help). Other Codecs may also be used but should be tested first.
Use QTM Help for further details on these settings.
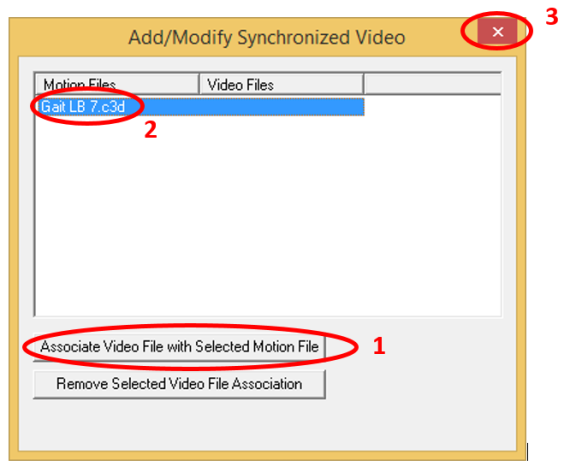
Select correct motion files (1), click Associate Video File with Selected Motion File (2) and find the video exported from QTM. Close the window (3).
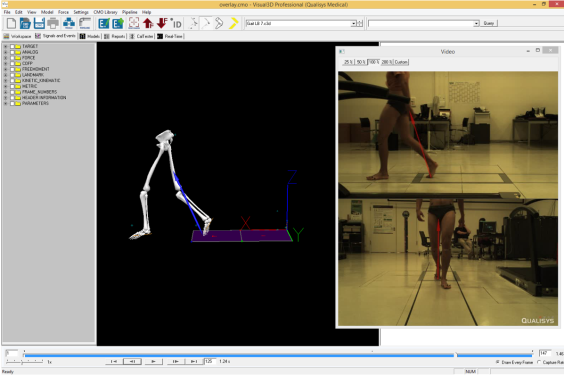
Make the file with associated video the active file. Video will appear. Now you can play video synchronously with the motion file. Use View > View synchronised video to turn the video window on or off.